Best Ever Banana Bread
Whenever I pass a display of bananas in the grocery store, I can almost smell the wonderful aroma of my best banana bread recipe. It really is that good! —Gert Kaiser, Kenosha, Wisconsin
Get Recipe
Swiss Beer BreadThis recipe is a favorite of my family because it isn't greasy like most of the other cheese breads I have tried. It will not last long! —Debi Wallace, Chestertown, New York
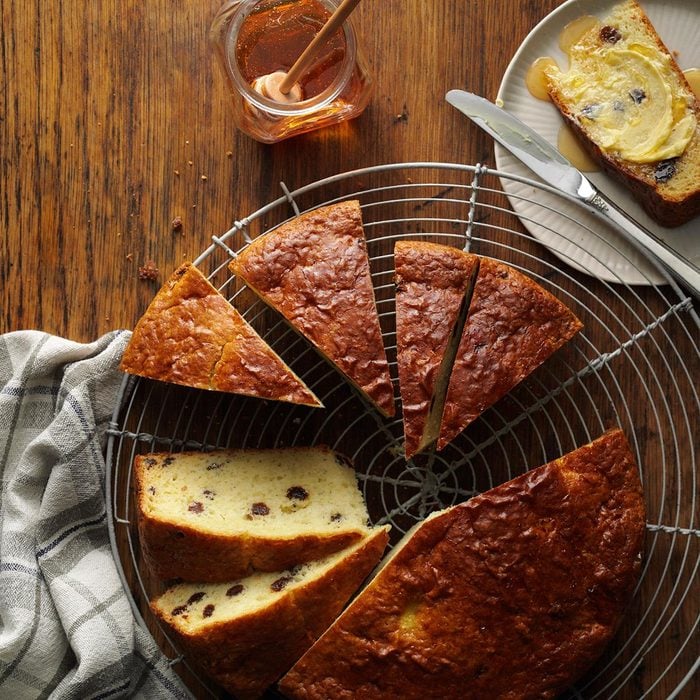
Favorite Irish Soda BreadMy best friend, Rita, shared this irresistible
Irish soda bread recipe. It bakes up high, with a golden brown top and a combination of sweet and savory flavors. —Jan Alfano, Prescott, Arizona
(Try these other
Irish soda breads, too!)
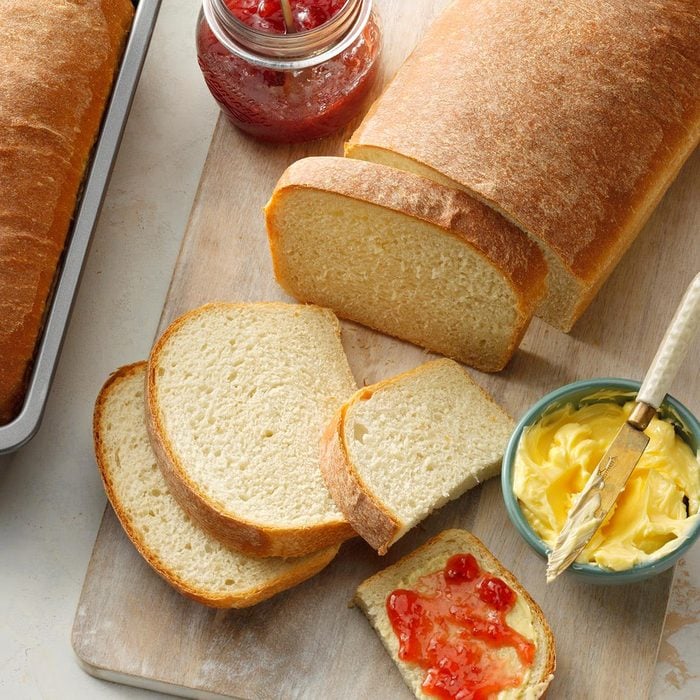
Crusty BreadThis easy crusty bread recipe proves that you absolutely can make a bakery-quality loaf at home—no kneading required. Once you've mastered the basic recipe, try variations with cheddar, herbs and more.
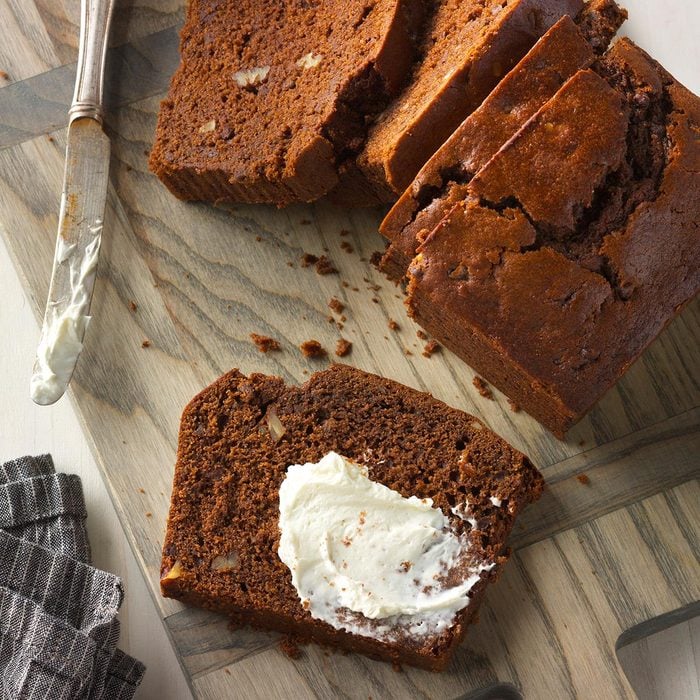
Chocolate Quick BreadMy husband and I both enjoy cooking, but the baking is left to me. Our sons loved this chocolaty quick bread when they were little—and still do as grownups! —Melissa Mitchell-Wilson, Wichita, Kansas
Homemade Bread RecipeHere's a step-by-step guide to kneading, shaping and baking yeast bread for the freshest, fluffiest homemade loaves.
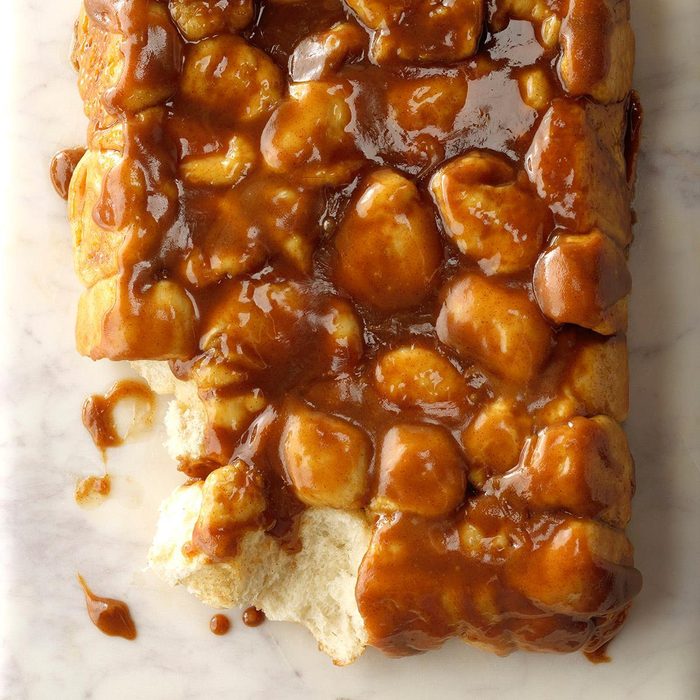
Sticky Cinnamon-Sugar Monkey BreadYou can do all the prep work for this monkey bread the night before. I prepare the dough pieces and put all the sauce ingredients in the pan so it's ready for the morning. You can sprinkle chopped nuts in with the dough pieces before pouring the sauce on and baking. — Diana Kunselman, Rimersburg, Pennsylvania
Pumpkin Chocolate Chip BreadOur recipe for pumpkin chocolate chip bread is a fall staple for any day, any time of the week.
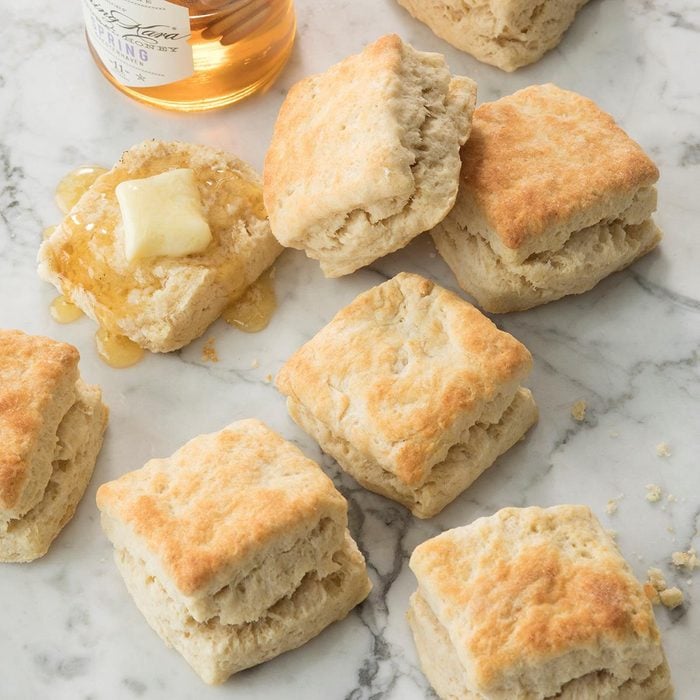
Fluffy BiscuitsIf you're looking for a flaky basic biscuit, this recipe is the best. These golden brown rolls bake up tall, light and tender. They're good on their own, but taste even better served warm and spread with butter or jam. —Nancy Horsburgh, Everett, Ontario
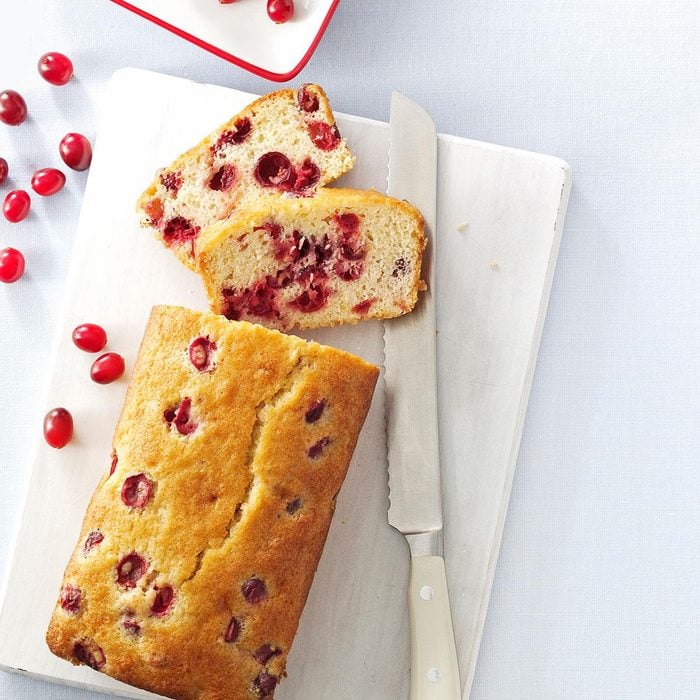
Tart Cranberry Quick BreadMy mother always made this cranberry bread. I usually stock up on cranberries when they're in season and freeze them so I can make this year-round. —Karen Czechowicz, Ocala, Florida
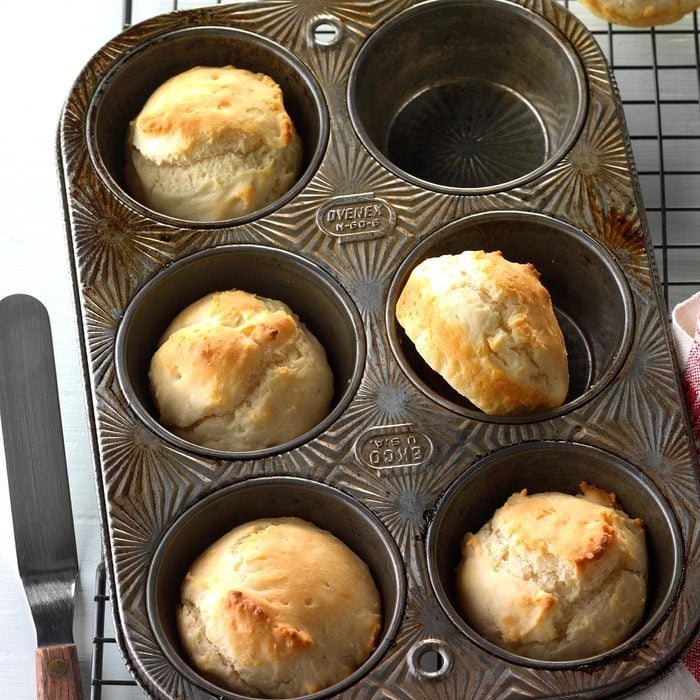
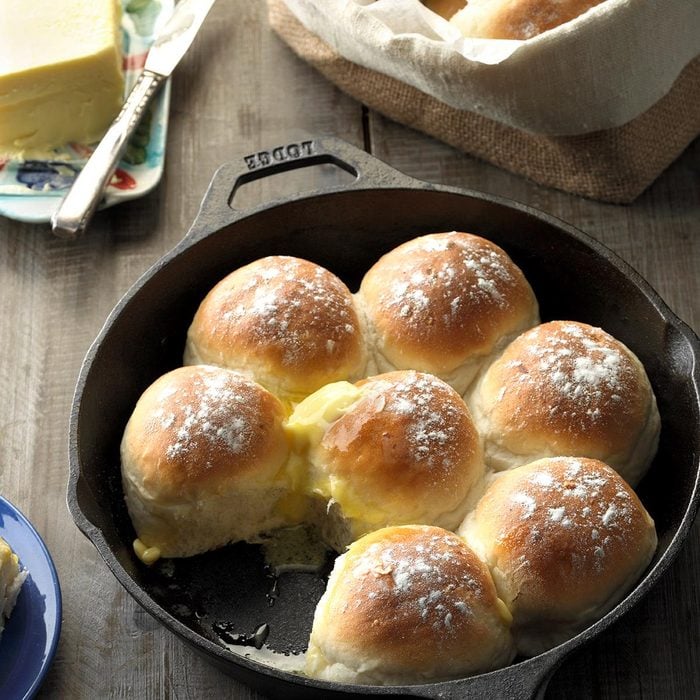
No-Fuss RollsWith only 4 ingredients, these delicious rolls are ready in no time. They're fantastic with herb butter or jam. —Glenda Trail, Manchester, Tennessee
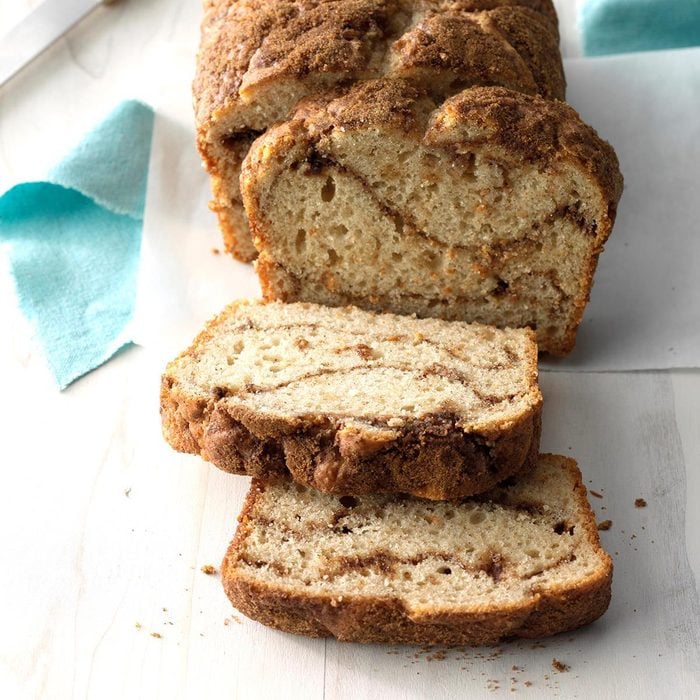
Country Cinnamon Swirl BreadI'm always busy with three active sons, so this rich quick bread is a favorite. I like to wrap these loaves to give as gifts. —Sharon Walker, Huntington Station, New York
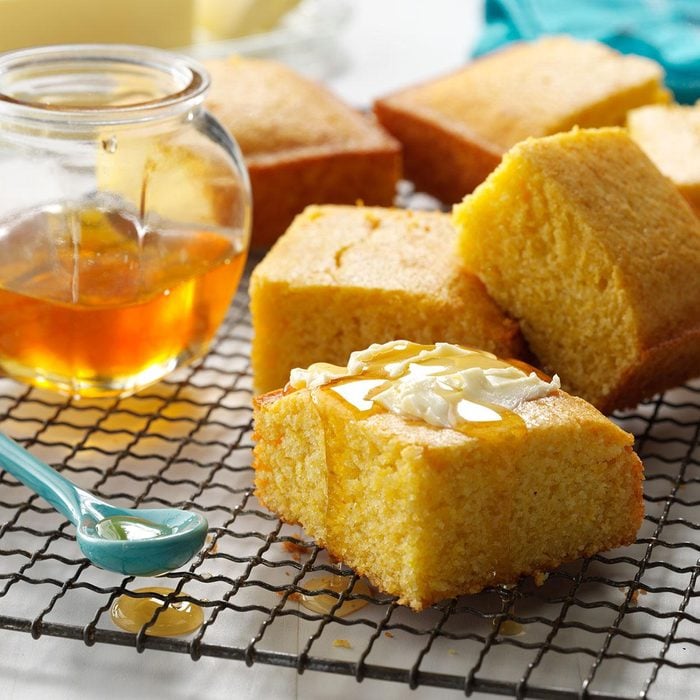
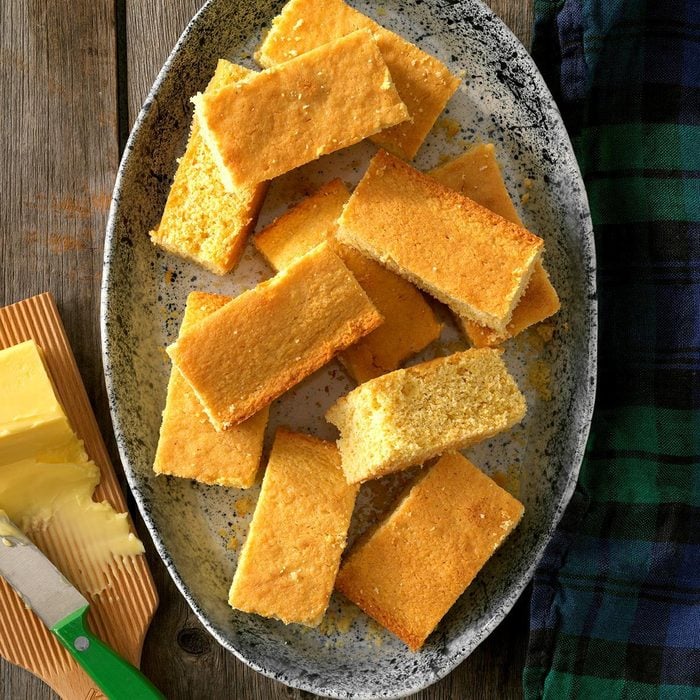
Honey CornbreadNix the box mix for this homemade honey cornbread recipe. It’s comforting and complements savory dishes effortlessly.
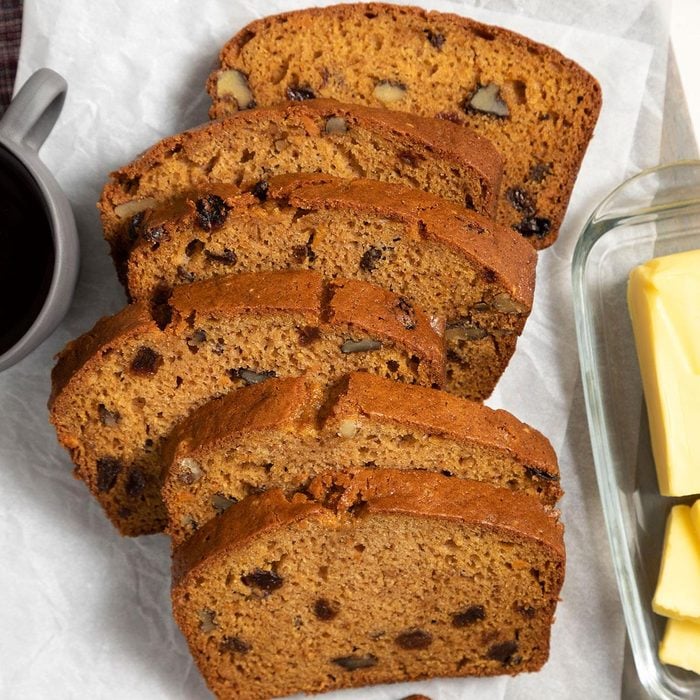
Sweet Potato BreadOne slice of this warm, tender sweet potato bread and you’ll see why it’s one of our favorite sweet potato fall desserts.
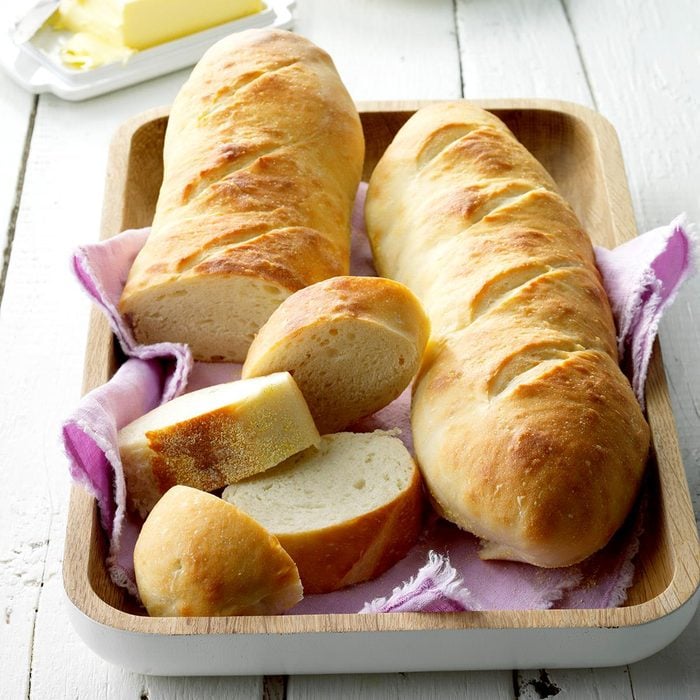
French BreadOnce you make this easy French bread recipe, you'll never go back to store-bought loaves. Here are our best tips on how to bake it.
Dutch Apple LoafBeing of Dutch descent, I knew I had to try this recipe for a moist, fruity quick bread. It freezes well, so I often have a loaf on hand for church bazaars. —Gladys Meyer, Ottumwa, Iowa
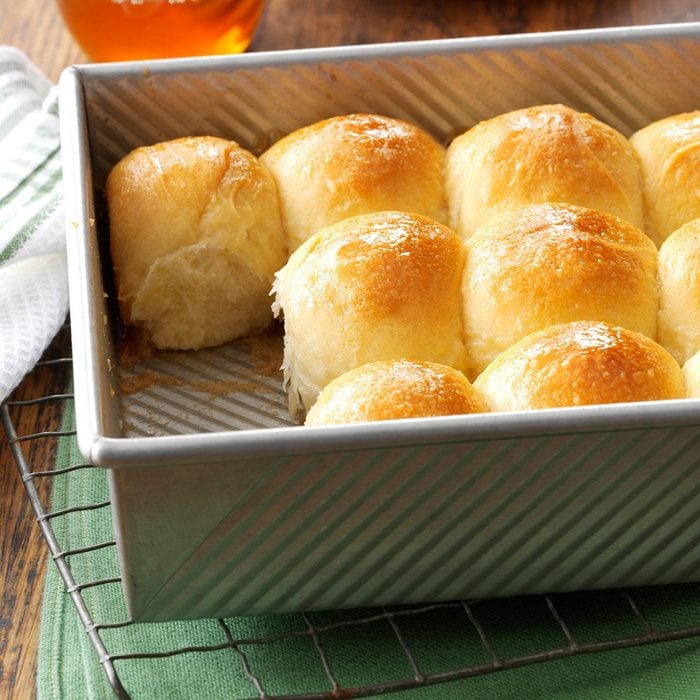
Golden Honey Pan RollsA cousin in North Carolina gave me the recipe for these delicious honey-glazed rolls. Using my bread machine to make the dough saves me about 2 hours compared to the traditional method. The rich buttery taste of these rolls is so popular with family and friends that I usually make two batches so I have enough! —Sara Wing, Philadelphia, Pennsylvania
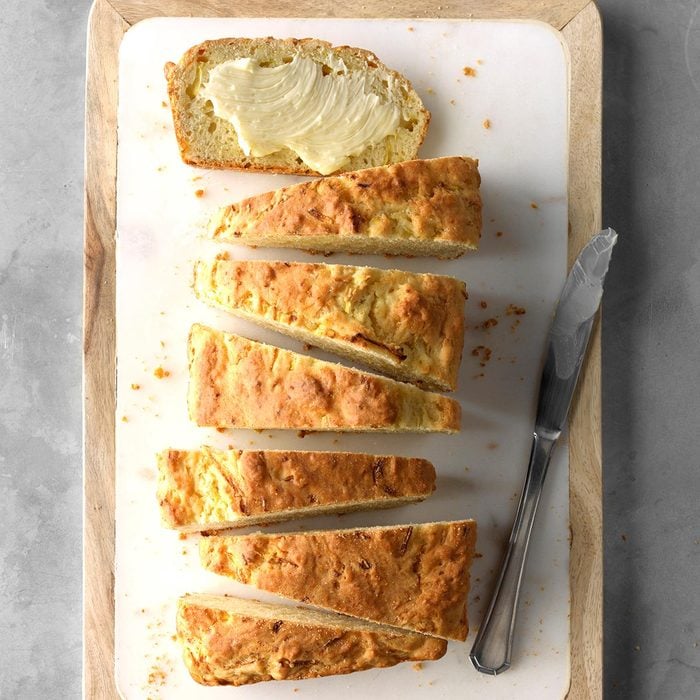
Herb Quick BreadThis simple bread is especially good with soups and stews, but slices are also tasty alongside fresh green salads. The herbs make it a flavorful treat any time of the year. —Donna Roberts, Manhattan, Kansas
Best Ever Banana BreadOur best ever banana bread is soft, moist and filled with a caramelized banana flavor. It’s easy to see why bakers love this recipe!
Icebox RollsI remember my mom making these rolls almost every Saturday so they'd be ready to bake on Sunday for company or someone just dropping by. Although they take a little time to prepare, they're really not all that difficult to make. And there's nothing in the stores that can compare to them! —Jean Fox, Welch, Minnesota
Pina Colada Zucchini BreadPina colada zucchini bread is a fun new take on the usual quick bread loaf. This recipe is filled with tons of summery flavors, from tropical pineapple and coconut to heady rum and vanilla.
Chocolate Chai Mini LoavesThis bread is irresistible! A friend gets mad when I make it because I give her a loaf and she can't help but eat the whole thing! —Lisa Christensen, Poplar Grove, Illinois
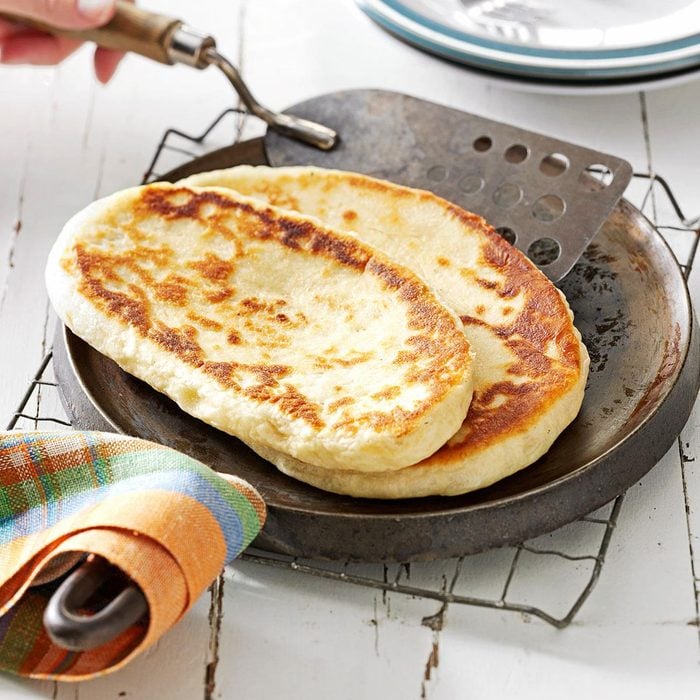
Bread Machine NaanChewy yeast-raised flat bread is a snap to make in a bread machine. Serve naan with your favorite Indian dish to soak up the curry and sauces. —Shannon Ventresca, Middleboro, Massachusetts
Cowboy CornbreadThis cornbread is richer and sweeter than others I’ve tried, and especially luscious alongside ham and beans. —Karen Ann Bland, Gove, Kansas
Hungry for more? Here’s our
cowboy bread recipe that you must try.
Potato Pan RollsMy family loves these rolls and requests them often. They don't take long to make because you use quick-rise yeast. —Connie Storckman, Evanston, Wyoming
Cranberry Orange Walnut BreadComing from Oregon, a state famous for its cranberries, this bread is a given at our house. Each fall my husband and I scrounge around for walnuts to go in it. It's a regular on our table, and not just at Thanksgiving. I freeze the berries so I have a ready supply all year long. —Elaine Kremenak, Grants Pass, Oregon
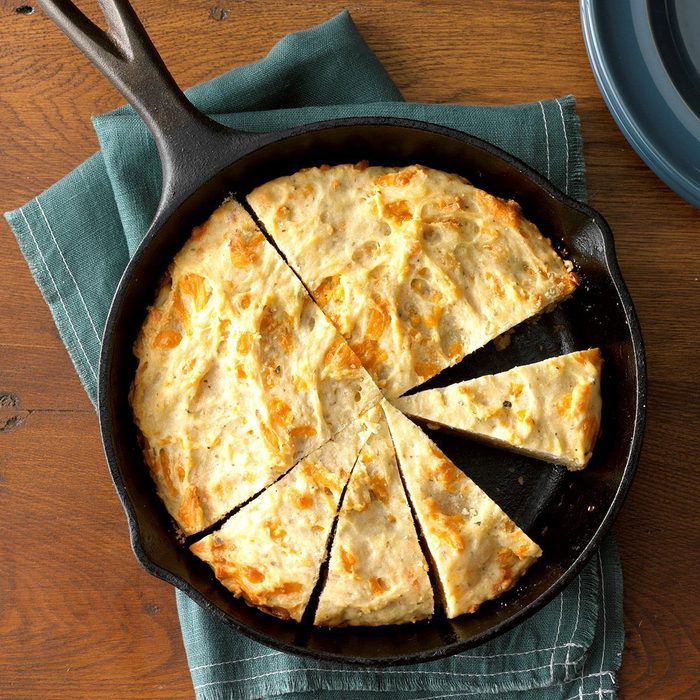
Cheesy Garlic Herb Quick BreadThis could be the perfect bread for any dish. The sharp cheddar cheese makes it irresistible.—
Taste of Home Test Kitchen, Milwaukee, Wisconsin
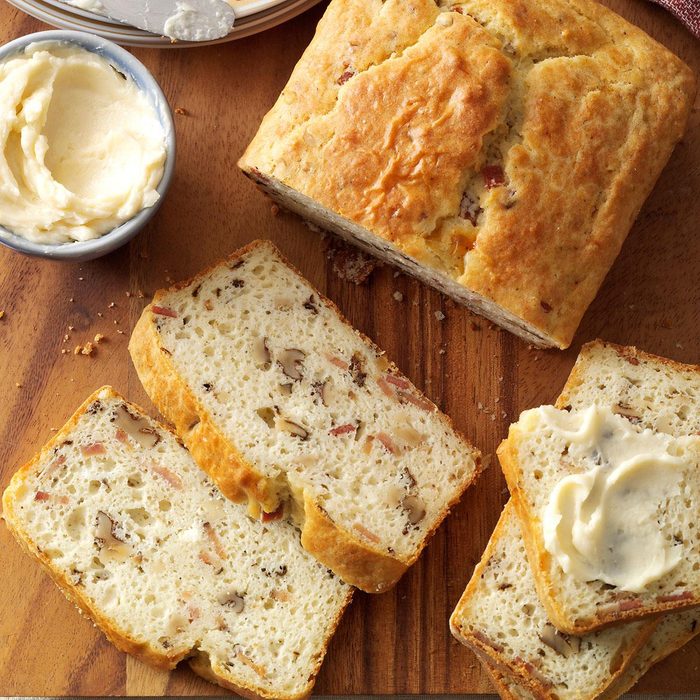
Bacon Walnut Bread with Honey ButterMy savory walnut bread filled with bacon bits and blue cheese dressing is complemented by the sweetness of honey-flavored butter. Cut yourself a thick slice, slather on the butter and enjoy!—Pam Ivbuls, Omaha, Nebraska
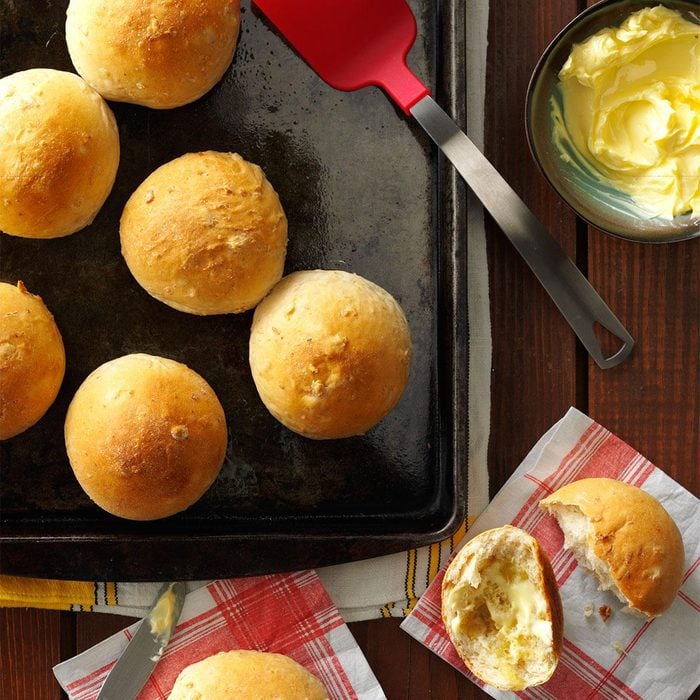
Oatmeal RollsMost people tell me what they like best about these rolls is they're so moist. I like them because they're simple to make, freeze well and because I grew up on oatmeal and still love it! —Jeanette Fuehring, Concordia, Missouri
Parmesan Zucchini BreadThis loaf has a rugged, textured look that adds to its old-fashioned appeal. The mild Parmesan flavor nicely complements the zucchini, which adds bits of green color to every tender slice. —Christine Wilson, Sellersville, Pennsylvania
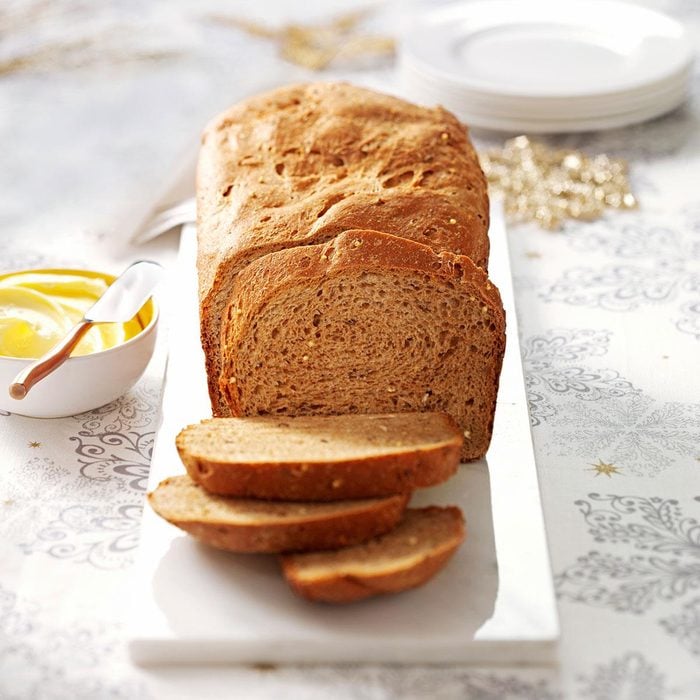
Seeded Whole Grain LoafMy husband and I want whole grain bread, but we don't like the spongy store-bought whole wheat breads. I drastically altered one of my favorite batter bread recipes to create this earthy bread. It is crunchy, chewy and easy. The add-ins are just suggestions. Sometimes I use pepitas, sesame seeds or even 1/4 cup of a multi-grain hot cereal mix. —Amber Rife, Columbus, Ohio
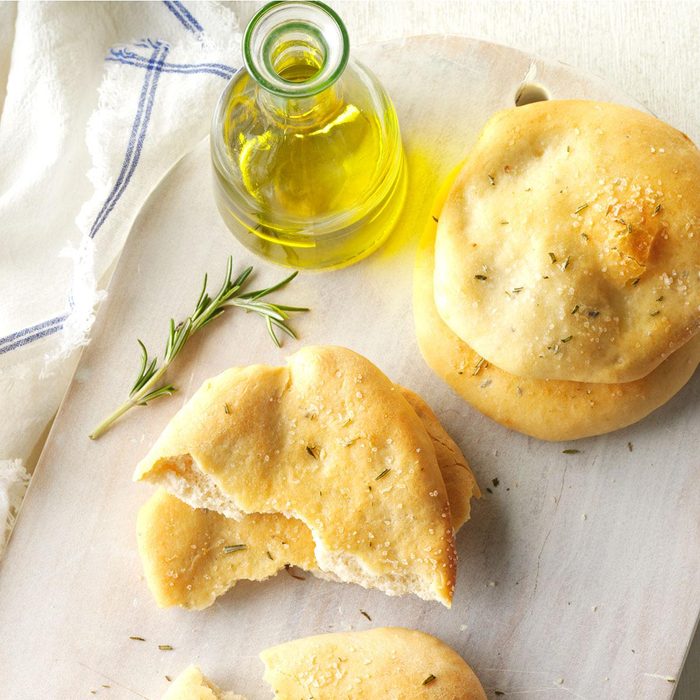
Rosemary FlatbreadsMy family loves this as a pizza crust. But with a touch of olive oil and fresh herbs it makes a lovely flatbread appetizer. —Sue Brown, West Bend, Wisconsin
Jalapeno Buttermilk CornbreadWhip up our spicy jalapeño cornbread with ease, blending the sweetness of fresh corn with the savory sharpness of cheddar and a spicy jalapeño kick for a delectably balanced treat.
Sour Cream Chive BreadThis savory loaf mildly flavored with chives is delicious when served warm with a meal, soup, salad or stew. It also tastes wonderful toasted the next day for breakfast. —Deborah Plank, West Salem, Ohio
Swirl Cinnamon BreadIf you like cinnamon, you’ll love this quick bread! It’s crusty on top, soft and moist inside. Make extra loaves for the holidays and give them to family and friends. —Taste of Home Test Kitchen


