


Most home bakers don’t give a second thought to whipping up a pan of fudgy brownies or a batch of classic cookies. But there’s one bake that often gives even seasoned bakers some pause: a homemade bread recipe.
Maybe it’s the yeast (it can be tricky!) or all the kneading and waiting that puts some off this bake. But don’t shy away from making bread! Once you master bread-making basics, it’s such a joy to bake—and who doesn’t love the smell of freshly baked bread?
What is yeast bread?
Simply put, yeasted breads use yeast. Pretty straightforward, right? When activated with warm water and a little sugar, yeast (a small organism) grows and expels carbon dioxide. This gas gives bread its light, fluffy consistency and the air holes you see when you slice open a loaf.
Yeast bread, unlike quick bread, also requires some kneading to help the dough come together and develop gluten. Gluten gives bread the right texture and helps it hold its shape. Even if you make gluten-free bread recipes, you’ll find that gluten-free breads that use yeast require similar techniques.
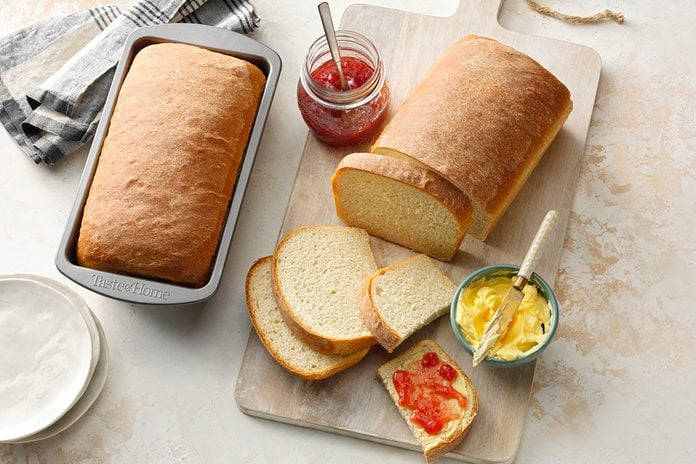
All you need to make yeasted bread at home are a few basic ingredients and some patience. We recommend starting with this simple bread recipe before moving on to more complex breads, like braided loaves.
Bread Ingredients
- Active dry yeast
- Warm water
- Sugar
- Salt
- Canola oil
- Bread flour
Directions
Step 1: Proof the yeast
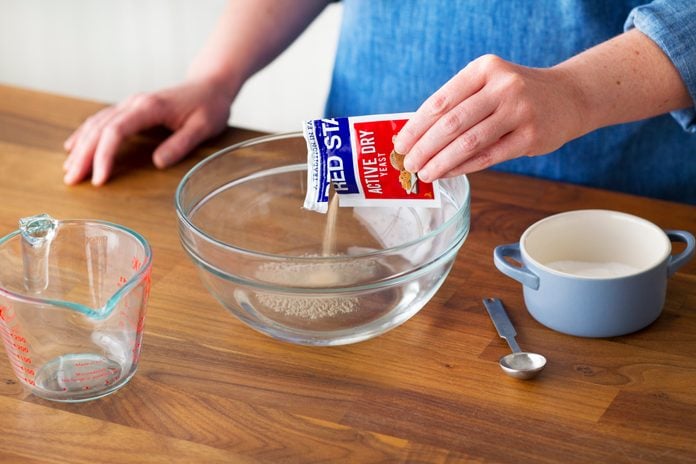
Proofing yeast is the first step to any yeast bread recipe. To do this, add the package of yeast to the warm water. Stir in a half-teaspoon of sugar. The warm water helps activate the yeast and the sugar feeds this microorganism. Let the mixture stand for about 5 minutes. When it looks a bit frothy, you know your yeast is ready for bread baking.
Editor’s Tip: Be sure that your water is the right temperature—aim for 105 to 110ºF. Any hotter and you’ll kill the yeast and have to begin again. This is where a quick-read thermometer comes in handy!
Step 2: Make the bread dough

Next, in the bowl of your stand mixer (or in a very large mixing bowl), whisk together the remaining sugar, salt and three cups of flour. Then add the canola oil and yeast mixture and beat until smooth. You can use the dough hook of your stand mixer or a wooden spoon and a lot of elbow grease. You can even use one of these fancy dough whisks to get the job done.
Once the dough is smooth, add in the remaining flour a half-cup at a time until you have a soft dough.
Editor’s Tip: This recipe calls for bread flour. You can find it in the baking aisle of any grocery store. Bread flour has a bit more gluten in it than traditional all-purpose flour, which makes it ideal for this type of baking. But if you don’t have any on hand, you can easily sub in all-purpose flour.
Step 3: Knead
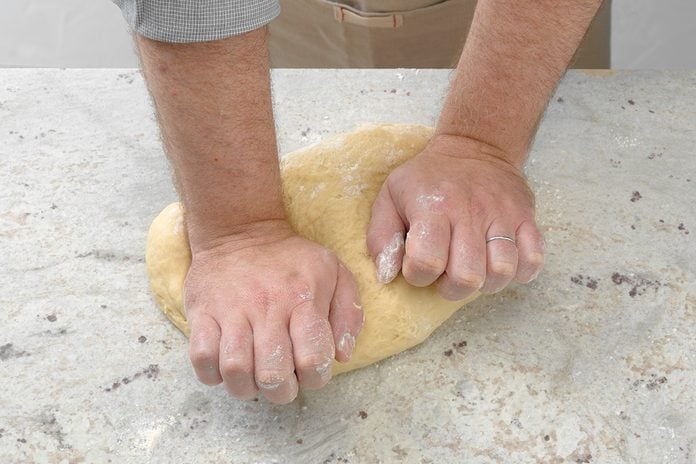
Remove the dough from your mixing bowl and place it on a lightly floured surface like a countertop or table. Make sure you have plenty of room to work.
Now roll up your sleeves because it’s time to knead! Start by folding the top of the dough toward you. With your palms, push with a rolling motion away from you. Turn the dough a quarter turn and repeat, folding, pushing and turning until the bread dough is smooth and elastic. If you find the dough is really sticky, add a bit more flour to your surface as needed.
Kneading a batch of dough should take about 5 to 10 minutes. You’ll know your bread dough is properly kneaded when you can stretch a bit of dough between your fingers and get it thin enough to see through it without it breaking—that’s the windowpane test and it means enough gluten has developed in the dough. If the dough tears, keep going.
Editor’s Tip: When kneading by hand, you don’t need to worry about over-kneading your dough. You will tire yourself out long before you overwork it.
Step 4: Let the dough rise
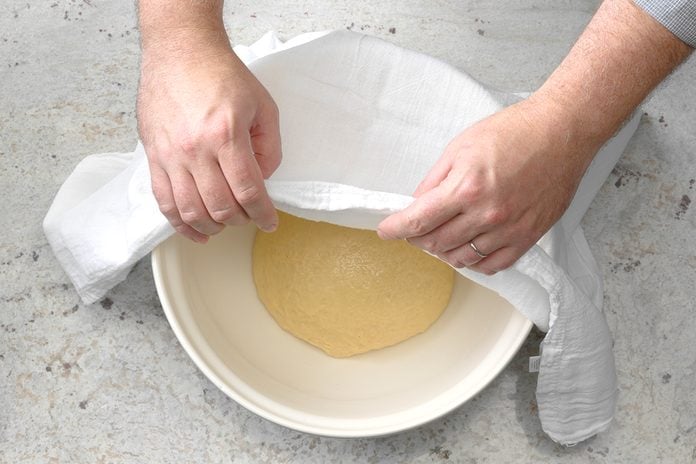
After kneading, it’s time to let the dough rest while the yeast does its thing. To proof bread dough, grease your container with a bit of oil or cooking spray and cover the dough with a damp cloth. Let it sit in a warm (at least 70º) environment until the dough doubles in size.
It should take about 90 minutes for this recipe, but the timing can vary depending on factors including the temperature of the room. If your home is on the cooler side, check if your oven has a proofing setting (many newer models do) or follow our tips for proofing bread dough in the cold.
Editor’s Tip: Knowing when the bread has doubled in size can be tough for new bakers. It may help to take a photo of your dough at the start of the process. Or use a handy proofing container: The geometric shape makes it easy to mark where your bread starts (use a dry-erase marker or sticky note) so you can see exactly how much it has grown.
Step 5: Punch down and shape
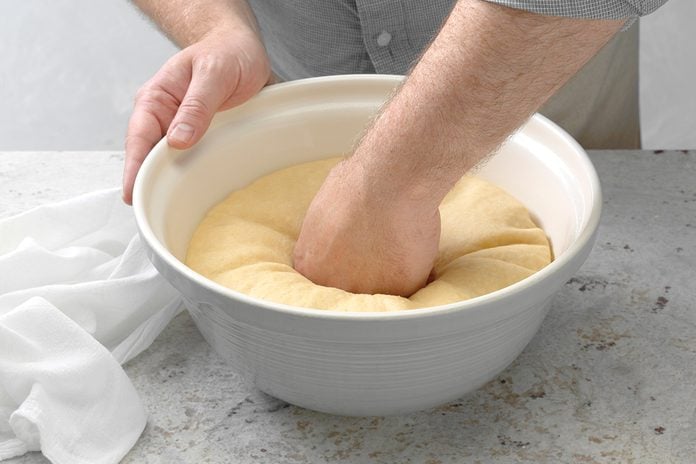
Once the dough has doubled in size, give it a quick check with your fingertips. When you poke the dough, it should slowly spring back. If the dough still feels firm, it needs a bit more time to rise.
Next, it’s time to punch down. That means taking your fist and pressing it into your bread dough to release some of the air.
Then remove the dough from its proofing container and divide it in half. You can eyeball this if you like, or use a scale to get the proportions exact.
After dividing the dough, shape each portion into a loaf. Then place each loaf into a greased loaf pan.
Step 6: Proof again
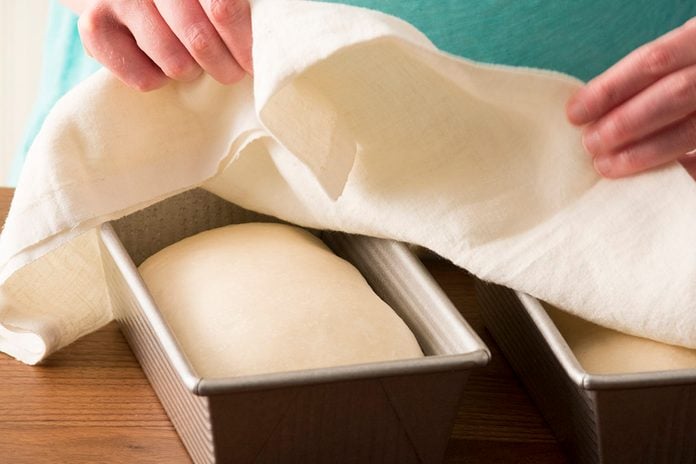
Once shaped and in the pan, it’s time to proof the bread for a second time. Just like last time, cover the dough with a towel and place in a warm, humid part of your kitchen. Let the bread proof and grow for about another 60 to 90 minutes until it fills the pans.
Step 7: Bake
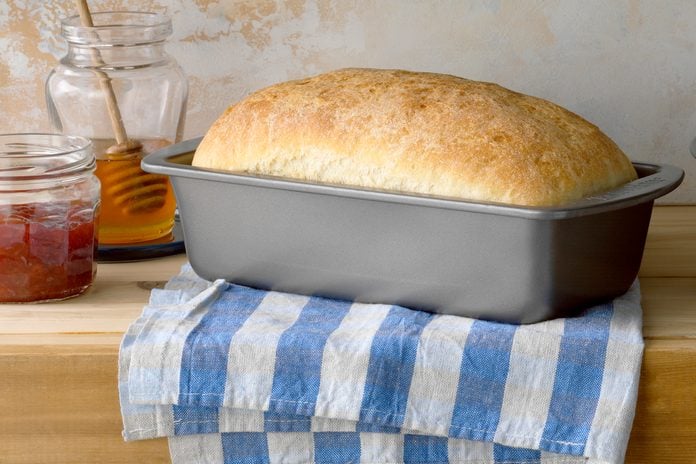
Finally, it’s time to bake! Pop the loaves into a 375º oven and bake for 30 to 35 minutes. The loaves should be golden brown. If you want to be sure they’re baked through, use your thermometer to check the internal temperature of the bread. You’re looking for about 185º.
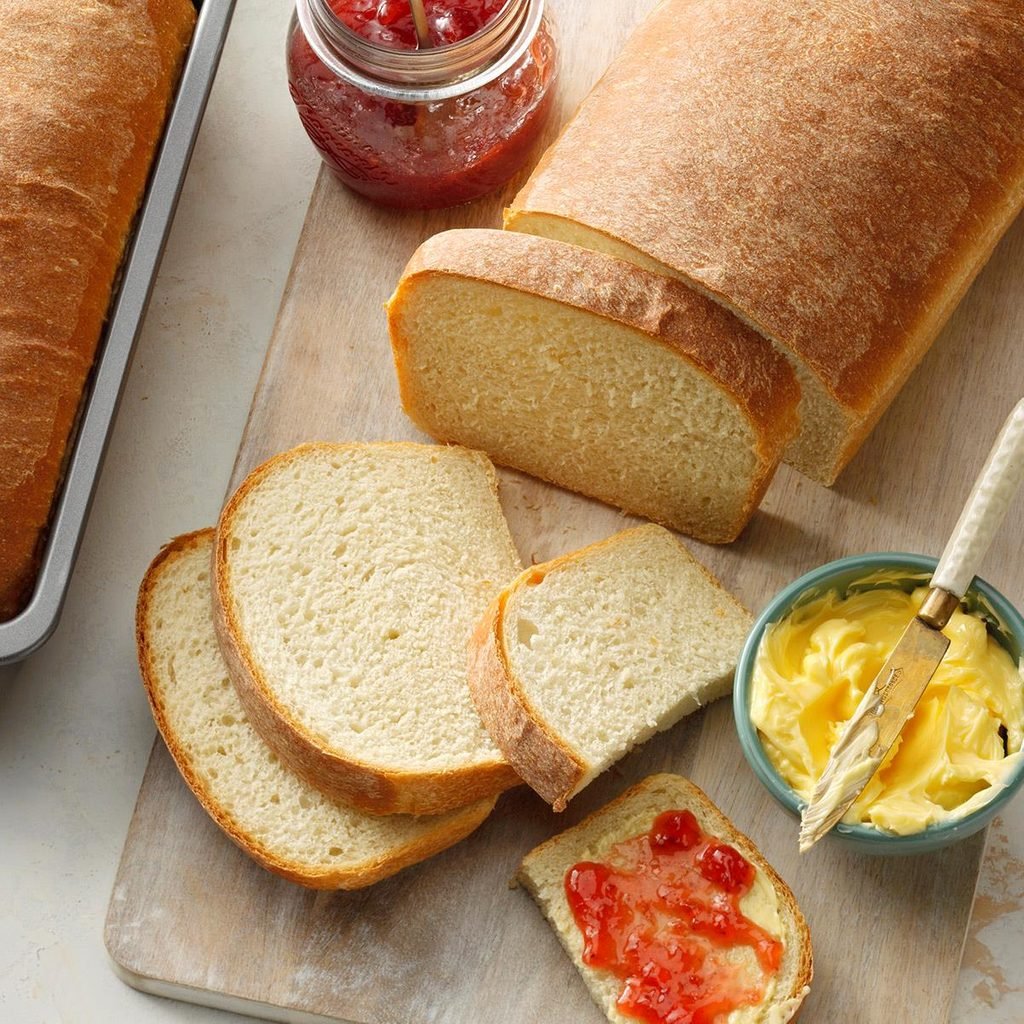
Once baked, remove from the oven and let the pans cool on a wire rack. After 10 minutes, you can remove the bread from the pan and let the loaves cool completely.
How to Store Homemade Bread
The smell of homemade bread is so tempting, we wouldn’t be surprised if you ate up a whole loaf in a day or two. However, if you need to store it, the best way to store fresh bread is by keeping it in a zip-top bag at room temperature (don’t put it in the fridge!).
How to Freeze Homemade Bread
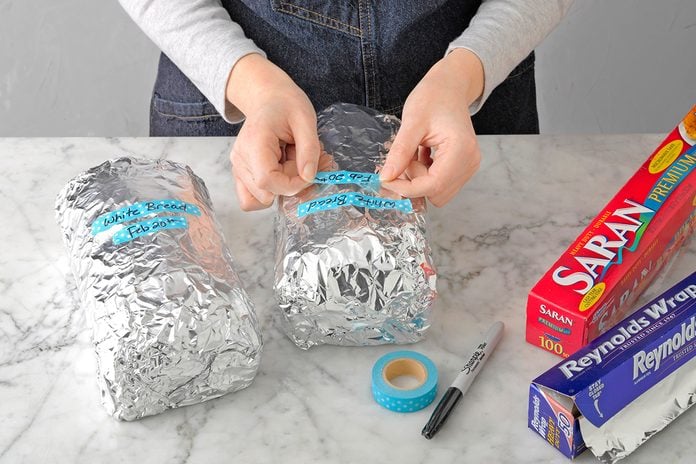
If you want to keep your bread for longer, you can freeze it. Wrap the bread in plastic wrap and then in a layer of foil. This will provide extra protection from any freezer burn and prevent the loaf from drying out. Label the bread with when it was baked and try to eat it within six months of that date.
Bread Tips
How do you use yeast?
Yeast can be tricky at first, but once you learn how to proof yeast, you should be all set. The trick is to make sure the water is not too hot. Don’t go higher than about 110 degrees.
How do you knead bread?
Kneading bread is simple. Flour your worktop, then push, pull and stretch the dough until it’s nice and smooth. When it’s properly kneaded, the dough should be stretchy and smooth.
How do you proof bread?
Proofing bread allows the yeast to do its work to help the dough grow. To proof bread, place the bread in a greased bowl and let rest in a warm, humid environment until it doubles in size.
