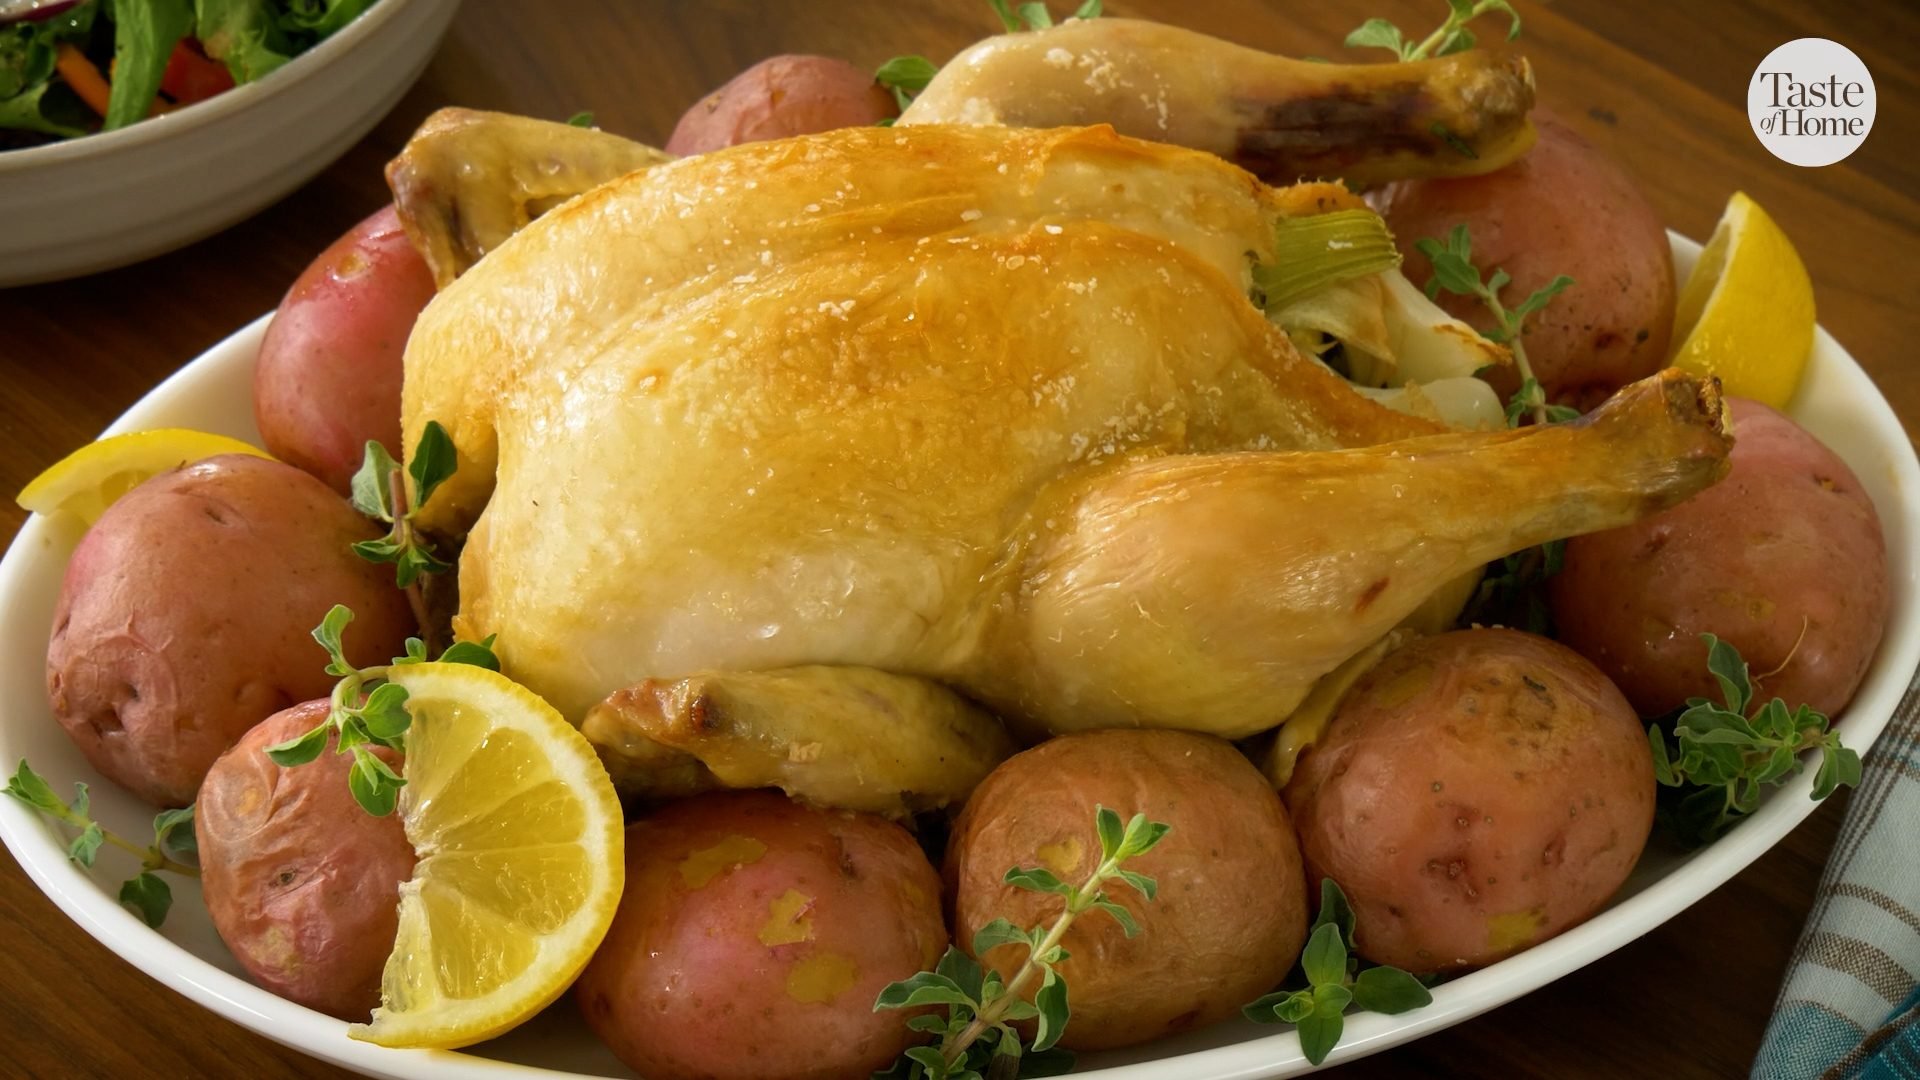
Chicken and Dumplings
Perfect for chilly winter nights, this main course is speedy, low in fat and a delicious one-dish meal. —Nancy Tuck, Elk Falls, Kansas
Go to Recipe
Stovetop Cheeseburger PastaCheeseburgers are delicious in any form, but I'm partial to this creamy pasta dish that seriously tastes just like the real thing. It's weeknight comfort in a bowl. —Tracy Avis, Peterborough, Ontario
Start your meal with one of these tasty
Dutch oven appetizers.
Green Beans with Creamy Pistachio SauceI was asked to bring vegetables for a party and wasn’t feeling inspired until I remembered Mom served green beans with butter and evaporated milk. I love pistachios, so I added those instead of almonds. Everybody wanted the recipe, and I was really pleased—very little work and lots of happy family and friends! —Loretta Ouellette, Pompano Beach, Florida
Find 100 more
Dutch oven recipes to love.
Mediterranean Pork and OrzoOn a really busy day, this meal in a bowl is one of my top picks. It's quick to put together, leaving a lot more time to relax at the table. —Mary Relyea, Canastota, New York
End your meal on a sweet note. These
Dutch oven dessert recipes are perfection.
Fire-Roasted Ziti with SausageWe punch up our pasta with smoked sausage and fire-roasted tomato sauce. It's an easy recipe to switch up—use whatever noodles and spaghetti sauce are in your pantry. —Jean Komlos, Plymouth, Michigan
Caribbean Potato SoupMy bright and hearty soup features an unusual blend of ingredients, including okra, kale and black-eyed peas. No kale on hand? Use spinach instead. —Crystal Jo Bruns, Iliff, Colorado
Zucchini in Dill Cream SauceMy husband and I were dairy farmers until we retired, so I always use fresh, real dairy products in my recipes. This creamy sauce combines all our favorite foods! —Josephine Vanden Heuvel, Hart, Michigan
Still hungry? Find more
Dutch oven side dishes.
Elegant Seafood BisqueCreamy bisque is elegant enough for sit-down dinners yet hearty enough for casual gatherings.—Mike Payne, Hixson, Tennessee
Hearty Vegetable Beef RaguThis recipe is healthy yet satisfying, quick yet delicious. It's on the table in less than 30 minutes, and it's something that my children will gobble up! If you are not fond of kale, stir in baby spinach or chopped broccoli instead. —Kim Van Dunk, Caldwell, New Jersey
Brussels Sprouts & Kale SauteIn an effort to add more greens to our meals, I created this dish—and my kids eat it up. The crispy salami is the "hook." —Jennifer Mcnabb, Brentwood, Tennessee
Hearty Vegetarian ChiliRich and flavorful, this chili is absolutely packed with fun veggies like mushrooms, beans and sun-dried tomatoes. It's so filling, you'll win over any meat lover. —Pam Ivbuls, Omaha, Nebraska
Weeknight Pasta SquigglesThis zesty pasta dish is ideal for busy weeknights. It contains just a few ingredients, is easy to prep, and tastes so comforting when the weather turns cool. A salad on the side makes this
healthy pasta recipe a meal. —Stacey Brown, Spring, Texas
Creamy Beef & PotatoesOne of my husband's favorite childhood memories was eating his Grandma Barney's Tater Tot Casserole. One day I prepared it using potatoes O'Brien instead. Now I always make it this way. — Heather Matthews, Keller, Texas
Chickpea Tortilla SoupThis vegan tortilla soup recipe is healthy, filling and family-friendly! We love how hearty and flavorful it is. We like to play around with the different toppings we add each time it's served. —Julie Peterson, Crofton, Maryland
Creamy Noodle CasseroleMy husband, Ronald, works long hours and frequently doesn't arrive home until past 7 p.m. This casserole is ideal for those late nights—it's just as tasty after it's been warmed in the microwave. —Barb Marshall, Pickerington, Ohio
Buffalo Sloppy JoesLean ground turkey makes this a lighter sloppy joe than the standard ground beef version. A hefty splash of hot sauce and optional blue cheese provide an authentic Buffalo-style flavor. —Maria Regakis, Saugus, Massachusetts
Makeover Creamed CornThis healthy creamed corn has all the rich feel and flavor of the original, but only about half the calories and about a third of the saturated fat. —Trisha Kruse, Eagle, Idaho
One-Pot Stuffed Pepper DinnerThick like chili and with plenty of stuffed pepper flavor, this dish will
warm you up on chilly days. —Charlotte Smith, McDonald, Pennsylvania
Cheese Chicken SoupKids won’t think twice about eating their vegetables after tasting this cheesy soup. —LaVonne Lundgren, Sioux City, Iowa
Hearty Sausage MinestroneAs a teacher, I appreciate quick and easy recipes. If I make this for just my husband and me, we have leftovers for lunches. But when there are more people at the table, every bit is eaten. —Tami Stoudt, Evans, Colorado
Orzo Shrimp StewMy husband and I really enjoy seafood, so I don’t skimp on shrimp in this mildly seasoned stew. We also adore the broccoli, tomatoes and pasta. —Lisa Stinger, Hamilton, New Jersey
Apple Barbecue ChickenMy husband and I had just moved to Dallas when I first made this recipe. Everything was new—new city, new home—but this dish felt familiar and comforting. —Darla Andrews, Schertz, Texas
Turkey & Noodle Tomato SoupTurn V8 juice, veggies and ramen noodles into a wonderful soup that takes just a few minutes to make. I like to serve it with biscuits. —Jennifer Bridges, Los Angeles, California
Black-Eyed Peas with Collard GreensTime to gather round the table, y'all! This dish has special meaning on New Year's Day, when Southerners eat greens for future wealth and black-eyed peas for prosperity. —Athena Russell, Greenville, South Carolina
Turkey Linguine with Tomato Cream SauceI love an easy weeknight meal! This meal comes together quickly and uses up the half block of cream cheese that always ends up in my fridge. —Amy Lents, Grand Forks, North Dakota
Minestrone with TurkeyI remember my mom making this soup; now I make it for my kids as often as I can. It's a good way to use up leftover vegetables. Sometimes I add a can of rinsed and drained kidney or garbanzo beans. —Angela Goodman, Kaneohe, Hawaii
Beef Noodle SoupThis delicious soup only takes minutes—but tastes as if it simmers all day! —Margery Bryan, Moses Lake, Washington
Pork Noodle SoupMy daughter created this soup when she needed to use up some leftover pork. You can use more water for a thinner soup or less water for a noodle dish. It’s good with mushroom flavored ramen noodles, too. —Eleanor Niska, Twin Falls, Idaho
Tangy Barbecued Beef SandwichesEvery year for our church ice cream social, we'd fill six roaster ovens with these ingredients and let them simmer all day. Boy, did that barbecue smell good. If you want a meal that's ready to eat in 30 minutes, but can keep on the stove for late arrivals, this is the one. —Janet Sipes, Monmouth, Illinois
Chili Beef PastaRight after I got married, an aunt gave me her recipe for skillet spaghetti and told me it was ideal for a quick weeknight meal. Over the years I’ve tinkered with the ingredients and played with the seasonings to make it a healthier dish that my family truly loves. —Kristen Killian, Depew, New York
Hearty Italian White Bean SoupA bowlful of this soup is so satisfying, it's hard to believe it's actually good for you, too. I crave it all the time. With lots of beans and potatoes, it's filling and even hits the spot with meat lovers. —Kristina Krummel, Elkins, Arkansas
Shrimp Pasta AlfredoMy son loves any recipe with Alfredo sauce. As a bachelor, shrimp pasta was one of the first recipes he learned to prepare. Now his children ask for it regularly. Gail Lucas, Olive Branch, Mississippi
Weeknight Taco SoupThis soup turned out delicious on the first try, when I was working without a recipe. You could also add cooked ground beef or cubed stew meat dredged in seasoned flour and browned for a heartier meal. —Amanda Swartz, Goderich, Ontario
Spicy Chicken StewWhen you're craving cozy Mexican flavors, try this spicy chicken and chickpea stew. It couldn't be easier to make—just round out the meal with a fresh tossed salad. —Taste of Home Test Kitchen
Herbed Artichoke Cheese TortelliniThis flavor-packed meatless recipe features tomatoes, black olives and artichoke hearts tossed with tender cheese tortellini. —Karen Anzelc, Peoria, Arizona
Simple Taco SoupWe first sampled this chili-like taco soup recipe at a church dinner. What a warming dish for a cold day. And because it uses packaged seasonings with several cans of vegetables, it's a snap to prepare. —Glenda Taylor, Sand Springs, Oklahoma
Cauliflower SoupThis cheesy recipe is way tastier than any other cauliflower soup I've tried! We like it with hot pepper sauce for a little extra kick. —Debbie Ohlhausen, Chilliwack, British Columbia
Pear & Turkey Sausage RigatoniThe sweet pear, salty sausage and creamy blue cheese are a wonderful combination in this dish. It tastes just like something you'd get at a great restaurant. —Debby Harden, Williamston, Michigan