How to Cut Dessert Bars the Right Way
Updated: Oct. 17, 2023
Make sure your desserts always look their best by learning how to cut brownies and dessert bars three ways.
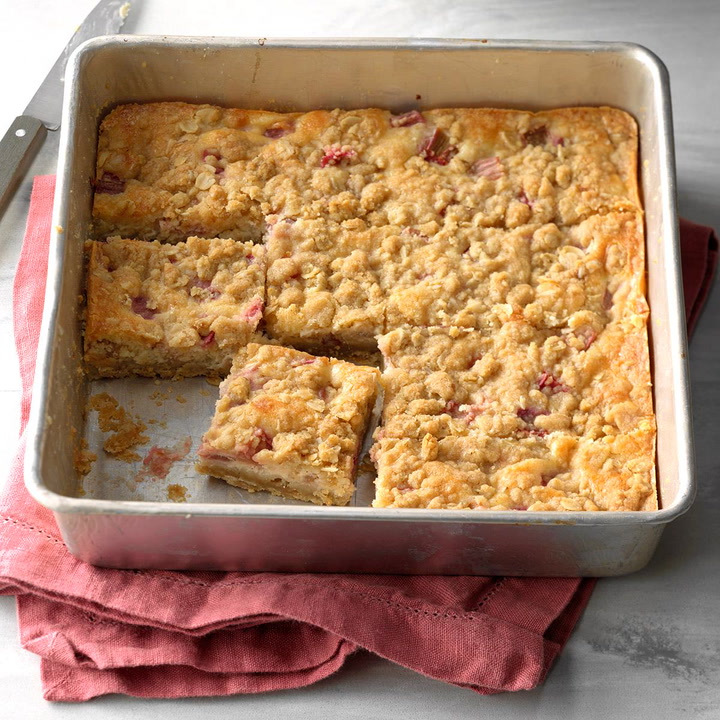
Whether it’s for a holiday dinner, potluck or bake sale, dessert bars are a crowd-pleasing dessert option for nearly every occasion. You can go classic with fudge brownies and snickerdoodle bars, or dazzle taste buds with blueberry lattice bars and pistachio-cherry s’more bars. Either way, these convenient treats can be packed up right in their baking pan and brought to the festivities without risking total transport disaster.
But as easy as this on-the-go confection is, dessert bars aren’t always the prettiest treat on the dessert table. (Especially when one of these gorgeous cakes are on the table!) Luckily, Taste of Home’s Test Kitchen experts have the answer: perfectly sliced dessert bars. It might not seem the most exciting, but clean-cut bars look professional and will ensure every slice is as even as the next.
Keep reading to learn our Test Kitchen’s preferred cutting methods and more must-have baking tips.
Psst: Here’s how to fix the most common baking problems.
Before You Bake
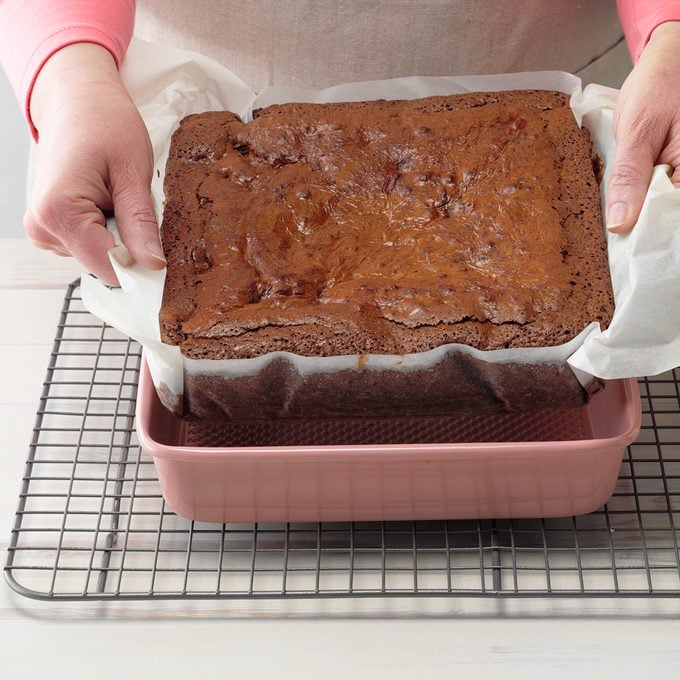
Prevent your dessert bars from sticking to their pan by properly preparing and greasing the pan. First, line your baking pan with two layers of parchment paper. For your first layer, you’ll want the parchment paper to reach up the sides of the pan, so cut the paper a little long. Then, layer the parchment paper with one piece going lengthwise along the pan and the other going widthwise.
Next, grease the parchment paper with shortening, butter or cooking spray. While this might feel frivolous given the parchment paper, trust us when we say it will help ensure not a crumb of your dessert bars will get left behind.
Once the pan has been prepped, fill it with your dessert bar batter and bake as directed. Here are some of our absolute favorite dessert bar recipes for inspiration.
Our Secret Weapon for Cutting Bars
Rather than a standard kitchen knife Taste of Home’s Test Kitchen turns to a bench scraper to cut dessert bars. If you’re unfamiliar, a bench scraper is a super-tool made of thin metal that can be used to divide doughs, chop veg, cut pasta and scrape bits and pieces off your counters and pans.
This tool is especially helpful when cutting dessert bars as the long edge of the scraper gives you more control over your cuts than a knife would. Plus, a scraper gives you control to use an up/down cutting motion, rather than the dragging of a knife, meaning your edges won’t be full of crumbs and loose chunks.
The Test Kitchen’s go-to brand is Norpro, whose stainless steel scraper comes with measurements right on the side so you measure each piece out before you cut.
Want to cook just like our Test Kitchen? Check out all of our experts’ favorite kitchen tools here.
Method 1 for Slicing Bars: Squares

After your bars have cooled completely, lift the bake from the pan using the parchment paper and place them on a cutting board.
For an 8×8 pan:
- Using your bench scraper, measure out to the middle of the full-sized piece and cut down.
- Measure the halfway point between the middle cut and the edge. Cut straight down, and then repeat on the other side of the middle cut. Now you should have four columns of bars that are each 2-inches wide.
- Turn the dessert and repeat your cuts until you have 16 two-inch squares.
For a 13×9 pan:
- Start on the shorter side facing toward you. Measure to the middle point and cut away from you.
- Find the halfway point between the edge and the middle cut, and cut all the way down. Repeat on the other side of the middle cut. Now you’ll have four columns that are 2 ¼ -inches wide.
- Turn the pan longways. Measure to the middle of the full-sized piece and cut through the columns. From the edge, measure out 2 1/10-inches using the bench scraper, make a mark, then measure and mark another 2 1/10-inches. Cut down from the two marks.
- Repeat on the other side of the middle cut. Now you’ll have 21 2¼ x2 1/10-inch square bars.
Editor’s note: When you’re cutting with a bench scraper, be sure to cut by pressing the scraper straight down and pulling it straight out, rather than sawing. This will keep your cuts straight and even.
Method 2: Wedges

Always allow the bars to cool completely, then remove them from the pan using the parchment paper. This is just like cutting squares, except you’ll be slicing every square in half to make triangle-shaped wedges.
For an 8×8 pan
- Cut larger squares than you would for the standard square cut. They can be 4 inches by 4 inches here.
- Then take your bench scraper and cut corner to corner so you have triangular wedges.
For a 13×9 pan
- Cut three long rows into your bars (that’s three 3-inch rows).
- Then cut across the other way to form rectangles—they should be between 3 and 4 inches across
- Cut each rectangle in half diagonally with the bench scraper or a sharp knife.
Method 3: Long Rectangles

Again, allow your bars to cool completely, then remove them from the pan using the parchment paper lining.
For an 8×8 Pan:
- On one side, make three marks that are 2-inches apart and cut down. Turn the bars and make one mark in the middle, 4-inches from the edge, and cut down. You’ll have eight 2×4-inch rectangles.
For a 13×9 Pan:
- On the long side of the pan, make a mark and cut down every 2 1/10-inches, so you have 6 columns. Turn the pan to its shorter side and make one cut down the middle, 4 ½-inches from the edge. You’ll end up with 12 2 1/10×4 ½-inch rectangles.
Now that your dessert bars are perfectly cut, pack them back up in their pan or on a decorative platter and get ready to impress your friends and family.