How to Make Ice Cream Cake That’s Better Than Dairy Queen

Updated: Jan. 31, 2024
You don't have to be a baker to make this ice cream cake for your next celebration!
In the summer months, sometimes a traditional cake, no matter how moist and fluffy, can feel too heavy for dessert in hot weather. The solution? Learning how to make ice cream cake. The cool, layered desserts look like a cake and cut like a cake, but taste like the ice cream dessert of your dreams.
You have likely indulged in a piece or two of Dairy Queen‘s famous ice cream cake over the years. The cakes are still available and loved by DQ fans today—but believe it or not, you can DIY a better ice cream cake at home.
How to Make Ice Cream Cake
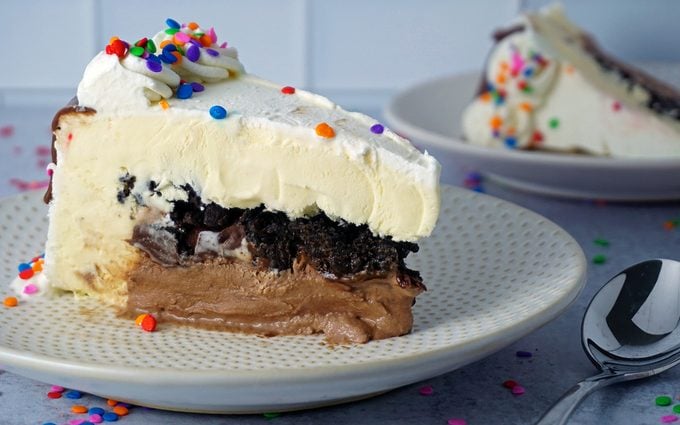
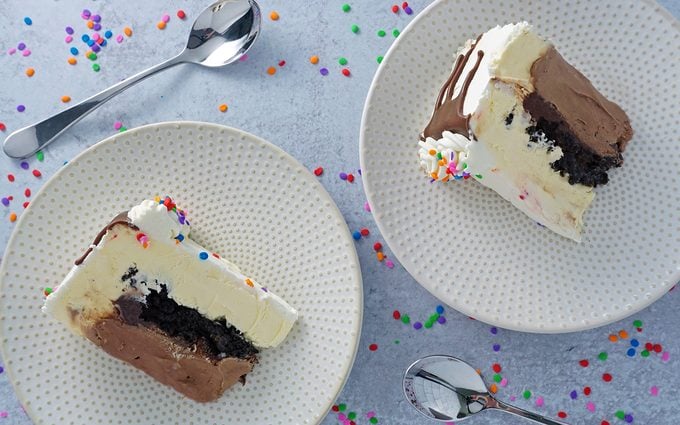
The recipe we’re sharing today is inspired by the DQ classic—made with chocolate and vanilla ice cream, chocolate ganache and a thick layer of chocolate cookie crumbles. Here’s what you need:
Chocolate Cookie Crunch
- 1 cup Oreo crumbs (about 12 Oreos)
- 2 tablespoons unsalted butter, melted
- 3 tablespoons Magic Shell chocolate sauce
Chocolate Ganache Filling
- 1 cup semisweet chocolate chips
- 3 tablespoons light corn syrup
- 1/2 teaspoon vanilla extract
- 1/2 cup heavy whipping cream
Ice Cream Layers
- 1-1/2-quarts vanilla ice cream (Here’s the brand our Test Kitchen recommends.)
- 1-1/2-quarts chocolate ice cream
Whipped Cream
- 1 cup heavy whipping cream, cold
- 1/2 cup powdered sugar
- 1 teaspoon vanilla extract
Editor’s tip: You can purchase Magic Shell at the grocery store, or make your own at home.
Tools You’ll Need

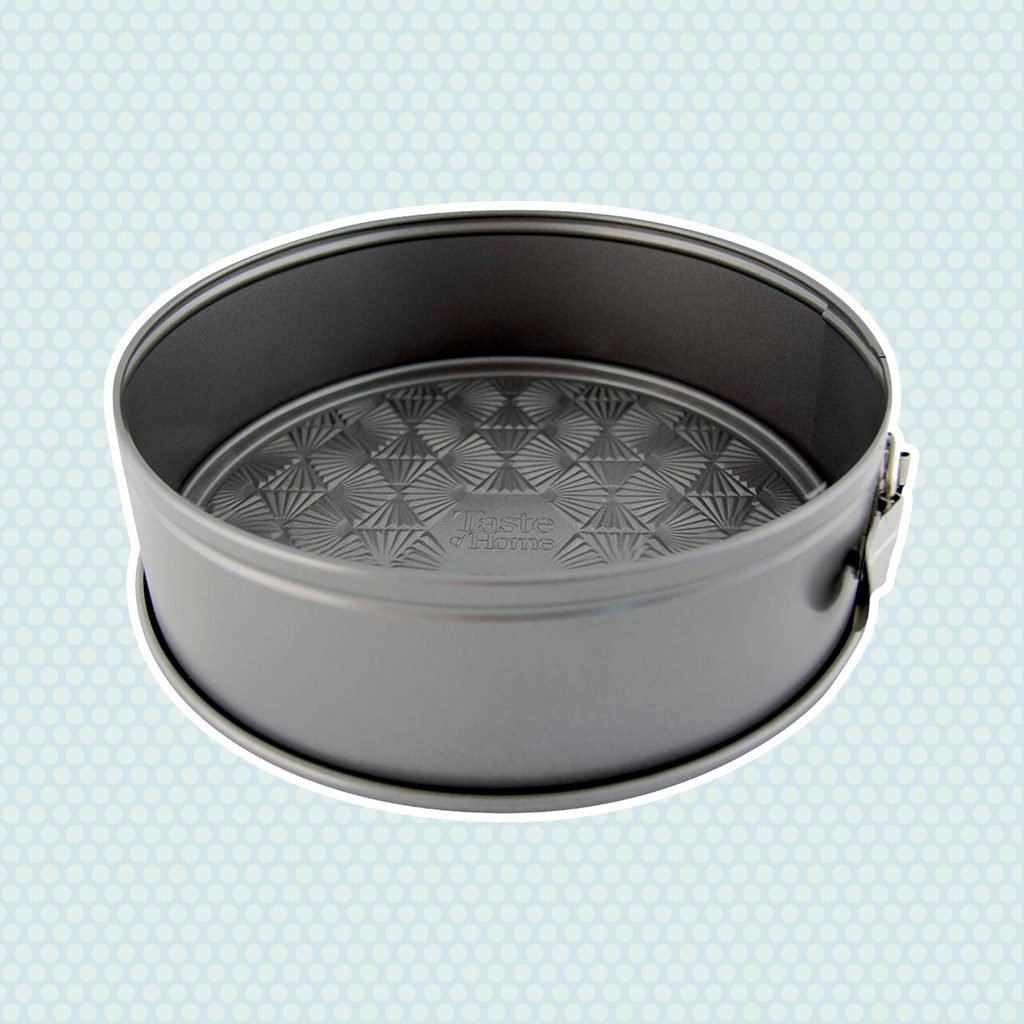
- Use a springform pan when making an ice cream cake. It makes shaping and decorating the ice cream cake a breeze thanks to the straight sides and removable outer ring. (We used a 9-inch springform pan for this recipe.)
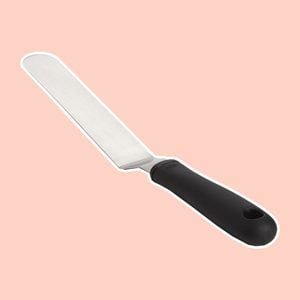
- An offset spatula is a must-have! It’s super helpful for smoothing and leveling the ice cream layers and then again for smoothing the icing onto the cake while decorating.
- This simple cake carrier with a lid makes transferring the ice cream cake in and out of the freezer so much easier. It not only protects your cake from getting bumped by other items in your freezer, but provides a level surface for your cake to rest on.
Psst! Here are some other ice cream products and tools you should check out.
Step 1: Prepare the Cake Pan
Place a nine-inch springform pan into your freezer to chill. This will help prevent the ice cream from melting as you assemble the cake.
Step 2: Make the Chocolate Cookie Crunch
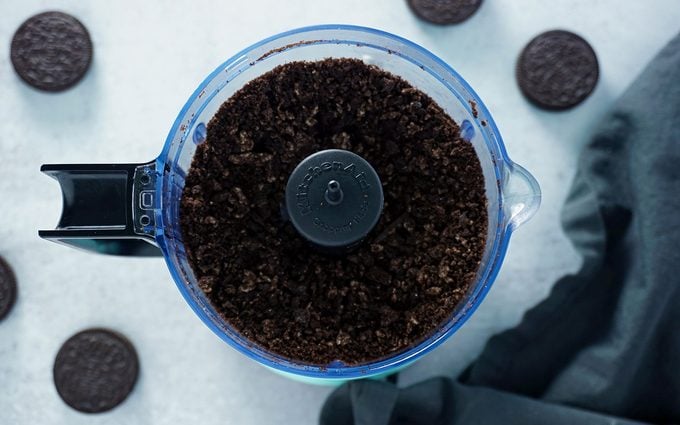
Preheat oven to 350°. While it heats, pulse the Oreo cookies several times in a food processor. Add the melted butter and then pulse for a few more seconds until rough cookie crumbs remain. Dump the cookie crumbs out onto a parchment-lined baking sheet and spread out evenly into a single layer. Bake for about 10 minutes then remove and let cool completely.
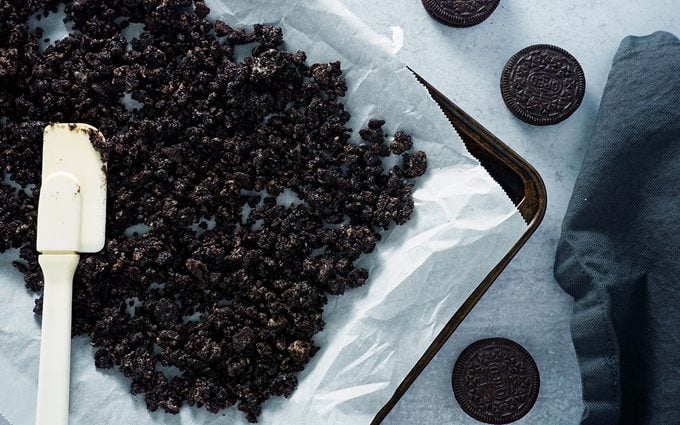
Once cool, in a medium mixing bowl, combine the cooled cookie crumbs with the chocolate Magic Shell. Stir to coat the crumbs evenly and then spread back onto the parchment-lined baking sheet in a thin layer. Freeze for 30 minutes and then crumble into small, coarse pieces. Keep refrigerated until ready to use.
Editor’s tip: Baking the Oreo crumbs helps make them extra dry and crisp so that they don’t become soggy from the moisture of the ice cream. It’s an extra step that’s well worth the effort.
Step 3: Make the Ganache
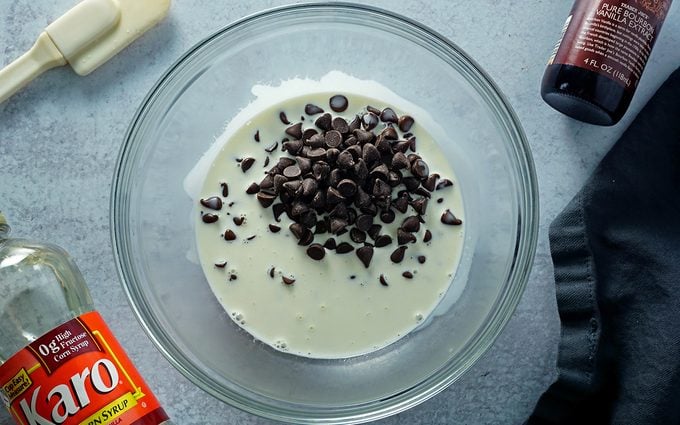
In a small saucepan, bring the heavy cream to a strong simmer. Remove from heat and then pour over the semisweet chocolate chips in a medium glass bowl. Stir the heavy cream and chocolate until its completely smooth.
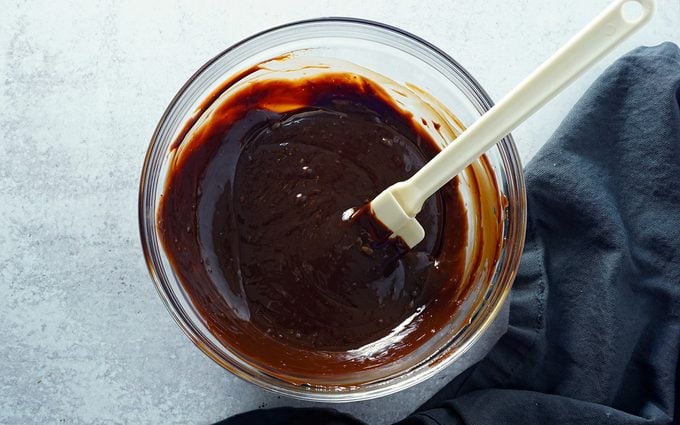
Add the corn syrup and vanilla extract to the chocolate-cream mixture and stir until glossy and fully incorporated. Set aside the ganache and let cool completely. For more info, this guide explains how to make ganache.
Step 4: Form an Ice Cream Barrier
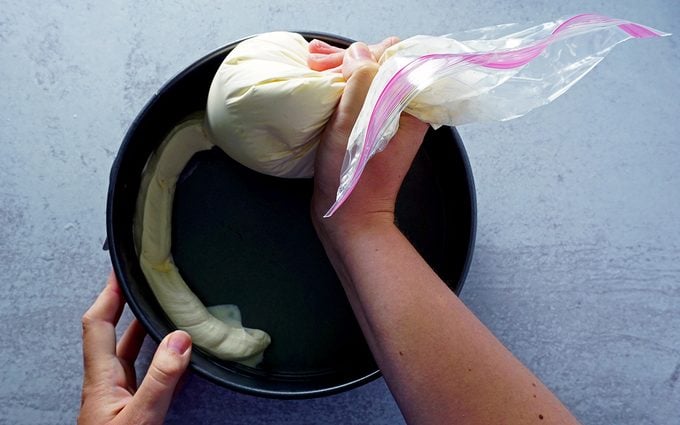
While the ganache cools, remove the vanilla ice cream from the freezer and let soften for 15-20 minutes on the counter. When the ice cream has softened, spoon about half of the vanilla ice cream into a gallon-size freezer bag. (Return extra vanilla ice cream to the freezer.) Snip the corner of the bag to create a half-inch round opening. Begin to pipe the vanilla ice cream around the inside edge of the springform pan, working your way almost to the top of the pan.
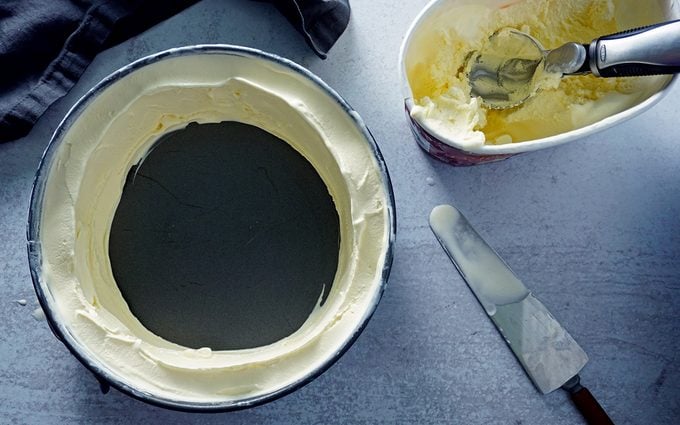
Once the ice cream has been piped to the top of the pan, use an offset spatula to smooth the edges of the ice cream. You want to create a thin, smooth wall of vanilla ice cream around the edge of the pan leaving a hollow center to add the remaining ice cream, fudge and cookie crumbles. Freeze for 20-30 minutes until firm.
Editor’s tip: If you don’t have a means of piping the ice cream, you can also simply use an offset spatula to scoop and mold the ice cream around the inside edge of the springform pan. It’s a bit messier but still works.
Step 5: Create the Bottom Ice Cream Layer
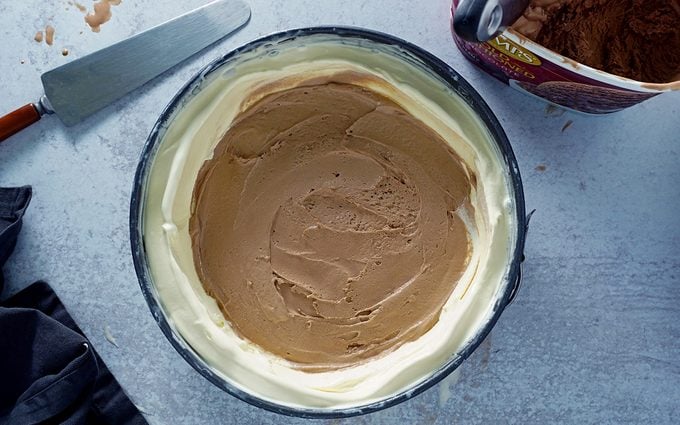
Remove the chocolate ice cream from the freezer and let soften for 15-20 minutes. Once the vanilla ice cream “wall” has firmed up in the pan, spoon the chocolate ice cream into the center of the cake pan lined with vanilla ice cream. Smooth and level the chocolate ice cream with an offset spatula.
Step 6: Add Fudge and Cookie Crumble
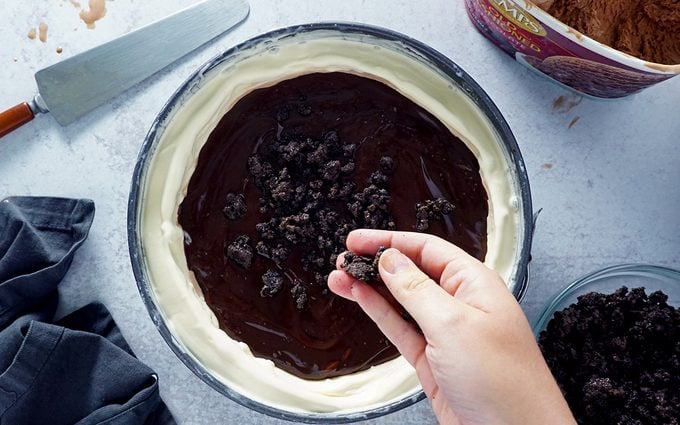
Next, pour a generous layer of the chocolate ganache over the chocolate ice cream layer. Smooth with an offset spatula before sprinkling the ganache with the chilled cookie crumbles. Gently smooth out the crumbles to form an even layer. Freeze the chocolate ice cream, fudge and cookie crumble layers for 20-30 minutes until firm.
Step 7: Top It Off with More Ice Cream
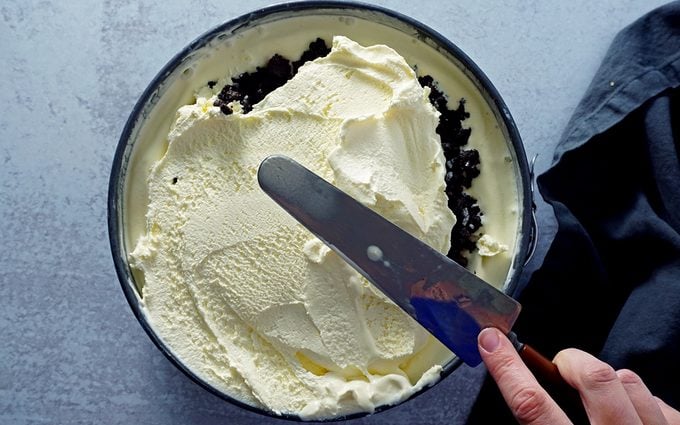
While the previous layers firm up in the freezer, remove the vanilla ice cream again and let it soften on the counter. Once the chocolate layers have firmed up, spoon the remaining softened vanilla ice cream over the other layers. Use the offset spatula to smooth the vanilla ice cream evenly over the other layers. The vanilla layer should come to the very top of the springform pan.
Once that’s done, freeze the cake for at least four hourse, though overnight is best.
Editor’s tip: Reserve 1/4 cup of vanilla ice cream to use after freezing your cake. You can use the leftover vanilla to fill and smooth out any thin patches or spots that get damaged after removing the outside ring of your springform pan.
Step 8: Make Whipped Cream Icing
While the cake freezes, prepare the whipped cream icing. Whip the heavy cream until soft peaks begin to form. Then add the powdered sugar and vanilla. Continue to whip until strong peaks form. Keep refrigerated until ready to decorate the cake.
Step 9: Remove the Outer Ring
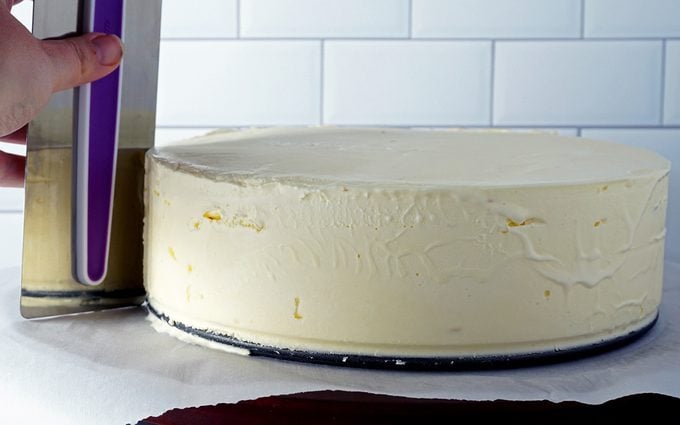
Remove the ice cream cake from the freezer and use a clean dishcloth soaked in hot water to defrost and loosen the ice cream from the sides of the springform pan. As you swipe the hot, damp rag over the outside of the springform pan, you should see the ice cream start to pull away from the sides of the pan.
Carefully remove the outside ring of the pan. If the outer ring doesn’t remove easily, continue to warm the pan with the cloth until it lifts easily and cleanly off the cake. Next, use an icing smoother to clean up any imperfections on the sides of the cake. Return the cake to the freezer for 20 minutes to firm up the outside edges before applying the icing.
Editor’s tip: If you have a lazy Susan, using one to spin the cake as you smooth the sides can help create a cleaner, more professional finished cake. If the walls of your cake have thin spots or areas where chocolate is peeking through, use the reserved vanilla ice cream to repair.
Step 10: Decorate
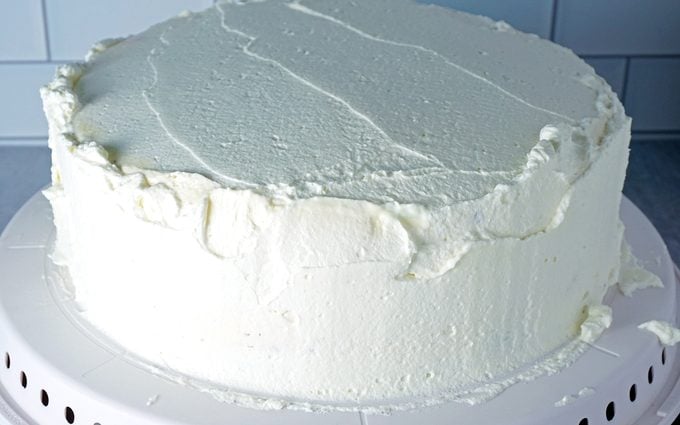
Finish the cake by applying a thin, smooth layer of the whipped cream icing. Use a cake smoother or offset spatula to smooth the icing neatly over the sides and top of the ice cream. Then, pipe a ribbon of whipped cream icing around the top and bottom edge of the cake. We used a piping bag fitted with a star tip.
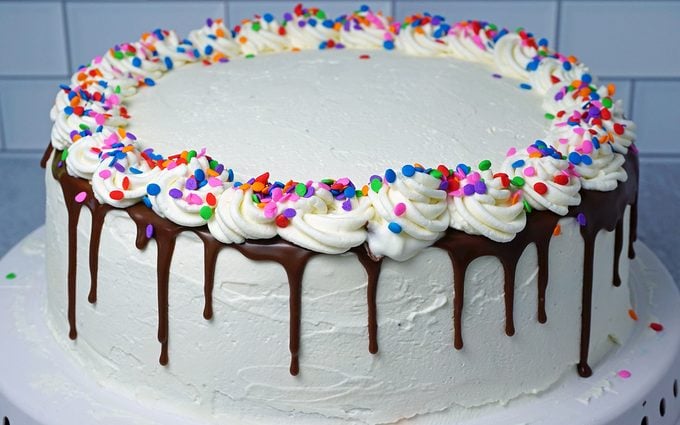
To finish the cake, sprinkle with your choice of toppings (sprinkles, nuts, M&M’s, etc.) and drizzle with caramel or chocolate sauce, if desired.
Learn how to write a special message on your cake.
Step 11: The Final Freeze
Return the cake to the freezer for at least 2 hours to firm up everything before cutting and serving.
Ice Cream Cake Decorating and Topping Ideas
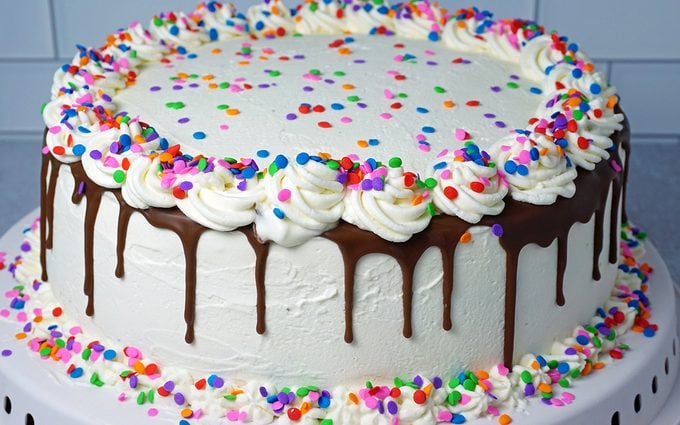
When it comes to toppings and decorations for ice cream cakes, you’re only limited by your imagination! We kept things simple with our cake—opting for chocolate ganache drips around the edge, a ribbon of piped whipped icing on the edges and bottom and a healthy smattering of rainbow sprinkles. Here are a few other decorating ideas you could try:
- Caramel or butterscotch drizzle
- Chopped nuts
- Chocolate shavings
- M&M’s candies
- Chopped mint chocolate candies like Andes or York Peppermint Patties
- Chopped candy bars like Snickers, Reese’s Peanut Butter Cups or Twix
- Crushed Oreos, chocolate chip cookies or pretzels
- Cookie dough bits, pastry pieces or brownie bites
Can This Be Made Gluten-Free or Vegan?
Absolutely. To make this recipe gluten-free, swap all ingredients for gluten-free varieties. There are many gluten-free ice creams, chocolates and Oreo-like cookies on the market, so swapping for these can be done in a 1:1 ratio. One ingredient you’ll want to pay close attention to is the powdered sugar for the whipped cream icing. While most powdered sugars are gluten-free, some include a starch that may contain gluten.
For a vegan recipe, opt for dairy-free and vegan-friendly ingredient alternatives. Everything can be done in a 1:1 swap with great success. There are so many vegan ice cream brands to choose from that as a vegan it’s 100% possible to have your ice cream cake, and eat it too!
How to Cut an Ice Cream Cake
The secret to cutting an ice cream cake easily and cleanly? Using a warm knife!
Begin by removing the ice cream cake from the freezer and letting it sit on the counter at room temperature for 10-15 minutes. While the cake softens, place a large, sharp knife in a glass of hot, steaming water. When the cake has softened, remove the knife from the water and wipe it dry on a clean cloth. Slice the cake, starting from the center and cutting in a smooth downward motion toward the outer edge. Use a cake server to lift the first slice from the cake. Continue cutting the cake, cleaning the knife with a cloth between each slice and warming the knife in the hot water bath as needed.
How to Store and Transport Ice Cream Cake
This should be considered an extreme sport! As noted above, investing in a simple cake carrier will be your secret to success. Prior to starting your ice cream cake, we recommend clearing an area of your freezer that is large enough to allow the cake carrier to fit and sit level inside. If you have a drawer freezer, make sure your freezer opens wide enough (we might be speaking from personal experience).
You can safely and successfully transport an ice cream cake using a large cooler or insulated food carrier. The trick is to make sure the vessel you are using is large enough to fit your cake carrier along with several ice packs or bags of ice. For best results, we recommend letting your ice cream cake freeze for 24 hours in the freezer before transporting it to make sure everything is as frozen as possible. We also suggest packing your cake at the very last minute before your departure.
Don’t forget to make sure you have a place to store your cake when you arrive at your destination. Your best bet will be to have a freezer to transfer your ice cream cake to when you arrive to keep it frozen until you’re ready to serve.
Still hungry? Learn more about sweet, cool treats in our ultimate ice cream guide.


