What Is Challah Bread?
Updated: Jun. 21, 2024

This versatile braided bread can be a showstopper centerpiece or the base of a fantastic batch of French toast. But what is challah bread, and what makes it so special?
Challah has long been a symbolic centerpiece in a Jewish holiday spread. The braided bread is shared at many celebrations, including Shabbat and Rosh Hashanah—but once you learn how to make it, you’ll want to serve it all the time.
What Is Challah Bread?
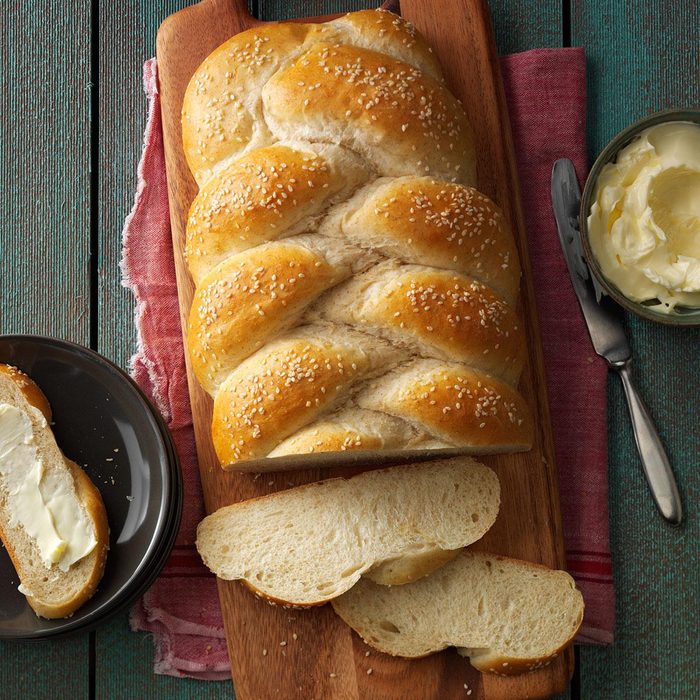
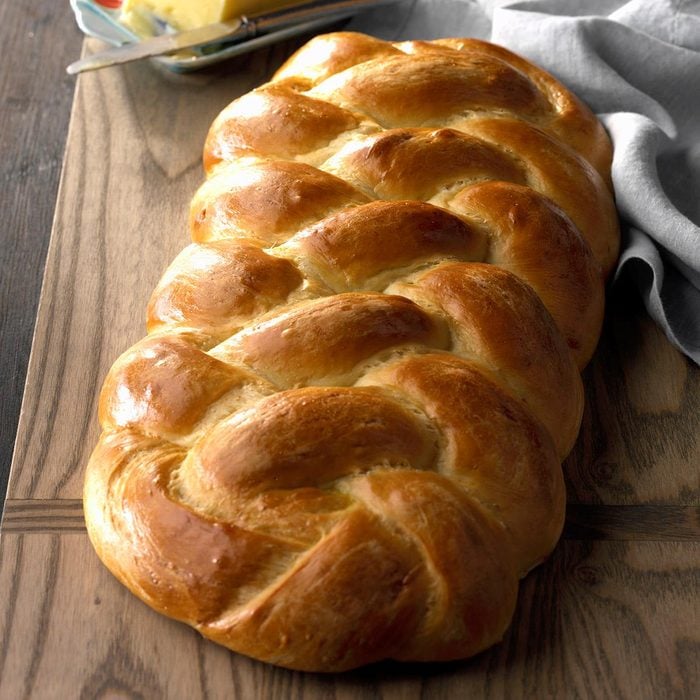
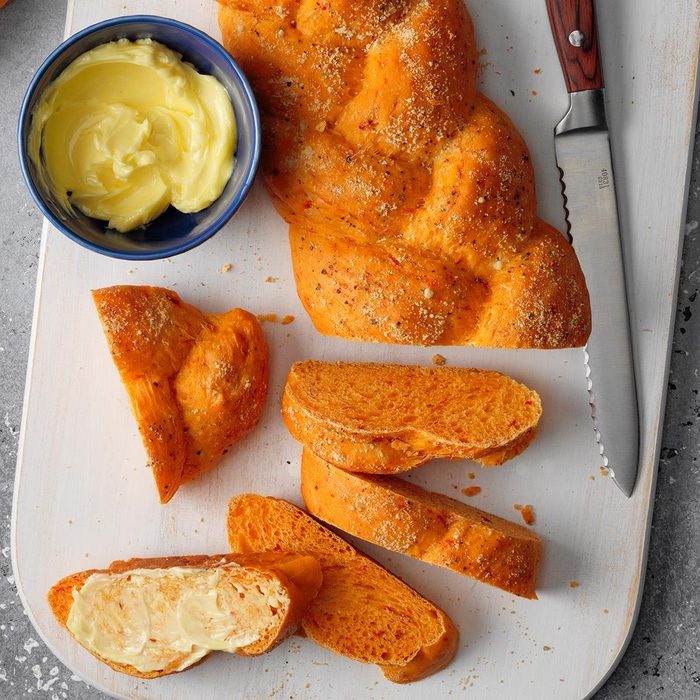
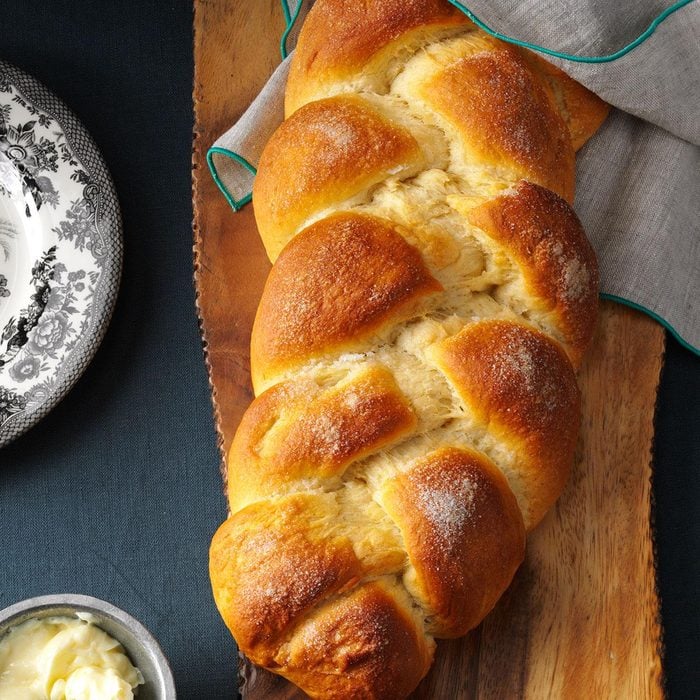
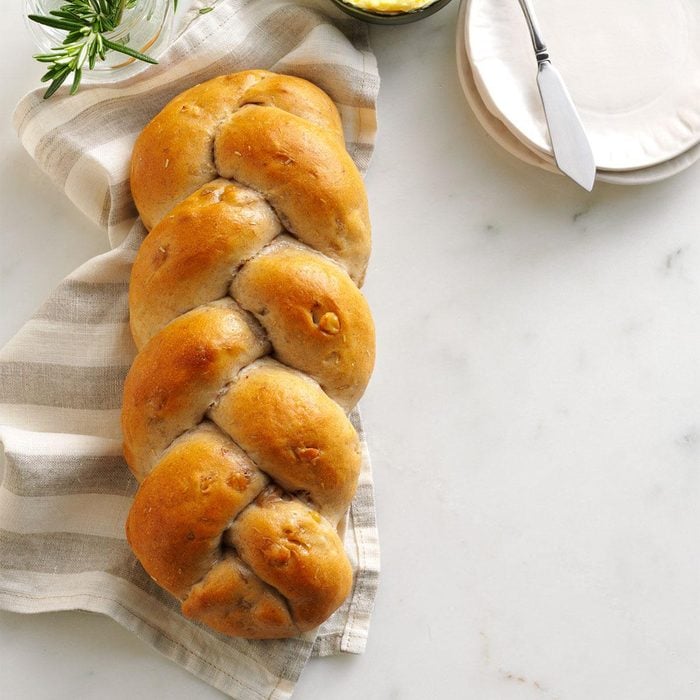
Challah is a loaf of braided bread. The simple dough is made with eggs, water, flour, yeast and salt. It’s typically pale yellow in color because so many eggs are used, and it has a rich flavor. Some challah recipes call for raisins, honey or seeds. It all depends on the celebration and your preferences.
Challah refers to the mitzvah (a blessing or good deed) of separating out a portion of the dough before you begin braiding as a contribution to the kohen (priest). This commandment is called the hafrashat challah.
Wondering how to pronounce challah? English speakers say it haa-luh (no ch sound). It’s a Hebrew word that starts with a letter there isn’t an equivalent for in English—the “ch” represents that letter. It’s the same reason you might see the winter holiday Hanukkah written as “Chanukah.”
How to Make Challah Bread

To make a loaf of challah, start with a good recipe like this 5-star honey challah from reader Jennifer Newfield of Los Angeles, California. The dough is fairly straightforward—you’ll need to save your patience for the braiding.
Ingredients
- 2 packets (1/4-ounce each) active dry yeast
- 1/2 teaspoon sugar
- 1-1/2 cups warm water (110-115ºF)
- 3 eggs + 2 egg yolks
- 2/3 + 1 teaspoon honey, divided
- 1/2 cup canola oil
- 2 teaspoons salt
- 6-7 cups bread flour
- 1 cup boiling water
- 2 cups golden raisins
- 1 tablespoon water
- 1 tablespoon sesame seeds
Yields 2 loaves.
Tools
A few kitchen items will make measuring ingredients, stirring the dough and ensuring an even bake for your challah bread a breeze. Here’s what we recommend:
Directions
Step 1: Proof the yeast

As with any yeasted bread, the first step is to proof the yeast to make sure the yeast is still alive and ready to create a light and airy loaf. To proof the yeast, dissolve two packets of yeast in sugar and warm water. Don’t use hot water—it will kill the yeast. Give this a quick stir and let it sit for about 5 minutes. When the mix gets frothy, it’s ready to become part of your bread dough.
Step 2: Make the dough
Put 3 eggs and 2 egg yolks into the bowl of your stand mixer. Add 2/3 cup honey (use good honey!), oil, salt, the yeast mixture, 3 cups flour and the remaining warm water and mix on medium speed for 3 minutes.
Then, stir in enough remaining flour to form a soft dough. The dough will be sticky, even if you add the full 7 cups.
Test Kitchen Tip: This challah recipe calls for bread flour, which has a higher protein content. The protein helps develop gluten, which is what gives bread its texture. If you don’t have bread flour on hand, you can substitute all-purpose flour. But if you’re an avid baker, a bag of bread flour will come in handy for many homemade bread recipes.
Step 3: Prep the raisins
If you’re not a raisin fan, feel free to skip this step. If you do want to include them (they’re a great addition to symbolize sweetness for joyous holidays), it’s best to plump them up before adding them into the dough.
Plump raisins by pouring boiling water over them in a bowl. Let the raisins stand for 5 minutes, then drain and pat dry.
Step 4: Knead

Turn your dough out onto a floured worktop and knead until it’s smooth and elastic. You’ll know your dough is kneaded enough when you’re able to stretch a bit between your fingers and it gets very thin without breaking, making a sort of windowpane. If it tears, the dough needs to be worked more.
When the dough is elastic, knead in the raisins until evenly distributed. Place the dough in a greased bowl, turning once to grease the top. Cover the bowl with a damp tea towel or plastic wrap and let it rise in a warm place. Because there’s a lot of dough, it’ll take about 90 minutes for the bread to rise.
Step 5: Make ropes

After the dough has doubled in size, punch it down (in other words, press some of the air out of it with your knuckles). Turn the dough out onto a floured worktop and divide it into 12 equally sized pieces. You can do this by weight if you’d like—just weigh the dough and divide by 12. Or you can do it by eye. It’s easiest to first divide the dough in half and then into six pieces per half.
Roll each piece into a 16-inch rope. Then place 6 ropes next to each other on a greased baking sheet and pinch them together at the top.
Step 6: How to braid challah bread

To braid, take the rope on the far right and carry it over the two ropes next to it, then slip it under the middle rope and carry it over the last two ropes. Lay the rope down parallel to the other ropes; it is now on the far left side. Repeat these steps, starting with that far-right rope until you reach the end.
As the braid moves to the left, you can pick up the loaf and recenter it on your work surface as needed. Pinch the ends to seal and tuck under. Then repeat the process all over again with your second set of ropes.

Test Kitchen Tip: We went with 6 strands for a showstopper challah, but 3 strands is common. If 6 seems like too much to tackle, try it with 3 or 4. Here’s more on how to braid bread.
Step 7: Proof again and bake

Cover the loaves and let them rise until they double in size. It’ll take about an hour.
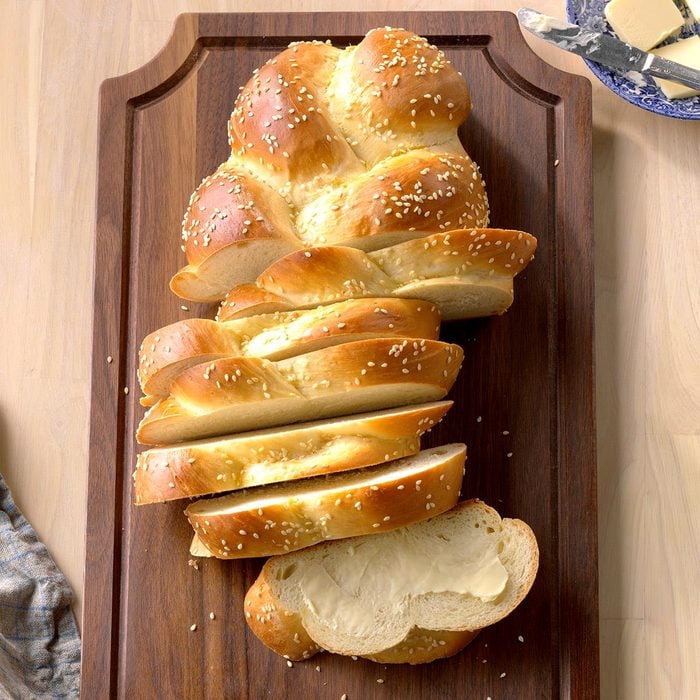
Once the loaves have grown, create your egg wash by whisking together the remaining egg whites, a tablespoon of water and a teaspoon of honey. Brush over the loaves with a pastry brush then sprinkle with sesame seeds. Bake at 350ºF for 30 to 40 minutes. You’re looking for golden brown bread. Here’s how you’ll know the bread is done.
Remove the challah from the sheet pan and place it a wire rack to cool before serving.
How to Eat Challah
At a Jewish gathering, the challah might be ripped instead of sliced. But you can also slice it and add it to your bread basket at dinner. Here are some other ideas for how to eat challah:
- Top with honey or jam: Drizzle a slice of challah with honey or spread on a dollop of fresh jam.
- Toast it: You can slice up challah just like a regular loaf of bread and toast it for breakfast or use it for a sandwich.
- Whip up French toast: Challah makes excellent French toast, especially if your loaf is starting to go stale.
- Bake a bread pudding: Another great use for challah that’s going stale is to turn it into a bread pudding for dessert.
How to Customize Challah
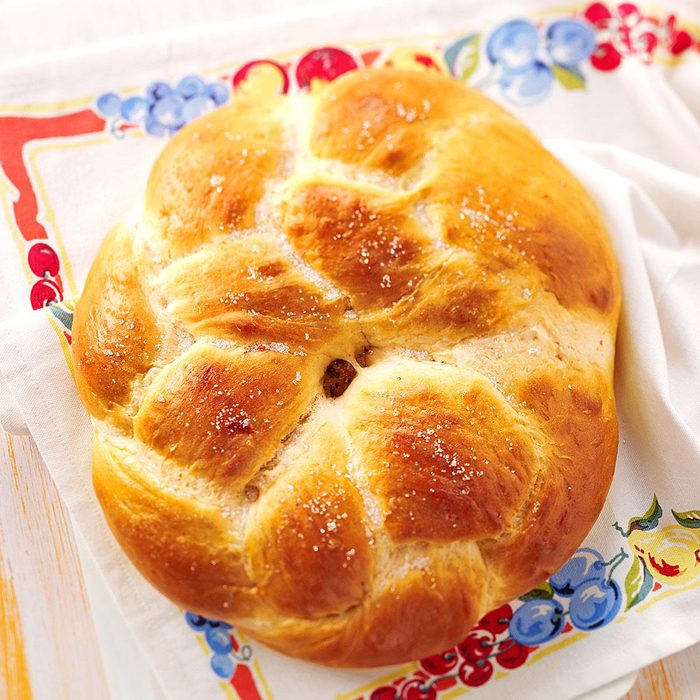
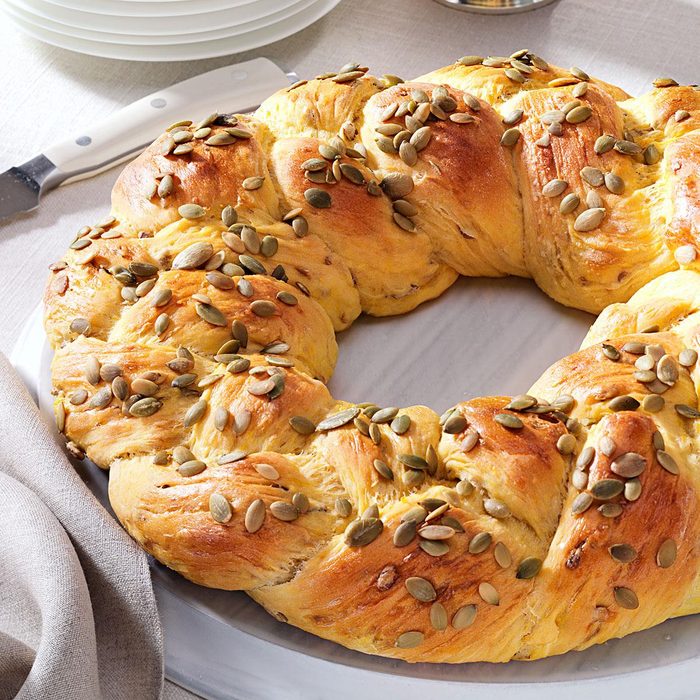
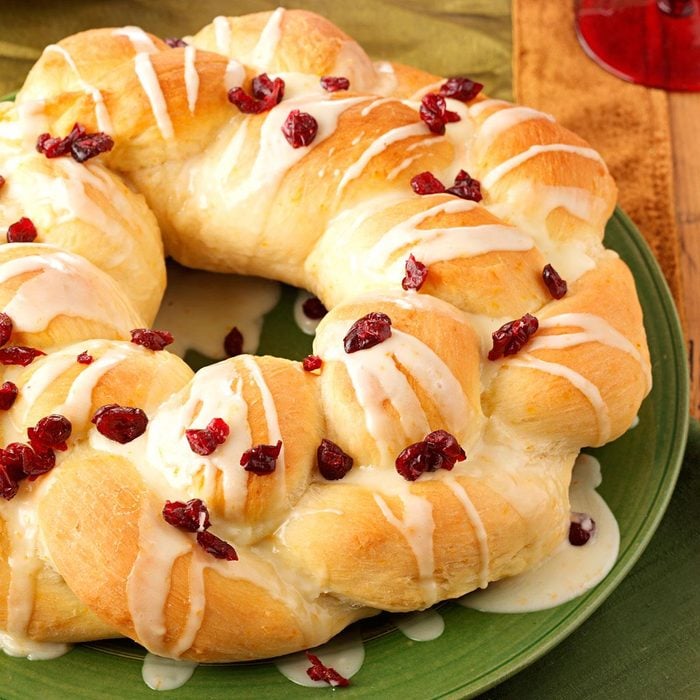
Challah is made for many Jewish holidays, though the shape may change. A standard braided loaf is most common for Shabbat. On Rosh Hashanah, a round challah symbolizes continuity. Some people even make small triangular loaves on Purim to symbolize Haman’s hat!
Here are more ways to customize your challah:
- Raisins and dried fruit: Raisins symbolize sweetness and happiness, so include them when celebrating joyous holidays.
- Poppy seeds and sesame seeds: Sprinkle these on top to symbolize the manna that fell from heaven after the exodus from Egypt.
- Add shine: A wash of egg whites and honey can be brushed over the top of the loaf before baking for a shiny, golden crust.
- Zest: Add citrus zest to pump up the flavor.
- Nuts: Toasted nuts add crunch and flavor. If using the recipe above, knead in nuts when you would add the raisins.
- Spice: Add cinnamon, cardamom or other warming spices to the dough. You can use the spices in addition to nuts, orange zest and raisins. Add it all!
How to Store Challah
Store the challah in a bag or bread box to keep it fresh. Since it’s scratch-made, it will go stale faster than the loaves you find at the store. If you can’t finish it within a few days, you can freeze the bread and thaw it later for a holiday—or anytime. And you can certainly enjoy your challah bread from the first to end slice.


