How to Braid Bread
Updated: Apr. 23, 2024

If you can bake bread, then you can braid bread. It's that easy and we'd love to show you how.
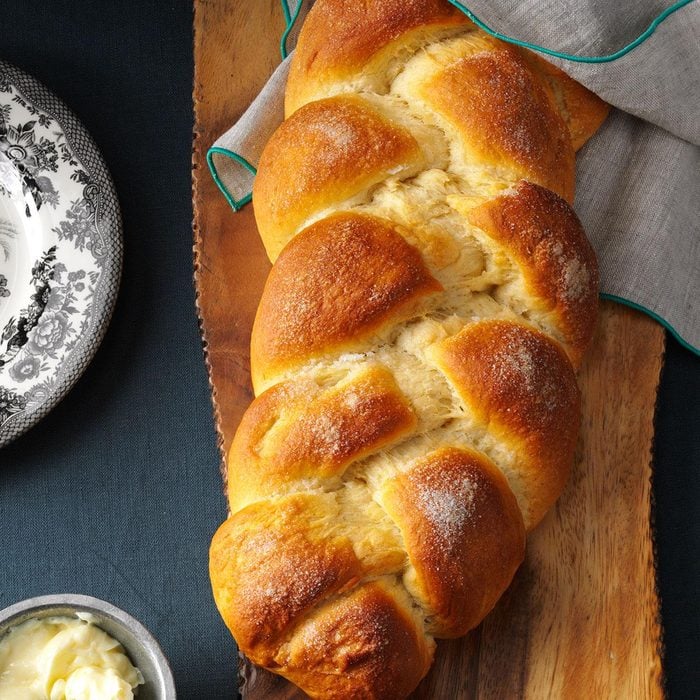
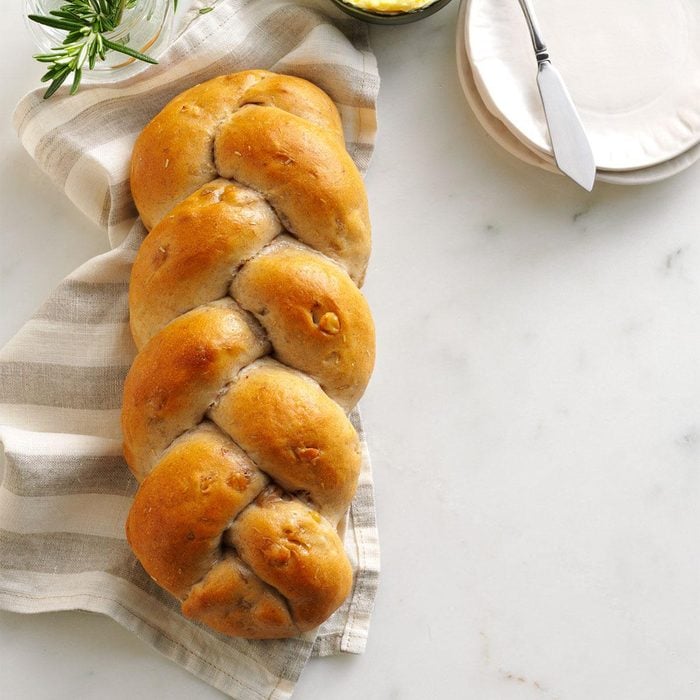
There are few foods more beautiful than braided bread. This centerpiece item might look special, but it really isn’t that complicated to learn how to braid bread (especially when you know these pro tips). Once you get the hang of it, you may have so much fun you’ll never bake bread any other way!
Start Simple
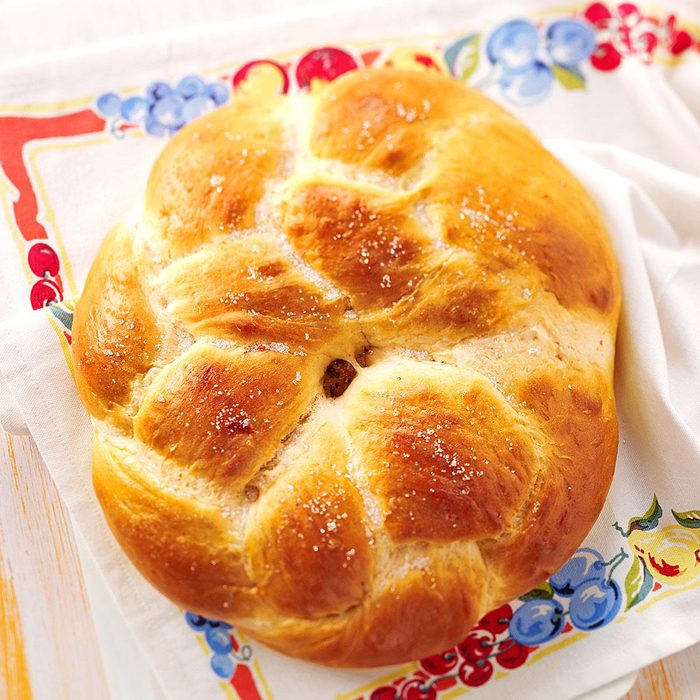
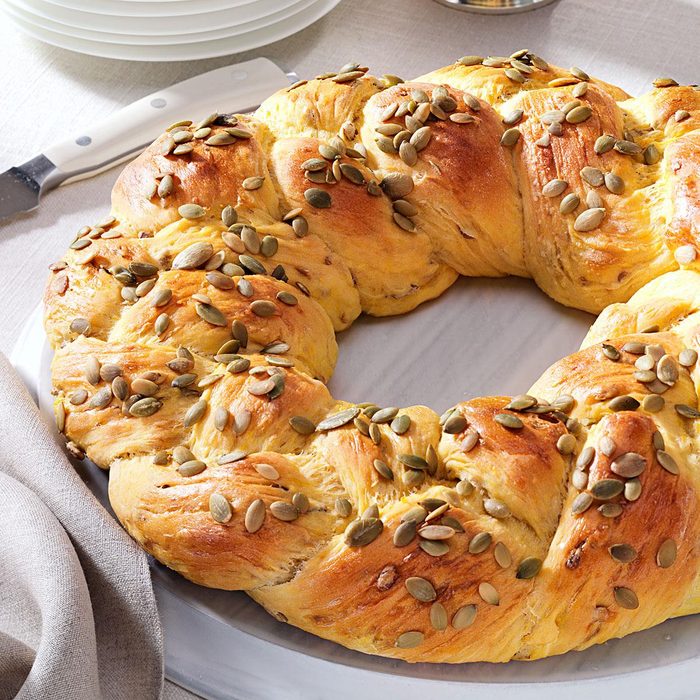
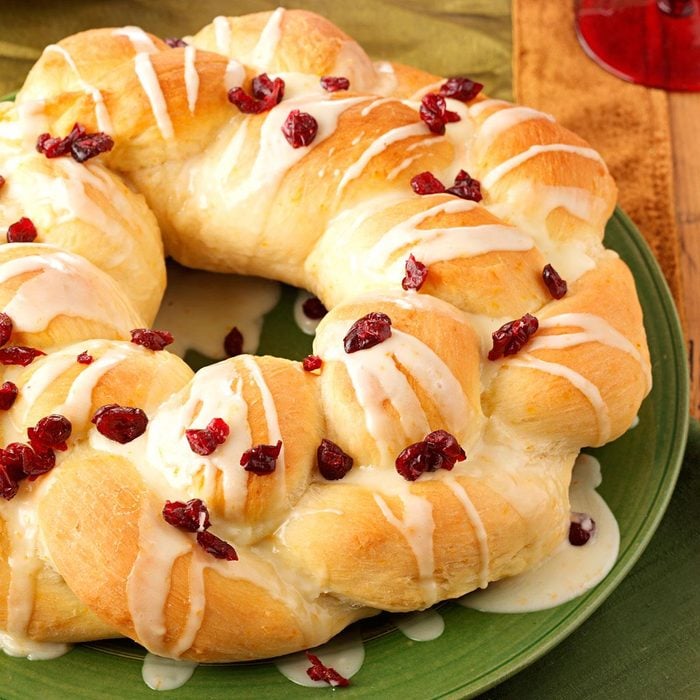
We think braiding bread is as easy as baking bread, but don’t feel overwhelmed if the technique sounds too complicated. You can start out with an easier version that still looks special by dividing the dough in half. Roll the halves into ropes (following the instructions below) and just twist them together instead of creating a braid.
Type of Bread
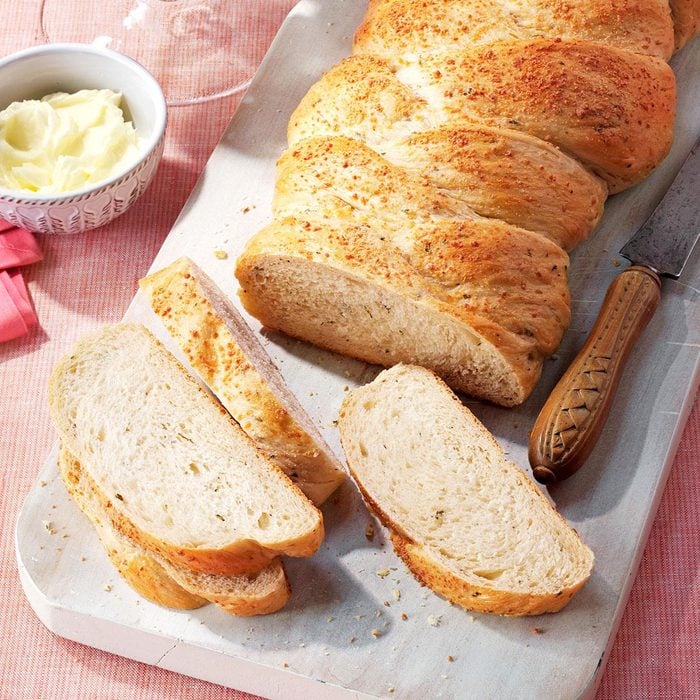
The best part about braided bread? You can make it from almost any type of bread dough. Give this simple braided bread recipe a try, or use your favorite plain white bread or yeasted roll recipe. You can even buy pre-made bread dough from the store!
Flavoring Braided Bread
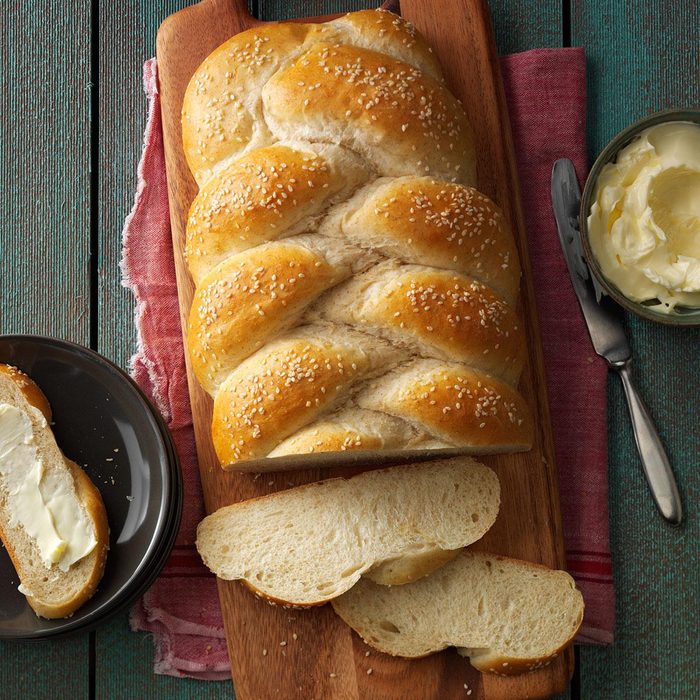
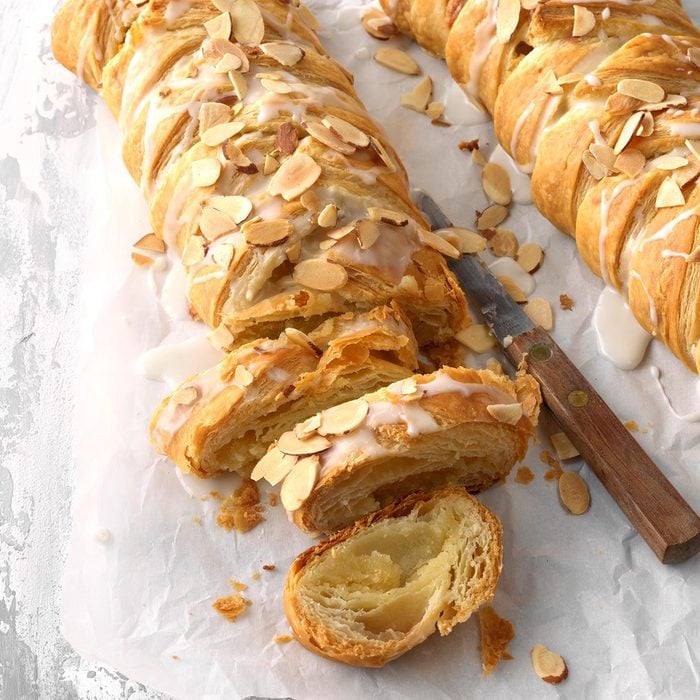
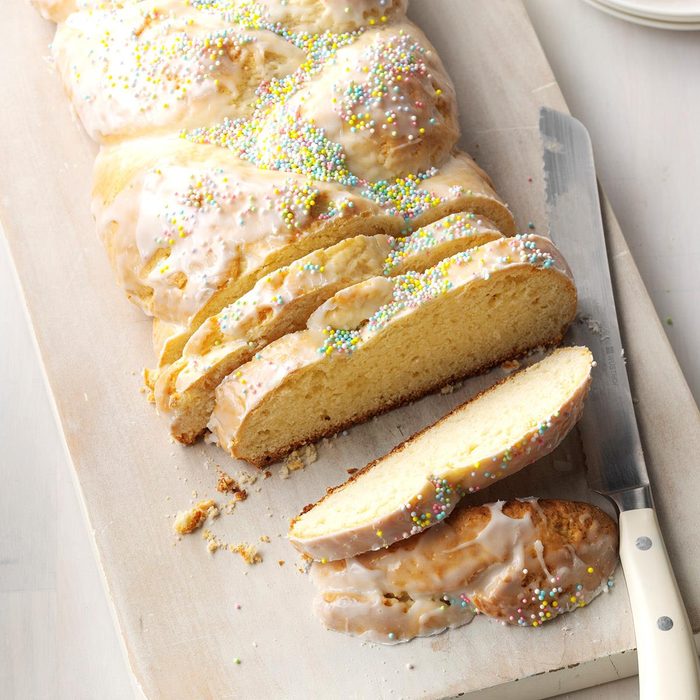
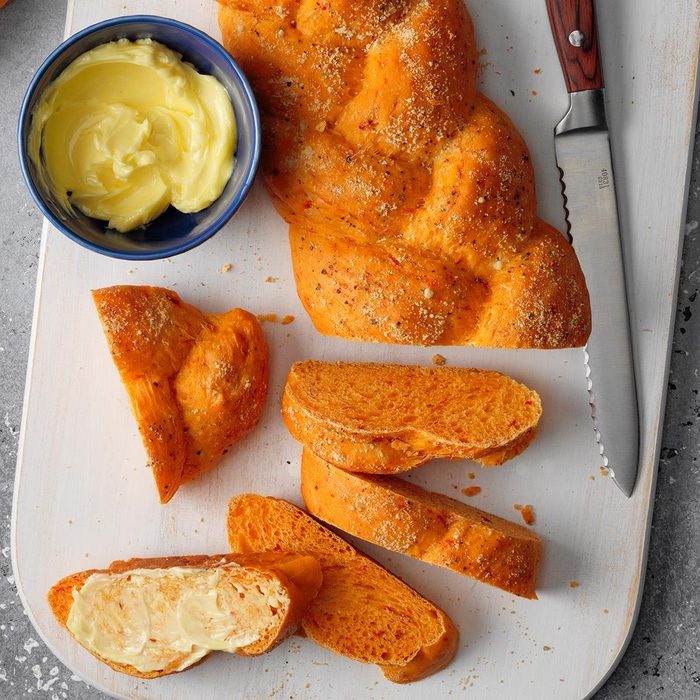
We love the addition of cardamom and honey to the dough in this sweet version of braided bread, but you can also add savory ingredients like garlic and herbs or cheddar cheese, peppers and corn. You can also keep things simple by just adding some texture to the top. Sprinkle sesame seeds, poppy seeds, sunflower kernels or more over the egg wash to turn your braid a multigrain loaf.
How to Braid Bread
What You’ll Need
- Your favorite bread dough recipe (or, opt for store-bought dough)
- Flour (to keep the dough from sticking)
- Non-stick cooking spray
- An unrimmed baking sheet
Instructions
Step 1: Form the dough into ropes

Once you’ve made your dough, you’re ready to get started. Place the dough on a lightly floured work surface and divide it into three equal pieces. Roll each piece into a rope, using even pressure so the ropes are the same width from end-to-end. When you’re finished, all three ropes should be the same length.
Pro Tip: You may need to lightly flour your hands, especially if your dough is on the soft side. But you don’t want to add too much, which can make the dough slide back and forth on the counter. Add just enough flour to your hands or the work surface so the dough doesn’t stick.
Step 2: Criss-cross the ropes

Arrange the ropes on a greased, unrimmed baking sheet. Make sure each rope has an equal length and none of them are longer than the baking sheet. Pinch the ropes together at one end and tuck the ends under so they look nice and neat. Then, begin braiding by crossing the right rope over the center rope. Then, cross the left rope over the center. Continue alternating, right and left over center, until the braid is done.
Pro Tip: Braiding the bread directly on the baking sheet means you won’t have to move the braid before baking it! That decreases the risk of stretching the dough once it’s finished.
Step 3: Finish the Braid

Finish alternating the ropes, right and left over center, until you’ve reached the end of the dough. Pinch the ropes together and gently tuck the ends underneath the braid to give the bread a clean, finished look.
Baking Braided Bread
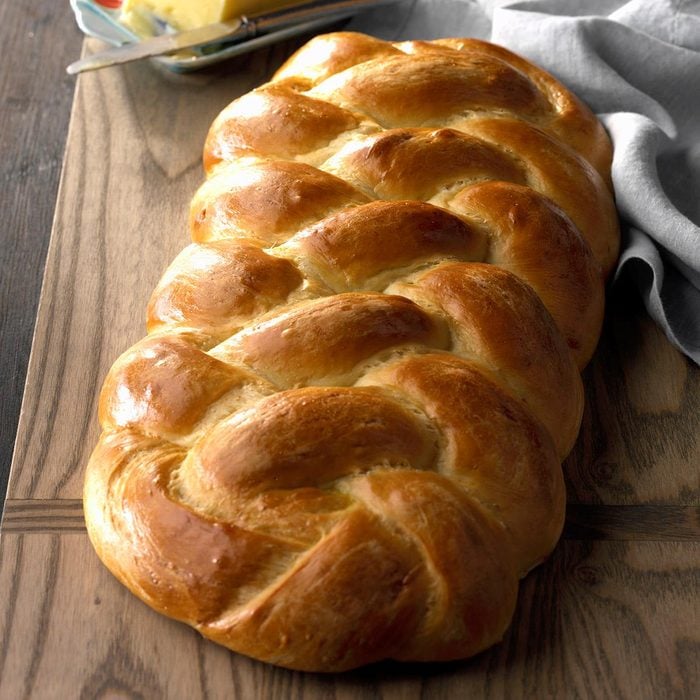
Brush the top with an egg wash—1 egg whisked with 1 tablespoon of water—to give it a glossy look. Sprinkle the top with your textured toppings (like sesame or poppy seeds) and pop into a preheated oven. Follow the recipe’s baking instructions for time and temperature (or, the package instructions if you’re using store-bought dough).
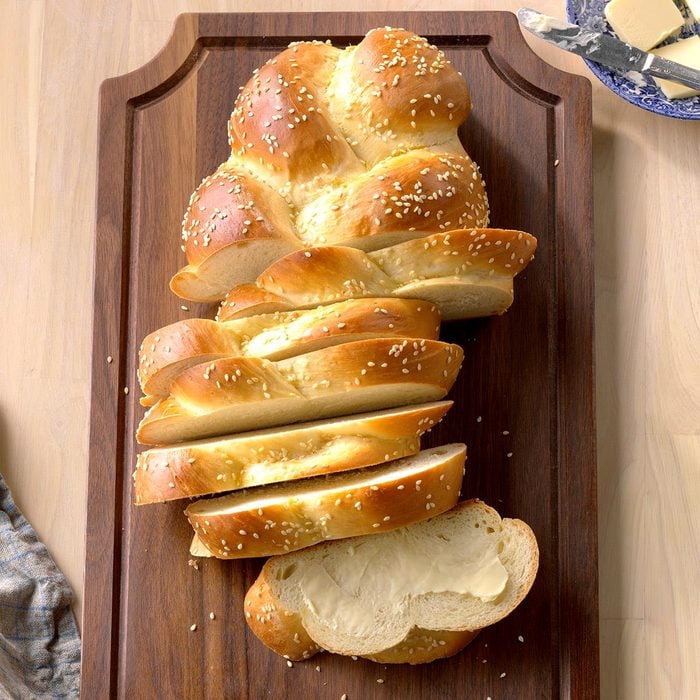
Allow the bread to cool completely before slicing it. Braided bread makes an excellent addition to the dinner table with flavored butter, but it also makes great sandwiches and it’s a fun way to present French toast for brunch.


