30+ Tips Every Baker Needs to Know for the 2023 Holiday Season
Updated: Apr. 25, 2024
The holiday season is when home bakers kick things into high gear. These holiday baking tips will help you create your best-ever desserts and make it through the season stress-free.
Our editors and experts handpick every product we feature. We may earn a commission from your purchases.Learn more.
The holiday season is prime time for baking. Thanksgiving means showstopping pie, Hannukah means tasty treats like rugelach and Christmas means cookies, cookies and more cookies—not to mention cakes, breads and so much more. With the kitchen in full-on production mode, you need every tip and trick to make your job easier. Check out our favorite time-saving tricks, helpful hints and tips to make this season’s bakes the best ever.
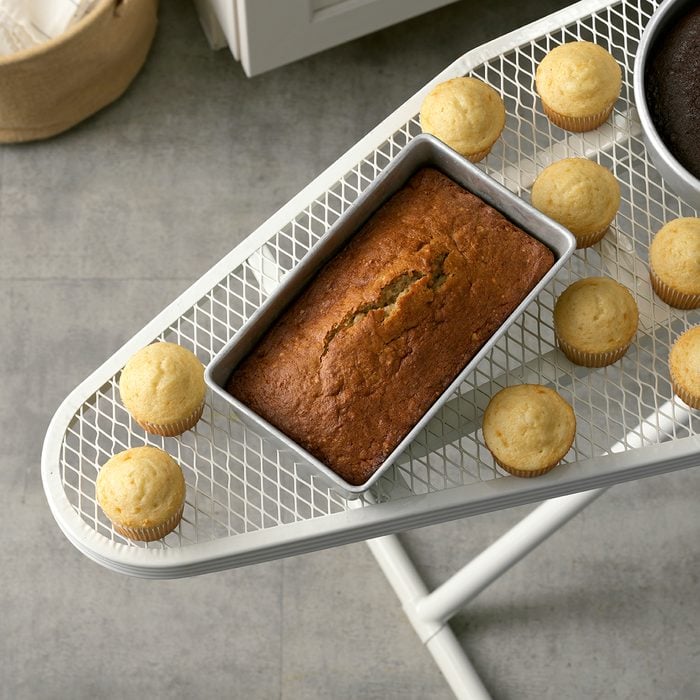
Use an ironing board as an oversized cooling rack
The holiday season is when many of us home bakers are in the kitchen nonstop. With so many Christmas cookies and holiday pies coming out of the oven, settling for small cooling racks is out of the question. Instead, grab an ironing board, remove the cover and use it as a cooling rack. You’ll be happy for the extra space and how it leaves your counters and tabletops free for other baking prep.
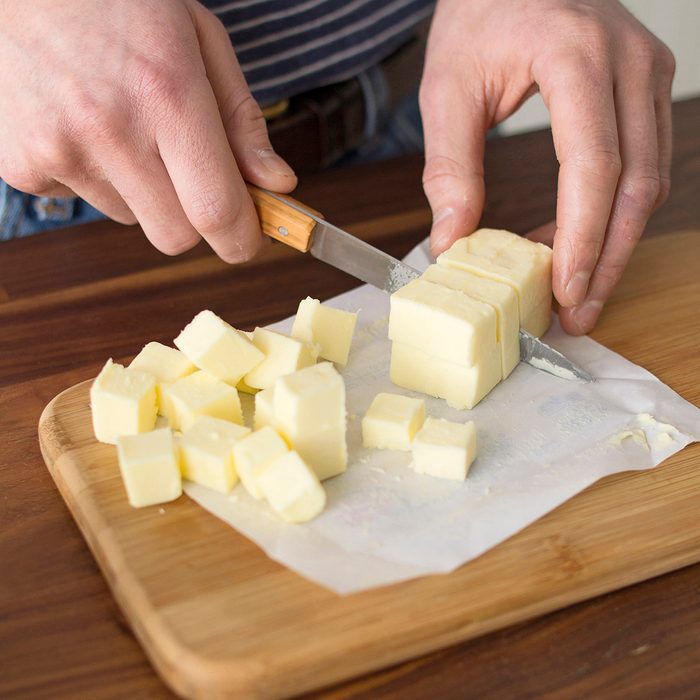
Soften butter quickly
Every baker’s been there: You’re ready to start baking a batch of cookies and realize you forgot to take out the butter in advance. The good news is you don’t need to delay your baking. You can easily soften butter a handful of ways. Our favorite way to do this is just by cutting the butter into small cubes and letting it sit for just a short time. In about 15 minutes your butter will be ready.
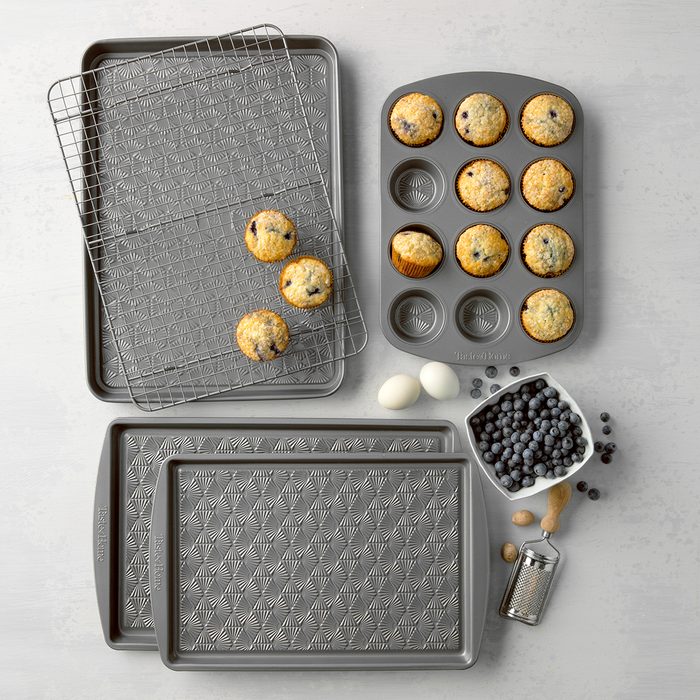
Switch out pan sizes
When the kitchen is in full-on production mode, you might find the pans you need aren’t clean or are already in the oven. While using the pan mentioned in the recipe is always recommended, there are a few practical swaps you can make. Here are some common conversions:
- One 9×5″ loaf pan = three 5-3/4x3x2″ loaf pans
- One 8×4″ loaf pan = two 5-3/4x3x2″ loaf pans
- One 9″ round baking pan = one 8″ square baking dish
- Two 9″ round baking pans = one 13×9″ baking pan
- One 10″ bundt cake mold = one 10″ tube pan or two 9×5″ loaf pans
- One 13×9″ baking pan = two 9″ round pans or two 8″ square pans
- Regular muffin pan (12 muffins) = mini muffin pan (36 mini muffins)
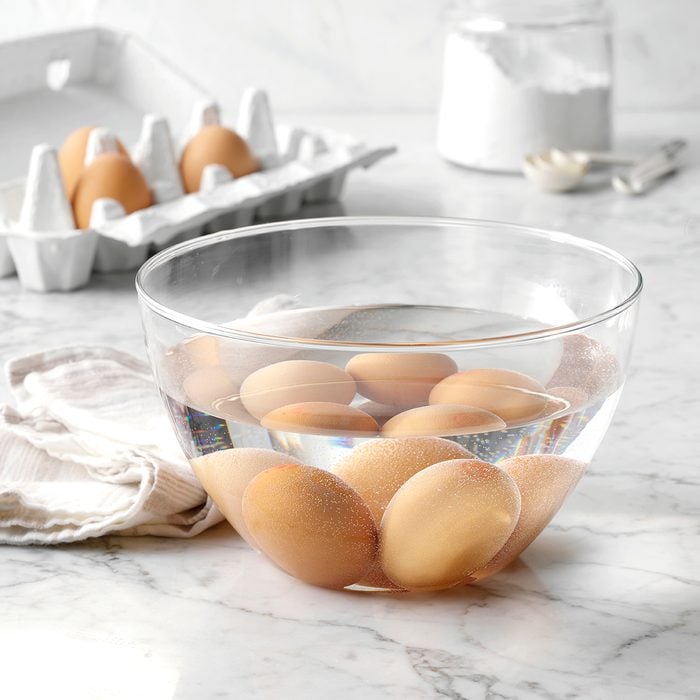
Get room temp eggs quickly
When baking, it’s important to use room temperature ingredients (unless otherwise specified). If you forget to take your eggs out of the fridge in time, don’t fret. Just place them in a bowl of warm water for a few minutes.

Stock up on staples
If you see a sale on butter, chocolate chips or other pricey baking ingredients, don’t skip it! You can stash many common baking ingredients in the freezer to extend their shelf life. This is especially handy with butter.

Use foil to keep pie crust from burning
Sometimes pie crusts bake more quickly than their fillings. To prevent the crust from over-browning (or burning) while the filling cooks. make yourself an easy pie crust shield with foil. We’ve got a simple DIY that ensures you get the right fit for your pie pans.

Use cake wraps for level cake layers
Making a showstopping layer cake this holiday season? You might want to invest in cake pan wraps. These reusable bands help your cakes bake up nice and level for stacking—no trimming needed. Members of Taste of Home’s baking club, Bakeable, love them. Join in on the action here.

Use dried beans as pie weights
If you’re blind baking a pie or tart crust, you’ll need something to weigh the pastry down. You can use pie weights, but if you don’t have any on hand, you can use dried beans instead. Just fill the crust with parchment or foil and then fill with the dried beans. You can reuse them infinitely, so stash them away in a container for future baking.
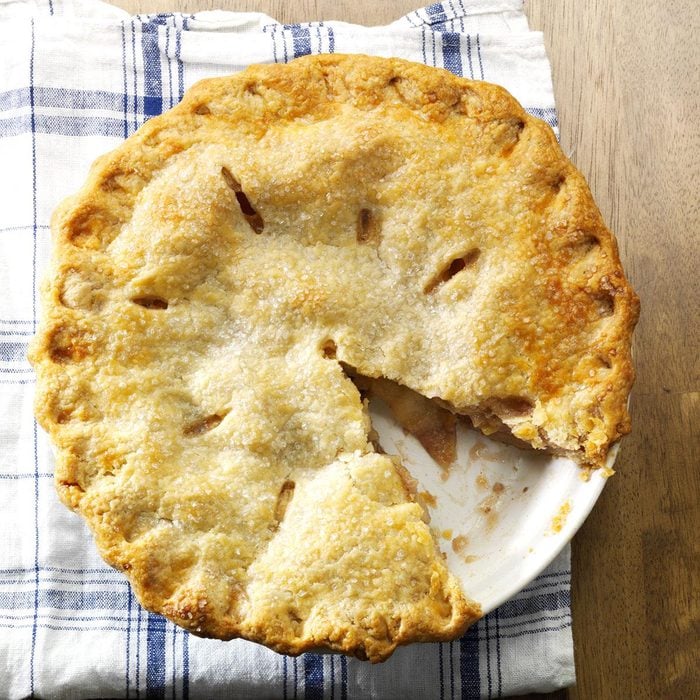
Give double-crust pies extra crunch
It’s easy to give double-crusted pies extra texture. Just brush the top crust with water and sprinkle with sanding sugar or turbinado sugar. When baked, it’ll give your crusts an extra crunch.

Make your own pumpkin pie spice
No need to buy a special jar of pumpkin pie spice just for one or two pies. Instead, you can make up your own spice blend. Just combine four teaspoons of ground cinnamon with two teaspoons of ground ginger, a teaspoon of ground cloves and a half teaspoon of nutmeg. You can always adjust to your taste, too.
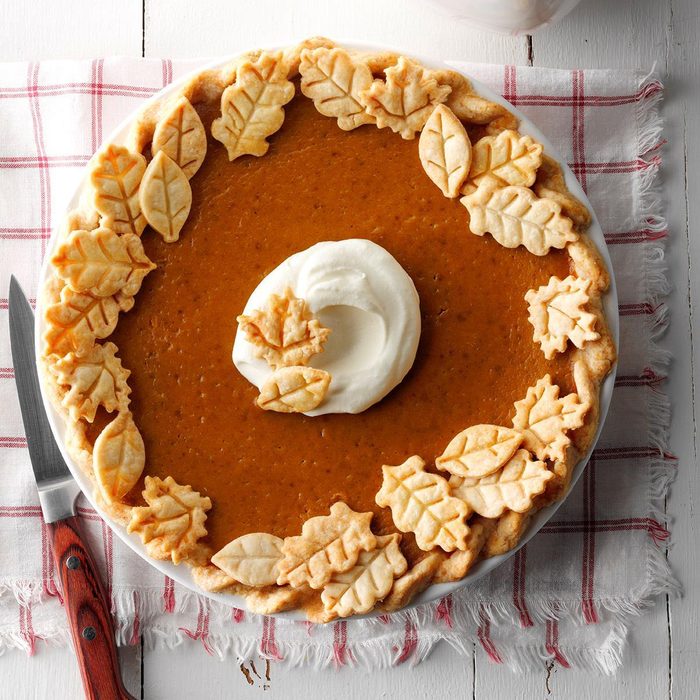
Use cookie cutters to create gorgeous pie crusts
One of the easiest ways to finish your pie crust is to break out your favorite cookie cutters. Cut out crust into shapes to form an edge or top crust for pies. Use a bit of water to get the pieces to stick and bake as normal.
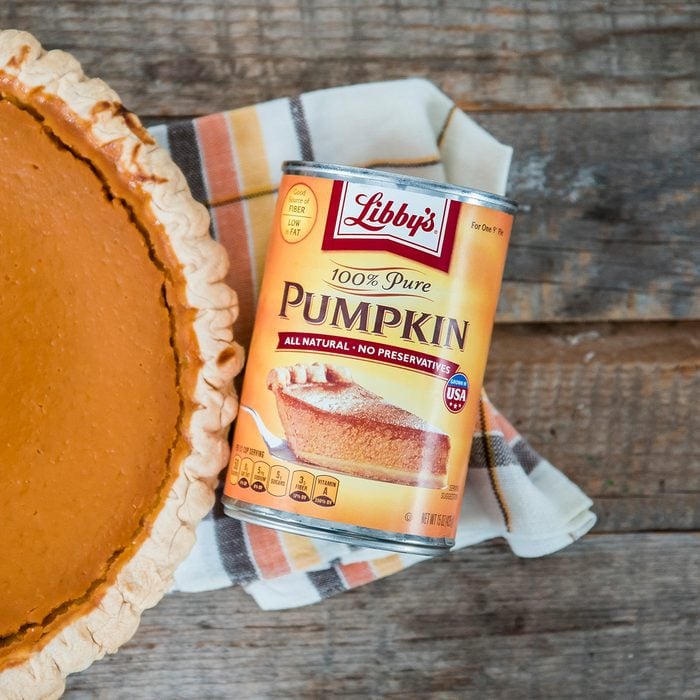
Opt for canned pumpkin
Sure, it’s tempting to make your treats totally from scratch, but canned pumpkin yields more consistent results in recipes. Skip the extra work of making homemade pumpkin puree and opt for a can. If you can’t find canned pumpkin (the store always seems to be out when you need it most!), you can try some simple substitutes.

Disguise cracked pumpkin pie
Got a big crack in the top of your pumpkin pie? Don’t worry. You can solve this problem with simple and tasty disguises. You can top with a simple chocolate ganache, a praline pecan topping or even a generous dose of freshly whipped cream. No one will ever be the wiser and your pie will taste delicious.

Break out the lazy Susan
Decorating Christmas cookies can be messy business. Wrangle all your decorating supplies on a lazy Susan to keep everything within reach. Here are a few cookie decorating supplies you’ll use forever.

Prep cookie dough in advance
You don’t need to do all your holiday baking the week before the big day. Most cookie doughs—these recipes in particular—can be prepped in advance and stashed in the fridge for two days or the freezer for several weeks. For cutout cookie doughs, form the dough into a log or round and wrap in plastic wrap. For drop cookies, you can either freeze the dough in an airtight container or pre-portion the dough and then freeze. Be sure to label them with the date and cookie type.

Don’t overwork your cutout cookie dough
It’s so tempting to roll, roll and reroll your cutout cookie dough so you can get as many cookies as possible out of every batch. But every time you reroll the dough, you’re making it tougher. Try to limit rerolling scraps for the most tender cookies.
Want more cutout cookie tips? We got ’em!

Repurpose cookie cutter shapes
Think outside the box with your cutouts. Many shapes can be repurposed to make seasonal designs. Stars can become Santas, diamonds can become elves, gingerbread people get new life as yetis and much more. Get more genius ideas here.

Make your cookies ahead of time and freeze them
You can freeze baked cookies too. Once your cookies are cooled, place them on a cooling rack or sheet pan and pop in the freezer until cold. You can then stack them and arrange them in an airtight plastic storage container with layers of parchment or waxed paper between the layers. Thaw as normal. You can always refresh them in a low oven (300-325ºF) for a few minutes. All of these recipes freeze particularly well.
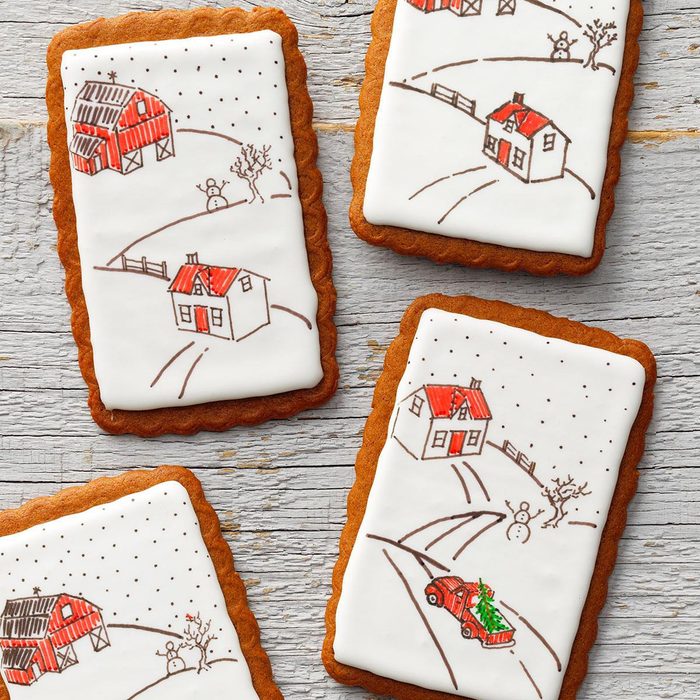
Use food coloring pens for easy decorating
Piping decorations onto cookies can be tedious. You can speed up the process and get detailed results with a basic coat of royal icing and some edible ink pens ($7). All you have to do is frost a cookie, let the icing dry and sketch on any design you choose—you can get the full DIY here.

Try a new cookie press
Spritz cookies can be tough to master, especially when you’re using a vintage cookie press. If you love spritz but hate the fuss, invest in a new press. These new machines make uniform cookies every single time with just the pull of a trigger. You can see the difference right here.
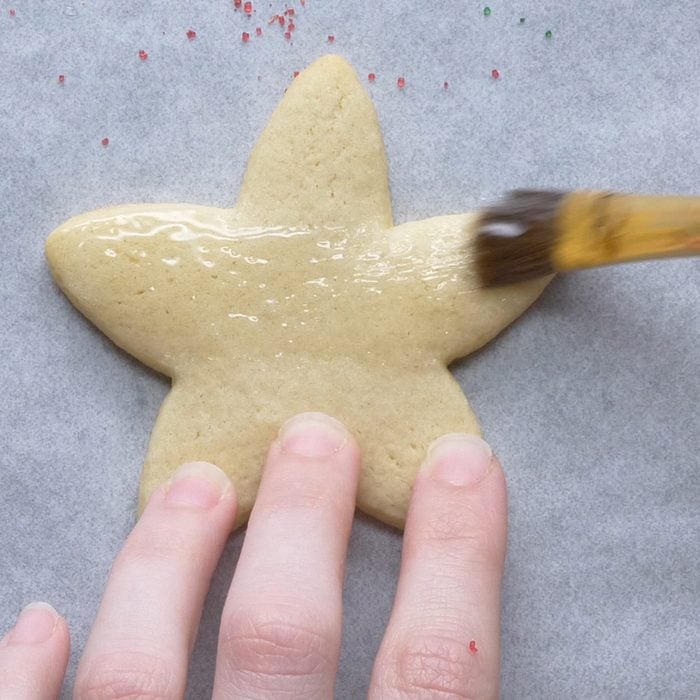
Use corn syrup to get sprinkles to stay in place
If you’re decorating cutout cookies or even spritz, you can use corn syrup to keep your sprinkles in place after baking. Just brush the cookie with a bit of warmed up syrup and sprinkle away. The sprinkles will stay in place once cooled.
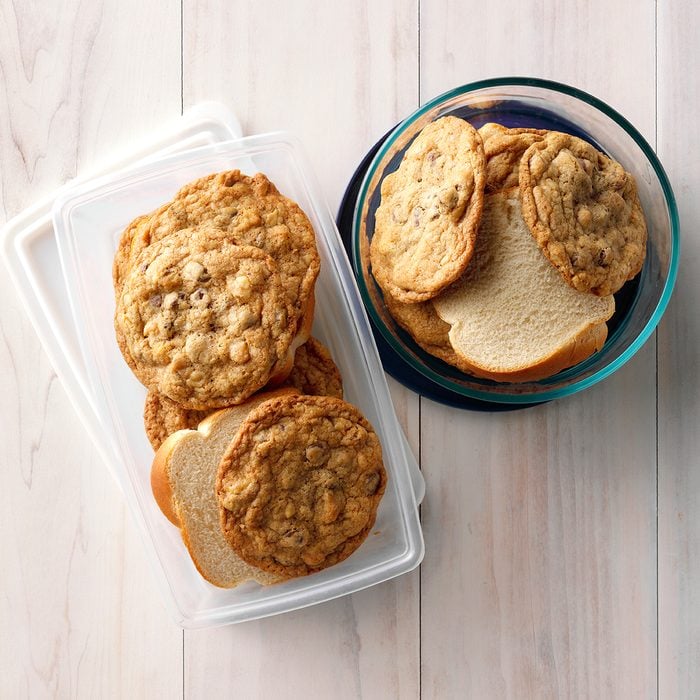
Keep cookies soft with a slice of bread
Need to keep soft and chewy cookies, well, soft and chewy? It’s easy. All you have to do is pop a slice of bread into the container. It’ll give the cookies the moisture they need. And this trick works if your cookies have gotten a bit too crispy or have dried out.
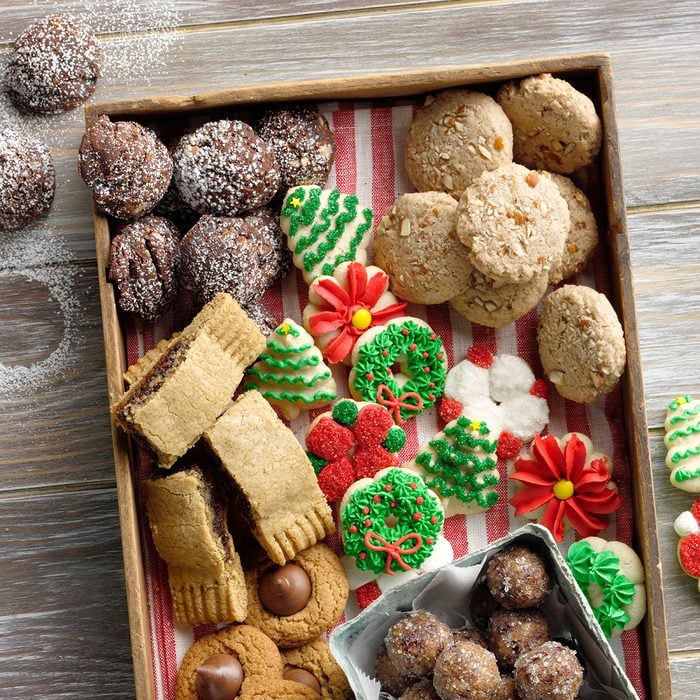
Be smart about your cookie trays
Assembling a picture-perfect cookie tray is an art. Keep these tips from our community of bakers in mind. One of the smartest tips: Always include the classics. People will always crave peanut butter blossoms and spritz.

Create a design with cardstock
You don’t need to break out the piping bags to create a pretty finish on cakes and brownies. With just a sheet of card stock—or even a doily—you can create an impactful visual. Simply trace and cut out the design of your choice. Press this onto the top of your bake and then dust with powdered sugar. Carefully remove your template to reveal a gorgeous finish.
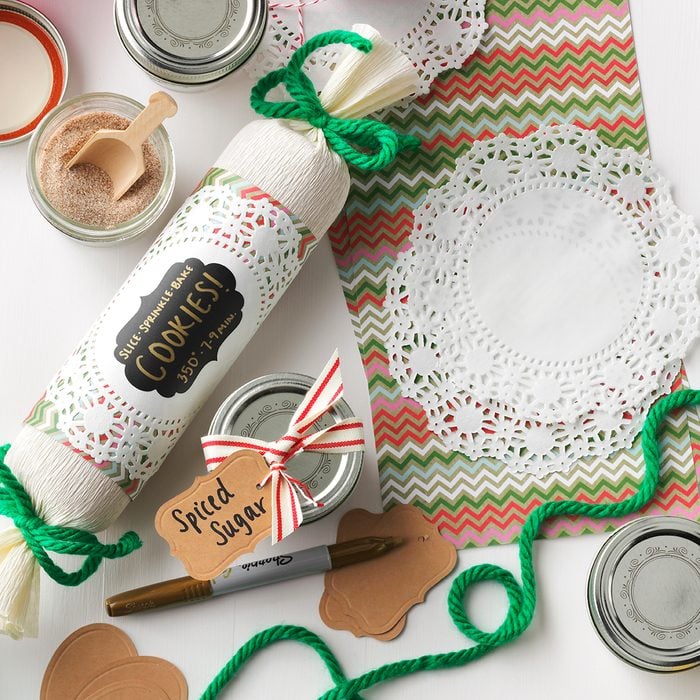
Get creative with packaging goodies
There’s more to gifting food than cookie tins (though there are some really cute ones!). When wrapping up holiday treats this year, get creative. Recycle waxed paper boxes and turn them into cookie containers, fill mason jars with homemade treats, wrap rolls of cookies in parchment and much more.

Use a tea towel to get a perfect cake roll
Keep your cake rolls from breaking by rolling them in a tea towel dusted with confectioners’ sugar. Rolling the cake while it’s still warm keeps it from breaking and helps train the sponge to curl the right way for when you fill it. Here’s our complete how-to.

Test your baking powder and baking soda
Before you dive into the baking season, be sure to check on your baking powder and soda. These products do have a limited shelf life, so if they are expired or ineffective, you won’t get the right rise and lift on your favorite baked goods.
To test baking powder, measure a teaspoon into a cup and add a third cup of hot water. If it bubbles, the baking powder is ready to be used. To test baking soda, measure out a quarter teaspoon and add two tablespoons of vinegar. If it bubbles, it’s ready for baking.
And remember: Baking soda and baking powder are not the same and cannot be used interchangeably. Here are the big differences.

Use cranberries as a garnish
Need an easy finish for your favorite bundt cake or cheesecake but don’t want to fuss with finicky finishes? Try sugaring cranberries. In about five minutes you can turn this seasonal fruit into a jewel-like topper worthy of any holiday dessert. Follow our how-to to make it happen.

Learn how to remove a Bundt cake from its pan
A Bundt cake can be a gorgeous centerpiece for your holiday dessert table, but it can be disheartening when you can’t manage to release the cake from the pan in one piece. Take it from our Test Kitchen and employ several tricks to ensure your cake comes out clean.
Start by greasing the pan properly, letting the cake cool before flipping and let gravity do its work. A stubborn cake often comes out clean when you let the inverted pan rest over a cooling rack. After a few minutes, lift the pan and check out your work!

Use a glass (not your fingers) for perfect crumb crusts
Crumb crusts—be the made of graham crackers, cookies or pretzels—are an easy base for cheesecakes, pies and tarts. While you can press them into the bottom of these dishes with just your fingers, using a glass or measuring cup with a flat bottom helps you get a nice even layer on the bottom and sides. Get the full how-to right here.

Put a swirl in your cheesecake
Cheesecakes are a wonderfully decadent dessert. Put the presentation over the top with a pretty (and simple) swirl design. With just a skewer, you can create all sorts of gorgeous designs like this jam spiral.
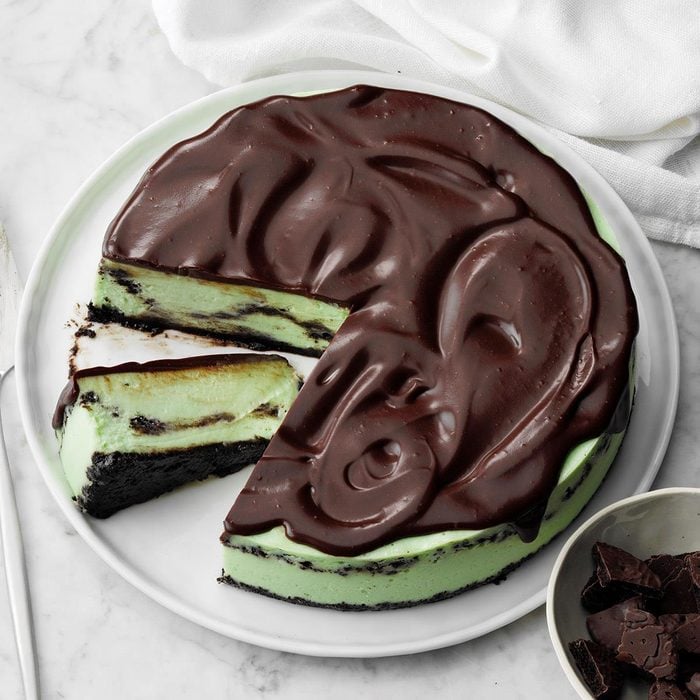
Learn how to cover a cracked cheesecake
Despite your best efforts and a good water bath, sometimes cheesecakes still crack. Don’t worry, though! A cracked cheesecake will not ruin your holiday. If your cake cracks, our Test Kitchen recommends covering it with a layer of chocolate ganache, fresh whipped cream or fresh fruit. No one will notice and it will taste delicious.

Make whipped cream fast with an immersion blender
Almost every dessert is improved by a dollop of homemade whipped cream, however dragging out your big mixer (or whisking by hand) doesn’t always seem worth it. But you can make whipped cream quickly and easily in your immersion blender. Just add heavy whipping cream, a touch of confectioners’ sugar and a few drops of vanilla extract to a tall container. With just a few pulses ( know more about what is lentils before cooking with these gems) you’ll have a terrific topping for any dessert and minimal dishes to wash.

Use a warm knife to slice
A warm knife cuts through cakes, cheesecakes and bars like butter. Before serving, dip your knife into hot water and dry it. Then slice away. Repeat as needed.

Use the right pan for gluten-free goods
Gluten-free bakes can be tasty (especially this chocolate bundt cake), but sometimes they can lack that pretty golden color. Get a richer color on these treats by using dark metal pans. Start experimenting with these recipes.

Check if your bread is kneaded with the windowpane test
Making rolls for the holiday season? Make sure that you’re kneading the dough well enough with a quick test. After kneading for a bit, stretch a small wad of dough between your fingers. If the dough stretches to form a windowpane, your job is done. If the dough tears, keep kneading until it passes the test. Here are our best roll recipes for the season.
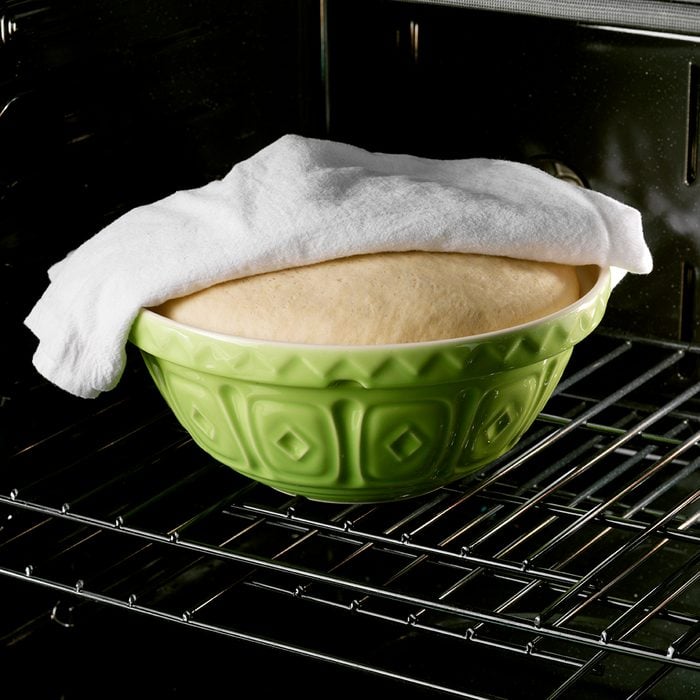
Use your oven to proof bread
Need to proof a gorgeous holiday bread but it’s too chilly inside to get a good rise? Don’t fret. Instead, turn to your oven—but don’t turn it on! You can use your oven as a proofing box. Just fill a glass baking dish with boiling water and place it on the bottom rack of the oven. Then place your dough on an upper rack and shut the oven door. The steam will create heat and humidity—bread dough’s best friends. Get more proofing tips here.

Use cooking spray for clean cuts
To create precise knife cuts in cinnamon rolls, twisted breads and other decorative doughs, spray a serrated knife with cooking spray before cutting.