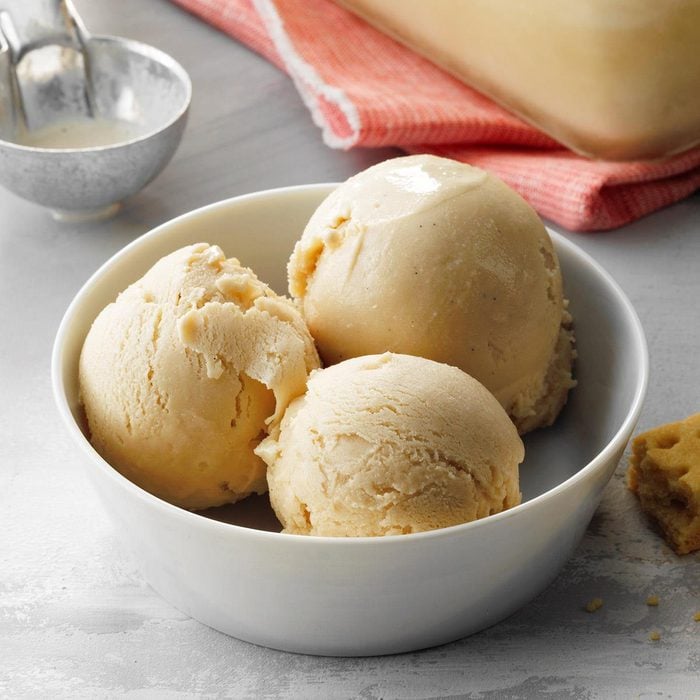
Best Ever Vanilla Ice CreamTotal Time: 40 minutes + chilling/freezing
Main Ingredients: Whipping cream, 2% milk, vanilla bean, egg yolks, sugar
Level: Advanced
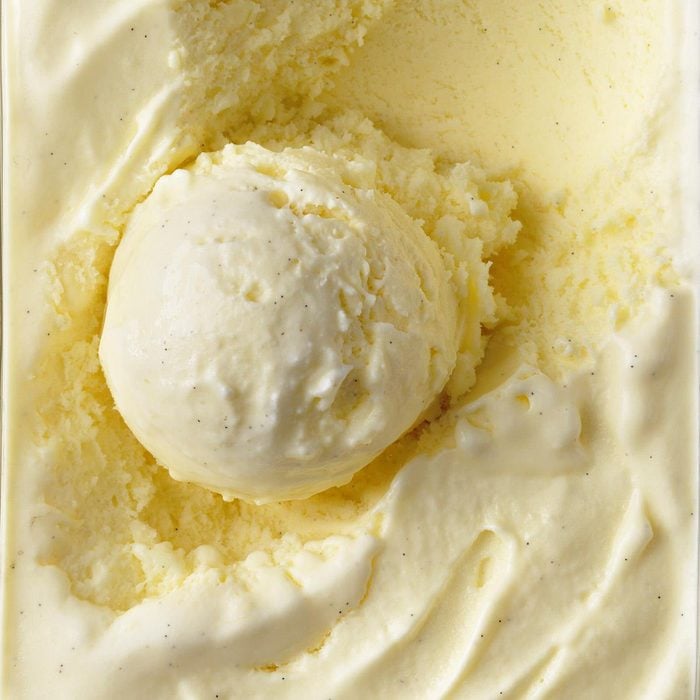
When you think of a classic vanilla bean ice cream with a creamy texture, this is the one. It's a must-try ice cream recipe for vanilla fans, but can also be the tasty foundation for flavors like cookies and cream or strawberry ice cream. After making a custard base on the stove, use your ice cream maker to churn and freeze it.
This ice cream is technically a custard since it contains eggs. After lots of testing (and tasting), I've found that eggs are the key to making a smooth and creamy treat that rivals what you can get at a premium ice cream shop. —Peggy Woodward, Taste of Home
Senior Food Editor
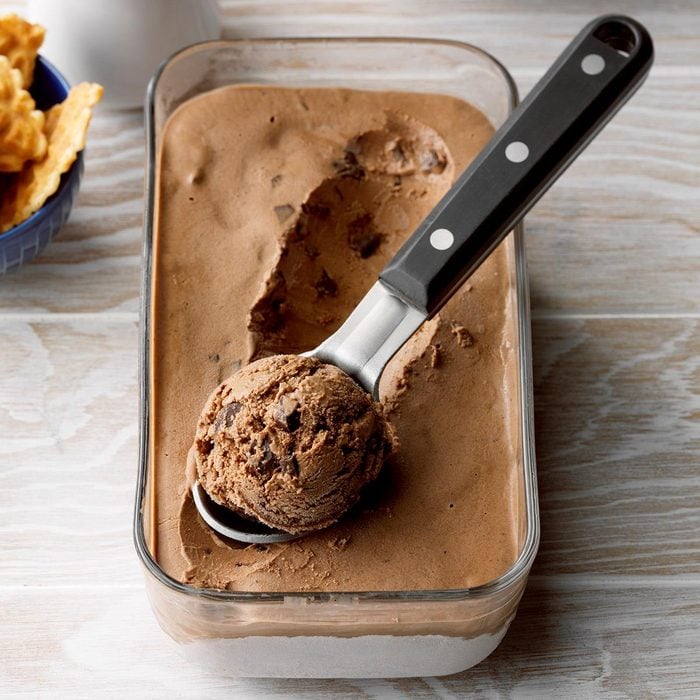
Easy Chocolate Ice CreamTotal Time: 30 minutes + freezing
Main Ingredients: Half-and-half, cocoa, whipping cream, sugar, vanilla extract
Level: Beginner
There's no reason not to make your own chocolate ice cream when it's as easy as this. Whip ingredients together in a blender, then process them in an ice cream maker. Serve the ice cream very soft right after processing or pop it in the freezer to firm up. Use up what you don't serve in
chocolate ice cream desserts.
This super simple chocolate ice cream recipe is the perfect treat at a moment's notice. It's also a bonus that most of the ingredients are kitchen staples. —Taste of Home
Test Kitchen
Homemade Strawberry Ice CreamTotal Time: 40 minutes + cooling and freezing
Main Ingredients: Sweetened strawberries, whipping cream, egg yolks, milk, sugar
Level: Beginner
This summery ice cream bursts with fresh strawberries and has a rich base made with egg yolks and cream. It's delicious on its own, but just imagine that flavor folded into ice cream sandwiches, layered into an ice cream cake or smothered under hot fudge. Yum!
This creamy, luscious ice cream will remind you of the signature treat served at church ice cream socials. What dessert could be better? —Recipe Contributor Esther Johnson, Merrill, Wisconsin
Blueberry Ice CreamTotal Time: 35 minutes + chilling and freezing
Main Ingredients: Fresh or frozen blueberries, sugar, half-and-half
Level: Beginner
Two summer loves together at last: blueberries and ice cream. Simmer store-bought, frozen or
fresh-picked blueberries with sugar, then strain the sweetened juice for the ice cream base. Many readers like to run the pulp through a food mill to add a little texture.
The wild blueberries on our property spark recipe ideas. When my daughter and I made this ice cream at a Girl Guide meeting, it was well received. Even today, our 10 children, 19 grandkids and 4 great-grandchildren think it tastes great. —Recipe contributor Alma Mosher, Mohannes, New Brunswick
Disney's Dole WhipTotal Time: 10 minutes
Main Ingredients: Frozen pineapple, pineapple juice, vanilla ice cream
Level: Beginner
This treat is so refreshing on a hot day and takes no time to whip up—pun intended. If you can't wait for your next vacation, it's definitely one of the
Disney copycat recipes worth making at home.
Your kitchen will be the happiest place on Earth when you serve this sweet-sour treat. The recipe comes directly from the Disneyland app and tastes just like the real deal you'd order at the park. —Taste of Home
Test Kitchen
Coffee Ice CreamTotal Time: 30 minutes + freezing
Main Ingredients: Instant coffee, whole milk, sugar, sweetened condensed milk, whipping cream
Level: Intermediate
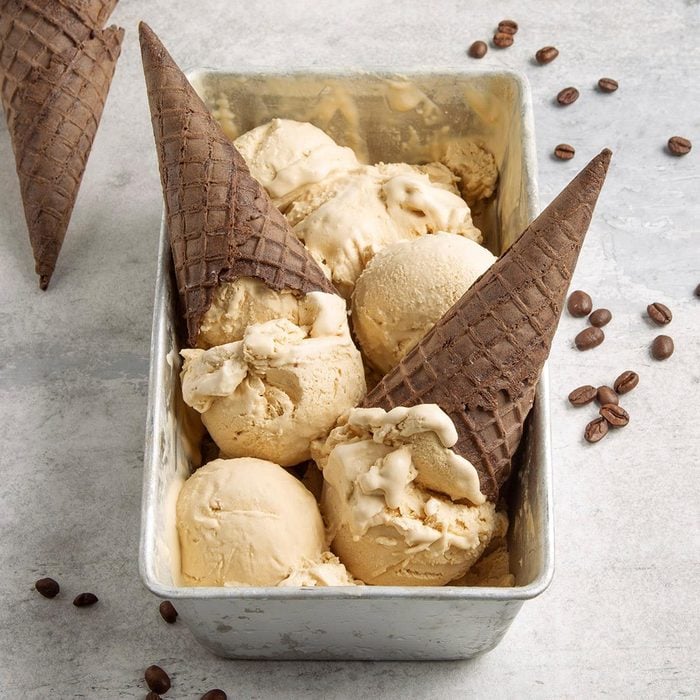
No ice cream maker necessary for this recipe. Instead, blend a coffee sauce with sweetened condensed milk and whipped cream and pop it straight into the freezer. This coffee ice cream is even better with mix-ins like chocolate chips, crushed Oreos or
chocolate-covered espresso beans.
I combined two recipes—one for vanilla ice cream and the other for a special coffee sauce—to create this homemade coffee ice cream. I serve it plain, scooped into a dessert dish, so the creamy coffee flavor can be enjoyed to the fullest. —Recipe contributor Theresa Hansen, Pensacola, Florida
Homemade Pumpkin Ice CreamTotal Time: 35 minutes + freezing
Main Ingredients: Canned pumpkin, whipping cream, brown sugar, cinnamon, ginger, cloves
Level: Beginner
All the spiced warmth of a
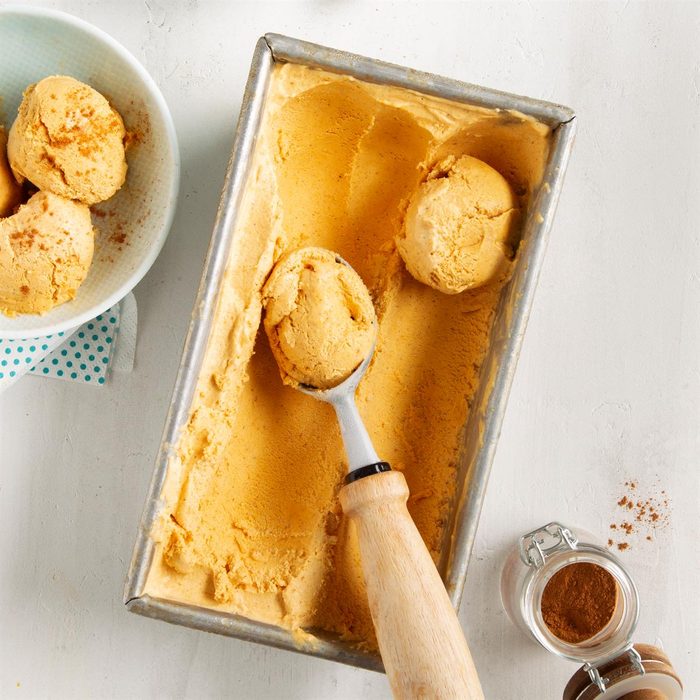
pumpkin pie is captured in this easy ice cream recipe. Just whisk the ingredients together and process them in your ice cream maker. Top it off with a drizzle of caramel or crumbled
ginger cookies.
Folks who favor the flavor of pumpkin really need to try this spiced pumpkin ice cream recipe. But be prepared to make more! —Taste of Home
Test Kitchen
Rocky Road Ice CreamTotal Time: 35 minutes + cooling and freezing
Main Ingredients: Half-and-half, whole milk, whipping cream, sugar, chocolate chips, mini marshmallows, chopped pecans
Level: Beginner
Rocky road is a textural masterpiece loaded with nuts, chocolate chunks and marshmallows. The recipe makes more than a gallon of ice cream, plenty to feed the whole crowd. When you're not serving a big group, halve the recipe for a smaller batch.
My daughters always want to put this rocky road ice cream in cones just like the ice cream shops do. We especially like the marshmallows, chocolate chips and chopped pecans. Sometimes we even add extra chips on top...and whipped cream too. —Recipe contributor Dale Langford Atwater, California
Peppermint Ice CreamTotal Time: 35 minutes + chilling and freezing
Main Ingredients: Whipping cream, half-and-half, peppermint extract, crushed peppermint candies
Level: Intermediate
You might be more likely to pull this recipe out around Christmas, but peppermint ice cream really is good all year round. Crushed peppermints or candy canes are folded into a frozen custard base. Churned in your ice cream machine, it has a creamy texture and cool, minty flavor.
With flecks of mint candy, this peppermint ice cream recipe is perfect for the holidays. —Recipe contributor Berneice Metcalf, Leavenworth, Washington
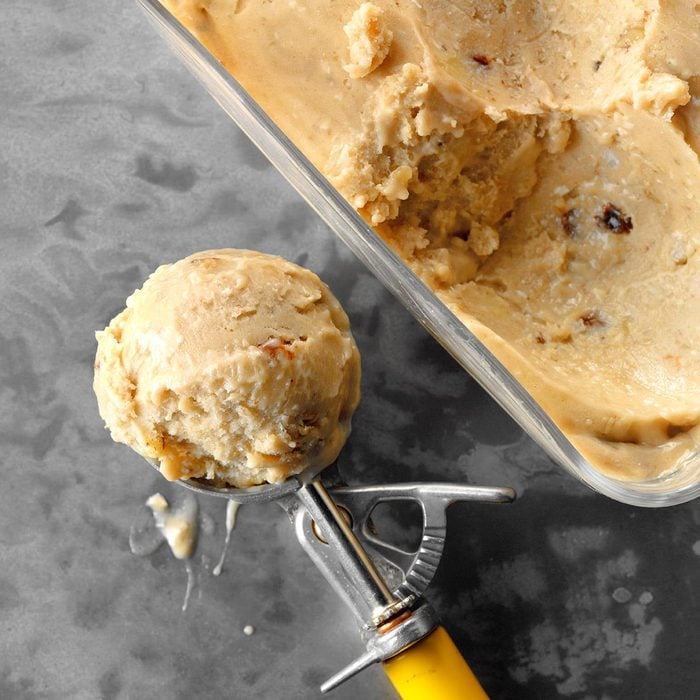
Chunky Banana Cream FreezeTotal Time: 15 minutes + freezing
Main Ingredients: Frozen bananas, almond milk, chopped walnuts, peanut butter, unsweetened shredded coconut
Level: Beginner
When you take a bite you'd never guess that this ice cream has no added sugar or heavy cream. The secret to the smooth texture is
frozen bananas, which whip up beautifully in a blender with almond milk and peanut butter to create the ice cream base.
Everyone loves ice cream, but we all know it doesn't make a great after-school snack. Until this! With its sweet banana-almond flavor and chunky texture, this appealing banana peanut butter "ice cream" is a crowd-pleaser. People who ask me for the recipe can't believe how easy it is to make. —Recipe contributor Kristen Bloom, Okinawa, Japan
Coconut Ice CreamTotal Time: 1 hour + cooling and freezing
Main Ingredients: Whole milk, heavy cream, shredded coconut, sugar, vanilla extract
Level: Beginner
You'll love the real coconut flavor in this ice cream. It comes from shredded coconut simmered with milk and from more coconut folded into the ice cream mixture. Try it with your favorite
ice cream toppings (like M&M's or crushed Heath Bar) or use coconut ice cream to make frozen, tropical cocktails.
This coconut ice cream recipe is a refreshing dessert that can cap off a warm summer evening. It has a nice coconut flavor without being too strong. —Recipe contributor Tamra Kriedeman, Enderlin, North Dakota
Strawberry GelatoTotal Time: 35 minutes + chilling and freezing
Main Ingredients: Strawberries, whole milk, whipping cream, sugar, corn syrup, honey, sea salt
Level: Beginner
It's easy to make this smooth strawberry gelato in your ice cream maker—and no pre-cooking is necessary. Honey and a little corn syrup sweeten the mixture, plus help keep the texture of the gelato silky smooth.
You'll love this smooth and creamy gelato with bright strawberry flavor and just a hint of sea salt and honey. Fresh raspberries or blackberries can be substituted for the strawberries if you prefer. If your berries are tart, add a touch more sugar or honey. —Recipe contributor Shelly Bevington, Hermiston, Oregon
Contest-Winning Butter Pecan Ice CreamTotal Time: 1 hour, 5 minutes + chilling and freezing
Main Ingredients: Chopped pecans, brown sugar, half-and-half, eggs, whipping cream, butter
Level: Intermediate
A creamy, brown sugar and vanilla base holds crunchy pecans that are toasted in butter. Whisk a bit of the hot cream into the eggs to temper them, bringing their temperature up without scrambling them. It's an important step, so don't skip it!
This rich buttery ice cream sure beats store-bought versions. And with its pretty color and plentiful pecan crunch, it's nice enough to serve guests at a summer party. —Recipe contributor Jenny White, Glen, Mississippi
London Fog Ice CreamTotal Time: 1 hour, 35 minutes + chilling and freezing
Main Ingredients: Earl Grey tea bags, half-and-half, whole milk, eggs, sweetened condensed milk, vanilla bean
Level: Intermediate
The classic London fog latte inspired this ice cream, with the irresistible bergamot orange flavor of Earl Grey tea. It's an unexpected and sophisticated ice cream that's perfect for special occasions like Mother's Day, showers or dinner parties.
I took one of my favorite coffee shop beverages and turned it into this elegant London fog ice cream. For a star dessert, serve it with lemon sandwich cookies or in a simple glass rimmed with sugar, lavender and lemon zest. —Recipe contributor Noelle Myers, Grand Forks, North Dakota
Bourbon Ice CreamTotal Time: 40 minutes + chilling and freezing
Main Ingredients: Heavy cream, 2% milk, brown sugar, egg yolks, bourbon, vanilla extract
Level: Intermediate
Bourbon-spiked recipes are some of our favorites to use for (grown-up) game nights or birthday parties. Sundaes made with bourbon ice cream and toppings like cherries, chocolate or caramel are next-level dreamy!
The brown sugar in this decadent bourbon ice cream gives a hint of caramel flavor, which complements the bourbon. When the custard is still liquid, before it goes into the ice cream maker, add more or less bourbon to suit your taste. —Peggy Woodward, Taste of Home
Senior Food Editor
Homemade Ice Cream SandwichesTotal Time: 35 minutes + freezing
Main Ingredients: Boxed chocolate cake mix, shortening, butter, egg, ice cream
Level: Intermediate
Make your own chocolaty, cakey wafers to hold a generous helping of premade ice cream (store-bought or one of the tasty recipes in this collection). Just like the ice cream sandwiches you'd buy at the store, you can store these in the freezer for up to three months.
Why settle for store-bought ice cream sandwiches when you can have ones that taste even better and aren't that difficult to make? —Recipe contributor Kea Fisher, Bridger, Montana
Best Banana Ice CreamTotal Time: 35 minutes + chilling and freezing
Main Ingredients: Ripe bananas, half-and-half, whipping cream, evaporated milk, eggs, sugar, vanilla extract
Level: Intermediate
Here's a truly indulgent banana ice cream, made with an egg and cream custard base and churned up in your ice cream maker. It's a brilliant way to use up
brown bananas, which are wonderfully sweet in this dessert and blend smoothly into the mixture.
My son-in-law says this is the best banana ice cream he's ever had. It's always requested at family gatherings. —Recipe contributor Donna Robbins, Skiatook, Oklahoma
Rhubarb Crumble Ice CreamTotal Time: 35 minutes + cooling and freezing
Main Ingredients: Fresh or frozen rhubarb, oats, sugar, whipping cream, half-and-half, cinnamon, vanilla extract
Level: Intermediate
Instead of topping a fruit crumble with ice cream, this brilliant recipe folds the crumble right into the ice cream mixture! It's a perfect summertime dessert for picnics and cookouts.
This rhubarb crumble ice cream combines two of my favorite desserts into one fantastic creation! If you close your eyes, it actually tastes like you're taking a bite of fresh rhubarb crumble with a scoop of vanilla ice cream on top. Throw this into a waffle cone and enjoy a classic summertime treat! —Recipe contributor Shannon Dobos, Calgary, Alberta
Triple Chocolate Ricotta Ice CreamTotal Time: 40 minutes + freezing
Main Ingredients: Whole milk ricotta cheese, whole milk, whipping cream, cream cheese, sugar, milk and dark chocolate, cocoa
Level: Beginner
Ricotta cheese recipes are creamy and milky—and ice cream is no different. Chocolate lovers, this one's for you: The ricotta base is blended with cocoa and melted chocolate, with dark chocolate chunks added near the end of the mixing time.
You're going to fall in love with this thick, luxuriously rich ice cream made with ricotta cheese. It has a creamy texture that can't be beat. —Recipe contributor Colleen Delawder, Herndon, Virginia
Almond Butter Swirl Ice CreamTotal Time: 25 minutes + freezing
Main Ingredients: Coconut milk, almond milk, almond butter, sugar, chocolate chips, sea salt
Level: Beginner
This homemade ice cream is completely dairy-free and it's really easy to make. The no-cook base combines almond and coconut flavors, with chocolate chips added as it churns in the ice cream maker.
Warm weather days require ice cream! However, dealing with dairy intolerances can be tricky. This dairy-free recipe is a favorite at our house, especially with kids! —Recipe contributor Courtney Stultz, Weir, Kansas
Easy Strawberry Cheesecake Ice CreamTotal Time: 40 minutes + freezing
Main Ingredients: Fresh strawberries, cream cheese, whipping cream, half-and-half, lemon juice and zest, sugar
Level: Beginner
An easy-to-make ice cream recipe that tastes exactly like a piece of strawberry cheesecake. Enjoy it scooped into dishes or cones, or try something really unique—like turning it into an
ice cream pie with a graham cracker crust. When you're serving it for guests, add scoops to shortcakes with sliced strawberries and whipped cream!
When I got my ice cream maker, a friend shared her dreamy freezy cheesecake recipe. For guests, I scoop this into tart shells. —Joan Hallford, North Richland Hills, Texas
Homemade Ice Cream FAQ
What ingredients do you need to make homemade ice cream?
To make
homemade ice cream, you often need heavy cream, whipping cream and half-and-half (or a combination). Their high levels of milk fat, along with the air incorporated during churning, give ice cream a smooth and creamy texture. Sugar is another important ingredient, so you'll need granulated sugar, corn syrup, brown sugar or sweetened condensed milk, depending on the recipe. Sugar adds sweetness and keeps the ice cream softer once it's frozen. To create a
really rich ice cream, recipes call for eggs or egg yolks, which are used to create a cooked custard base.
Once you have these essentials you can choose other ingredients to flavor your ice cream like extracts, spices, cocoa, cookies and fruit.
How long does a home ice cream maker need to run?
A home ice cream maker's churning cycle is typically around 20 minutes; check the manufacturer's instructions for your model. Be sure all the ingredients you add to the machine are very cold to help the process go more quickly. Depending on the size of your machine, you may need to process your ice cream mixture in batches—the cylinder should only be filled two-thirds of the way since the ice cream will expand as it freezes.
Can you make ice cream without an ice cream maker?
Yes! Some recipes call for the liquid mixture to simply be frozen until solid—ice creams made this way will have an icy texture. To achieve a creamy texture
without an ice cream maker, pour the ice cream mixture into a 13x9-inch baking dish and freeze it for 30 minutes. Beat the mixture with a hand mixer, and freeze for another 30 minutes. Repeat these steps four or five times until the ice cream is firm.
How long does homemade ice cream last in the freezer?
Transfer your homemade ice cream into freezer-safe containers. Ice cream fanatics can even invest in special
ice cream storage tubs. Press a sheet of waxed paper or plastic wrap to the surface of the ice cream to prevent crystals from forming, then cover the container tightly. Store your homemade ice cream in the freezer for two to three months.
