


How to Carve a Ham


Updated: May 06, 2024
That whole ham will look impressive on your holiday table, but carving it up can feel overwhelming. Don't worry, though. It's easy to learn how to cut a ham!
Preparing a meal for a holiday or family celebration can be stressful. Luckily, you can turn the event into a stress-free dinner by serving ham as the main event. Even beginners can learn how to cook a ham because the meat is already cooked or smoked before you purchase it.
The trickiest part of serving ham is getting it off the bone. Learning how to cut a ham isn’t hard, but it’s easy to get out of practice if you only do it once a year. Follow along with our handy guide to learn how to carve a ham.
What Is the Best Ham to Buy?
There are several types of ham, so you’ll want to choose the right ham for your circumstances. For the best flavor, we recommend choosing a bone-in ham. The bone adds extra flavor as it cooks, and it also keeps the meat juicy and moist.
Bone-in hams are sold in a few different options: the shank half and the butt half. The shank half (from the lower portion of the leg) is less expensive, but it’s also less meaty and the meat is a little tougher. That said, it’s easier to carve because it only has one long bone.
The other option is the butt half (from the upper half of the leg). It’s larger, more tender and juicier than the shank half because it contains more fat. It’s also a little trickier to navigate when carving because the bone has a bit of curve, and the roast may contain part of the hip bone.
No matter which you choose, we recommend looking for hams listed as “half.” These are large enough to serve about 14 people, and they include the desirable center slices. Looking for the easiest ham to carve? Choose one labeled “semi-boneless.” It only includes the center femur bone that’s easy to work around.
These are the best ham brands, according to our Test Kitchen.
How to Cut a Ham
Tools You’ll Need
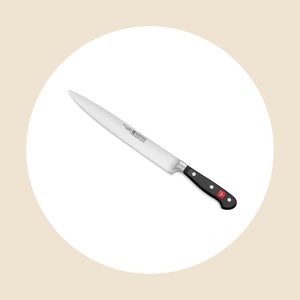
- Sharp knife: A dull knife is a dangerous knife. It can slip as you cut through the ham, leading to a situation that will ruin dinner! Spend a quick minute to sharpen your knife before getting started. As far as which knife to choose, we recommend a carving knife with a long, thin blade.
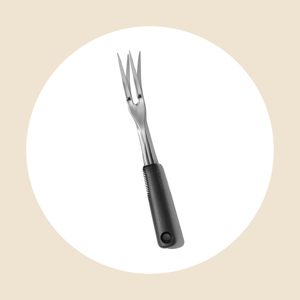
- Carving fork: This may seem like a silly accessory, but the carving fork helps stabilize the ham as you cut. If you only serve a roast once a year, you could use a regular fork or a sturdy pair of tongs. However, the carving fork is inexpensive and classy (especially when carving tableside), so we recommend picking one up. If you’re in the market for a new carving knife, you can choose one sold as a set with the fork.
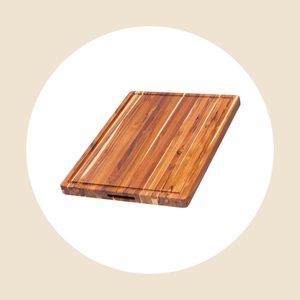
- Carving board: You definitely want a carving board that’s large enough to hold the whole ham, but you also want it to be heavy and sturdy. There’s nothing worse than a board that slides around as you’re trying to slice. We recommend using a cutting board with grooves to catch any extra juices for easy clean-up.
Directions
Step 1: Set up your carving board station
One of the most common mistakes is crowding yourself into a too-small area to carve. If your cutting board is too small, you’re making this task harder than it needs to be. You’ll also want to set up your carving board at a normal working height (don’t hunch over the table to carve in front of your guests) and leave yourself some elbow room.
Step 2: Carve off a boneless section
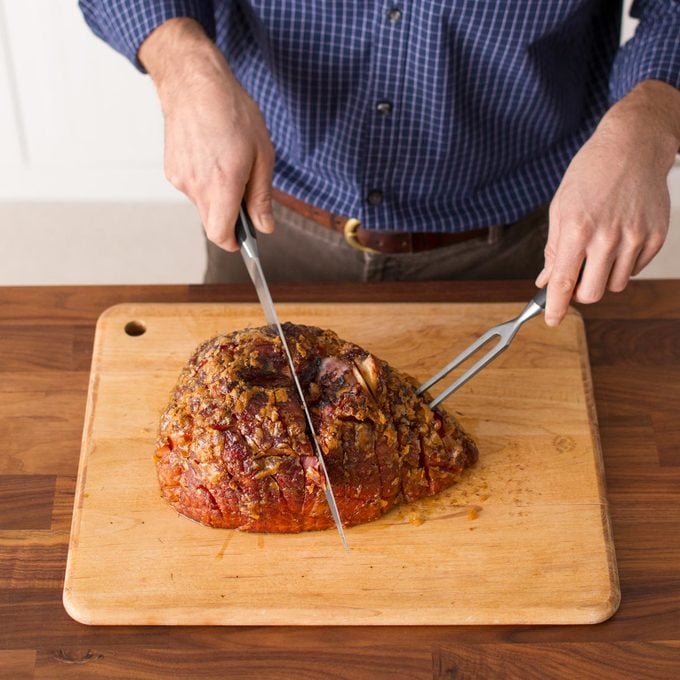
After baking the ham and letting it rest, arrange the ham cut-side down on the cutting board. This positions the bone perpendicular to the board. Use the fork to pierce the top corner of the meat, inserting it deep enough to hold the ham but positioning it out of the way of your knife. Locate the bone and carve down alongside it toward the cutting board, removing the boneless section of meat.
Step 3: Slice the boneless section
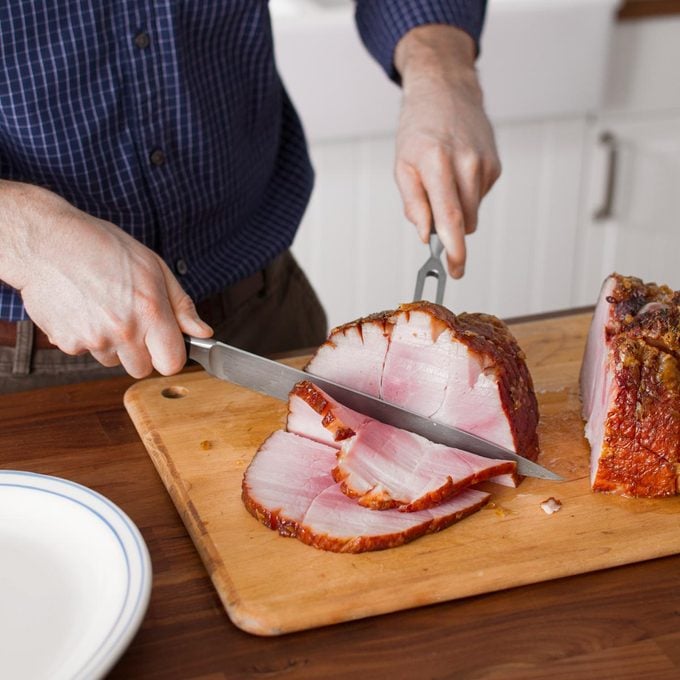
Now that you have a boneless section of ham, carve it into vertical slices. The thickness is up to you, but we recommend 1/4-inch thick slices. They’re thick enough to serve for dinner but thin enough for leftover ham sandwiches. Set the slices on a serving plate and tent the plate with foil to keep them warm.
Step 4: Slice the bone-in section
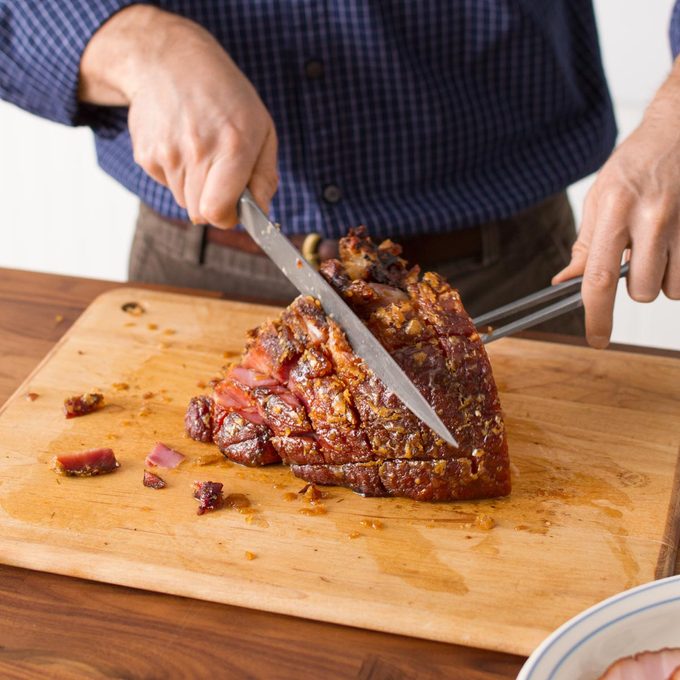
This part is a bit trickier, but it’s not hard with a little practice. Position the ham so the bone is parallel to the cutting board. Insert the fork right next to the bone to hold the ham in place. Make vertical cuts from the top, stopping when your knife hits the bone. Then, turn your knife so it’s parallel to the cutting board and make one long horizontal cut along the bone to remove the slices. They’ll fall neatly onto the cutting board! Transfer them to the serving plate with the other ham slices.
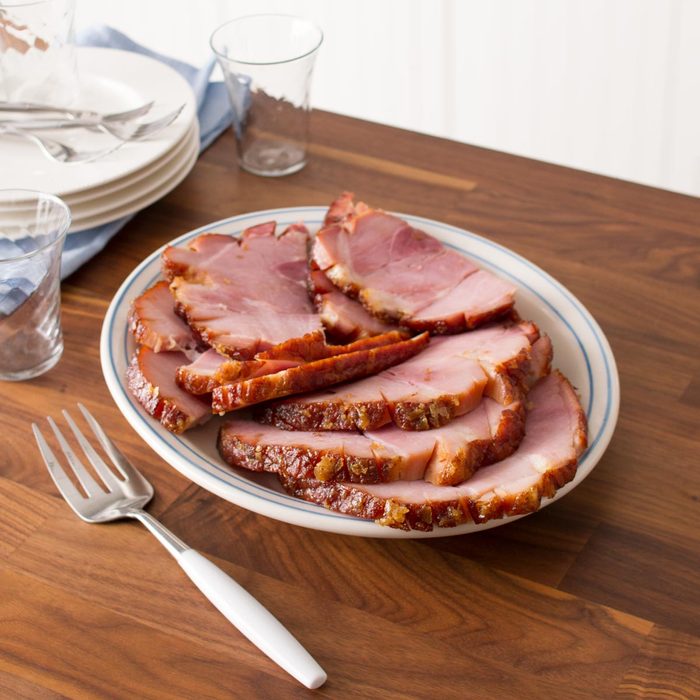
Step 5: Arrange and serve
Now that the ham is sliced, neatly arrange it on the serving plate and get ready to enjoy. Don’t forget to save the ham bone!
What Should I Do with the Ham Bone?
No matter how well you carve the ham, there’s always a decent amount of meat remaining on the bone. It’s not worth serving to your guests, but don’t throw it out. If you scrape the bone with your knife, you’ll end up with a lot of small, uneven pieces of meat. They’re perfect for a ham casserole or stuffed baked potatoes.
The bone itself is worth saving, too. It will infuse split pea soup or bean dishes with a ton of extra flavor. If you’re not ready to use it right away, freeze the bone in a freezer-safe bag. It will be good for about six months in the freezer.
Before you go, make sure to check out our favorite Easter ham recipes!
Originally Published: April 04, 2022