Funfetti cake is a reminder that it’s what’s on the inside that counts. Slice into this fluffy white cake, and you’re greeted by a rainbow of color. Whether you call ’em sprinkles, jimmies or nonpareils, the confetti-like candy speckling the batter says one thing: It’s party time.
That’s why this delightful dessert is perfect for any kind of celebration. Bring it to birthday parties or graduations—or bake it up on a weeknight to liven up a ho-hum day.
Maybe you’ve picked up the boxed stuff before, but it’s so simple (and much more delicious) to make it from scratch. Follow along as our Test Kitchen shows you how to make and decorate Funfetti cake.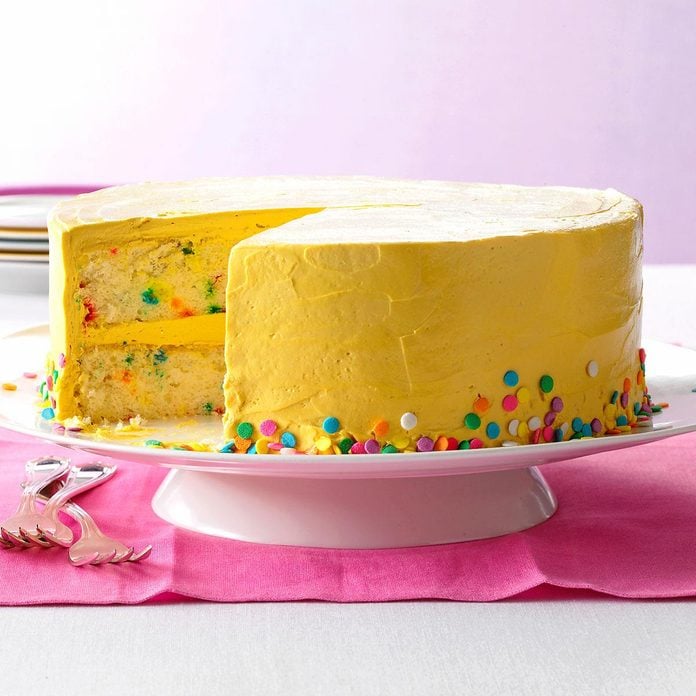
Funfetti Cake Ingredients
Cake:
- Cake flour
- Sugar
- Baking powder
- Salt
- Unsalted butter
- Egg whites
- 2% milk
- Clear vanilla extract
- Almond extract
- Rainbow sprinkles
Buttercream frosting:
- Egg whites
- Light brown sugar
- Salt
- Unsalted butter, softened
- Cear vanilla extract
- Yellow food coloring, optional
- Confetti sprinkles
Directions
Step 1: Prep the pans
Start off by preheating your oven to 350°F. Get out the shortening and grease two 9-inch round baking pans, then line the pans with parchment paper and grease the paper, too. This will help the cakes release from the pans perfectly.
Step 2: Make the Funfetti cake batter
In a large bowl, whisk flour, sugar, baking powder and salt. Slowly beat in the butter. Add the egg whites, one at a time, beating well after each addition. Gradually beat in the milk and extracts.
Once combined, it’s time to make the magic happen. Grab the sprinkles and gently stir them into the batter. Fold in those rainbow-colored delights just until they’re evenly dispersed, being careful not to over mix the batter.
Test Kitchen Tip: Don’t have time to bake a cake from scratch? Simply add 1/3 cup rainbow sprinkles to your favorite white or yellow cake mix from the box.
Step 3: Stir in the sprinkles
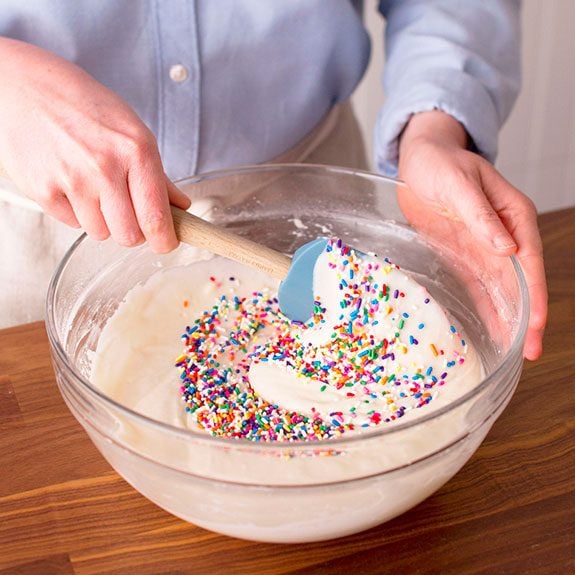
Split the confetti-speckled batter evenly between the prepared pans. Gently tap the pans against a countertop to release any air bubbles. Tapping the pans also helps smooth out the surface, but if it still looks uneven, have at it with a rubber spatula.
Step 4: Bake the cake
Stick the cakes in the oven for 20 to 25 minutes or until a toothpick inserted in the center comes out clean.
Once they’re cooked, let the cakes cool in their pans for 10 minutes or so, then transfer to wire racks to cool completely before frosting.
Step 5: Make the buttercream
While the cakes are cooling, make the frosting. In a heatproof bowl of a stand mixer, whisk together egg whites, brown sugar and salt until blended. If you don’t have a stand mixer, this recipe can double as a workout for the arms and shoulders! Place the bowl on a double boiler so it sits over simmering water in a large saucepan over medium heat. Whisk the mixture constantly until a thermometer reads 160°. This will take two to three minutes.
Remove the bowl from the heat. With the whisk attachment of a stand mixer, beat on high speed until stiff, glossy peaks form, about seven minutes. Gradually beat in the softened butter, a few tablespoons at a time, on medium speed until smooth. Finally, beat in the vanilla extract and, if desired, food coloring.
Test Kitchen Tip: Use clear vanilla extract—the dark stuff alters the frosting’s hue.
Step 6: Frost the cake
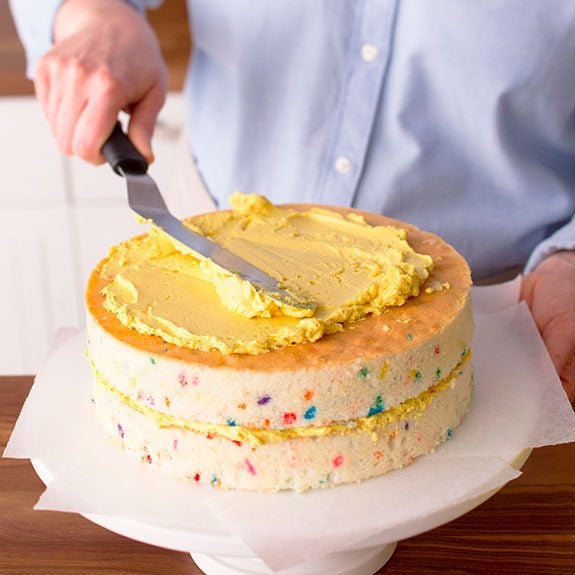
Pull out your favorite serving plate or just a cardboard cake circle, like pro bakers do. Frosting a cake can get messy. To achieve a clean look, line the edges of the serving plate with strips of parchment paper, then lay a cake layer on top. Spread frosting liberally between the layers and over the top and sides of the cake.
Step 7: Decorate the cake
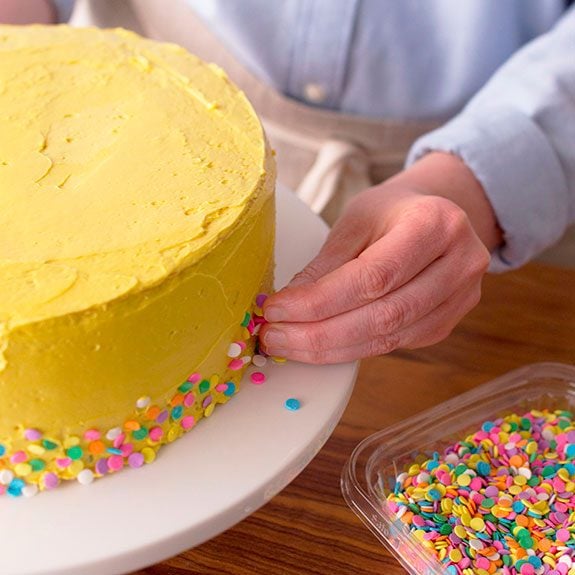
To decorate as shown, grab a handful of sprinkles and lightly press them into the bottom edge of the cake.
Test Kitchen Tip: To avoid getting confetti all over your kitchen, keep the parchment under your cake until you’ve finished pressing on the sprinkles. Then remove each piece of parchment by gently tugging it from beneath the cake.
Funfetti Cake Variations
Now that you’ve mastered making Funfetti cake from scratch, it’s easy to expand on this rainbow recipe. Here are a few ideas:
- Bake the cake batter in ice cream cones, like we do in our cupcake cones recipe.
- Make Funfetti cupcakes or mini cupcakes.
- Use birthday cake-flavored ice cream between the cake layers. Check out our recipe for Funfetti-style ice cream birthday cake to see how it’s done.
Funfetti Cake Tips
How do you store Funfetti cake?
If you manage to have any leftovers of this tasty cake, keeping it fresh is a breeze. Simply cover any exposed cake with a piece of plastic or beeswax wrap to keep the cake from drying out.
Then place the leftover cake in a cloche or cake carrier and store it in the fridge for up to four days.
What other types of frosting work on this cake?
For this recipe, we’re making a rich, brown-sugary buttercream, but feel free to switch it up with classics like creamy fudge frosting or easy vanilla frosting.
How else can you decorate Funfetti cake?
Don’t limit yourself to rainbow sprinkles. Candy sprinkles come in tons of different shapes and colors. Try decorating your cake with hearts, stars, snowflakes or other seasonal sprinkles to suit the occasion.