


How to Temper Chocolate

Updated: Feb. 05, 2024

Learn how to temper chocolate, a professional technique for chocolate creations that look as incredible as they taste.
Tempering chocolate gives homemade candy and chocolate-dipped treats a beautiful and firm finish. Use the best quality chocolate you can afford. I like the brands Callebaut, Ghirardelli, Lake Champlain and Valrhona. Use bars, blocks or wafers of chocolate. You might find your chocolate has a few scuffs or scratches—this happens during handling and is normal.
Don’t use chocolate chips, though. Even high-quality baking chips have added stabilizers that will prevent proper tempering.
Here’s all you need to know about how to temper chocolate!
On This Page
What does it mean to temper chocolate?
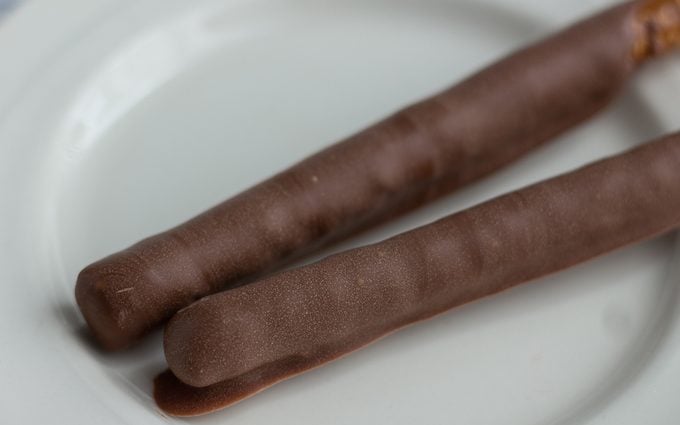
Tempering is a process that gives hardened chocolate a flawlessly smooth surface, which is exactly what you want for candy, truffles and bark—not to mention molded chocolates like hot cocoa bombs and chocolate lollipops.
Chocolate contains cocoa butter, and crystals in the cocoa butter are complex. Left to their own devices when heated, they form an unstructured, loose mass that results in dull, unappealing chocolate. Tempering the melted chocolate creates a network of stable cocoa butter crystals. When tempered chocolate hardens, these crystals form a solid structure that gives chocolate a glossy finish, smooth mouthfeel and a satisfying snap when you break it.
Bringing chocolate into temper requires heating and cooling it to precise temperatures that create those stable crystals.
What happens if you don’t temper chocolate?
Chocolate that is simply melted without controlling the temperature won’t have a solid network of stable crystals. This means that the finished chocolate will have a speckled, streaky finish—and no snap.
But the advantages of tempering go beyond appearance. Untempered chocolate takes much longer to solidify, and even once set will be soft instead of firm. Home cooks anxious to set their untempered chocolate may try sticking it in the fridge, but doing so increases the chances of a grainy texture and mottled surface.
Test Kitchen tip: There are times when you don’t have to worry about tempering, like when making chocolate fondue or using the melted chocolate to make things like cakes and brownies. For those recipes, learn how to melt chocolate in five easy ways.
What is blooming?
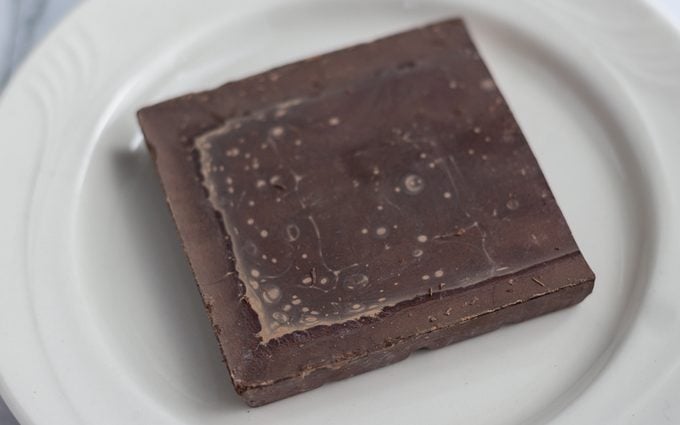
Have you ever found a piece of chocolate with grayish-white spots or a dusty appearance? This is blooming. The cocoa butter crystals have migrated to the surface of the chocolate. Though it’s technically still fine to eat, blooming does create an unappealing grainy and crumbly texture. (Here are other common chocolate mistakes and how to fix them.)
To prevent blooming, avoid exposing your chocolate to extreme temperature changes—and this includes refrigeration. Store chocolate at a more moderate temperature, around 65° F. Because moisture and humidity also cause blooming, keep your chocolate well-wrapped or in an airtight container.
How to Temper Chocolate in the Microwave
I prefer the microwave method, because it’s easier to bring the chocolate to the proper temperature without it getting too hot. Use this tempered chocolate to coat some homemade truffles!
Ingredients
- 12 ounces or more of quality chocolate, chopped into small pieces
Tools
- Microwave
- Microwave-safe bowl
- Digital thermometer
- Large spoon or rubber spatula
Directions
Step 1: Melt some of the chocolate
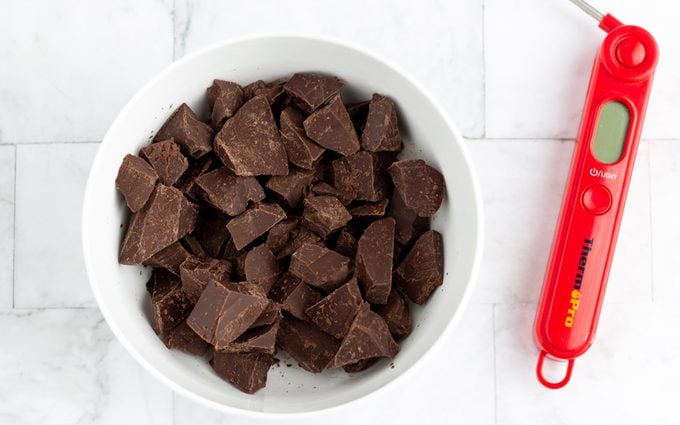
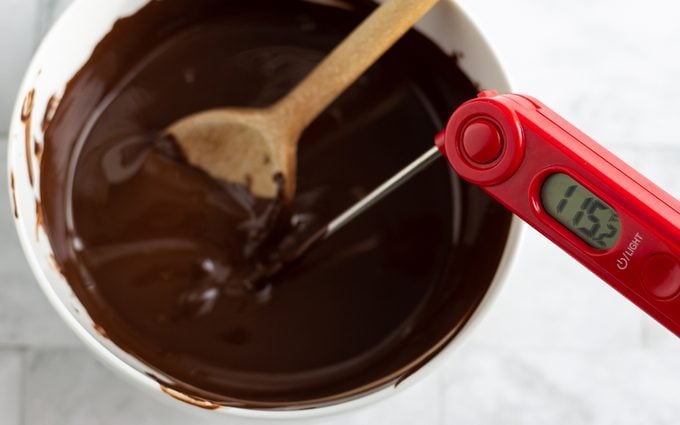
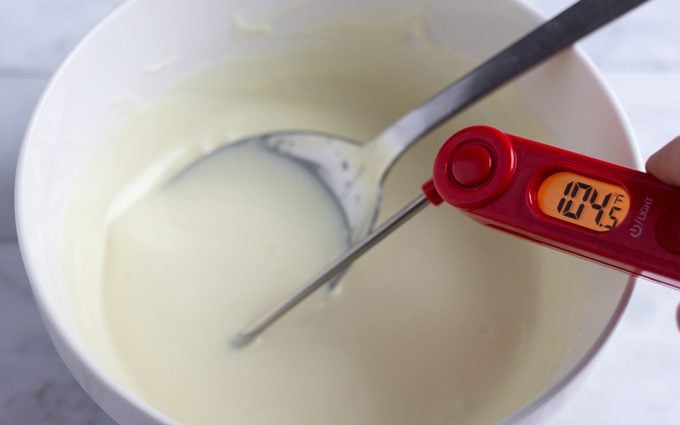
Place two-thirds of the chopped chocolate into a microwave-safe bowl. Microwave the chocolate for 20 seconds, then stir the chocolate. Continue microwaving the chocolate in intervals, decreasing the length of time as you get closer to the target temperature and stirring after each interval. Check the chocolate with the thermometer until the chocolate is at the proper temperature:
- Dark chocolate: about 115°
- Milk chocolate: about 108°
- White chocolate: about 104°
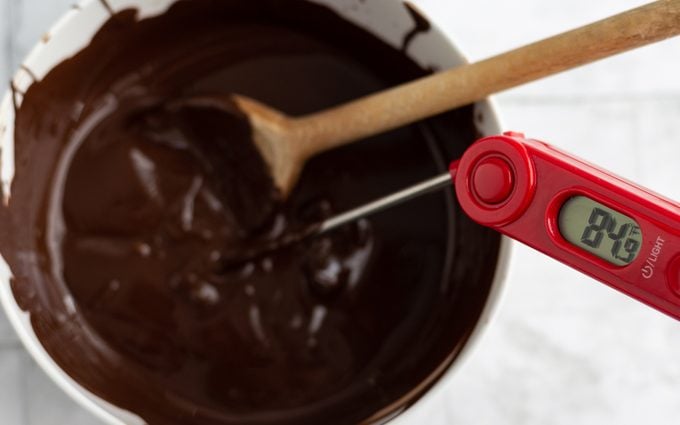
Step 2: Add the rest of the chocolate
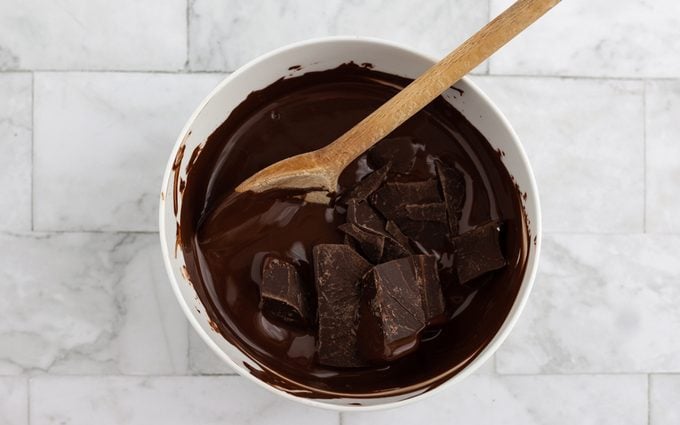
Add in the remaining chocolate chunks. Stir the melted and solid chocolate together, scraping the bottom and sides of the bowl, to bring the temperature down. Use your digital thermometer to check it, and continue to stir as the chocolate comes into temper. You will notice the chocolate becoming thicker and more lustrous. Continue until you reach the proper temperature for your chocolate:
- Dark chocolate: 84°
- Milk chocolate: 82°
- White chocolate: 82°
Step 3: Test the chocolate
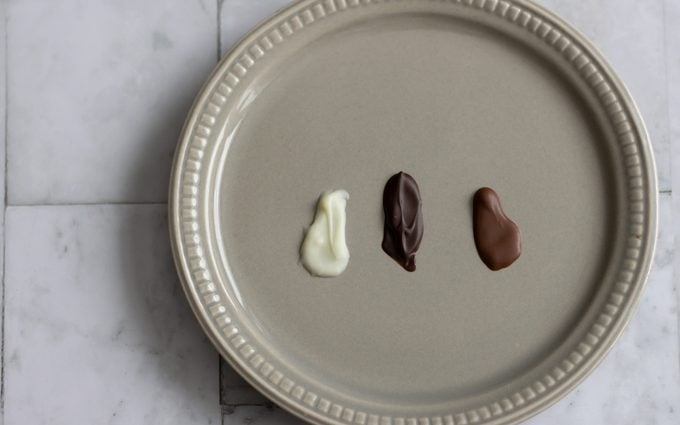
To see if your chocolate is in temper, spread a tiny bit on a plate. If the chocolate sets in about 2 minutes and has a smooth finish, it’s in temper and is ready to use. If it takes several minutes to set (or doesn’t set), bring the temperature down a few more degrees and test again.
Step 4: Keep your chocolate in temper
You can keep your chocolate warm to make it easy to work with, over a pan of warm water or even resting on a heating pad set to low. However, it’s important to keep it in temper. Keep your thermometer handy, and don’t let the temperature rise above 90° or fall below 80°. If your chocolate does go out of temper, you will need to temper it again.
How to Temper Chocolate in a Double Boiler
Be sure to heat the chocolate slowly and check the temperature often with a digital thermometer.
Ingredients
- 12 ounces or more of quality chocolate, chopped into small pieces
Tools
- Double boiler, or a heatproof bowl set over a saucepan
- Digital thermometer
- Large spoon or rubber spatula
Test Kitchen Tip: Water is the enemy of melting chocolate! Even one drop can cause the chocolate to seize into a hard, grainy mess. Thoroughly dry your pan and utensils before beginning. Watch your double boiler closely to prevent steam or droplets from seeping into your chocolate.
Directions
Step 1: Bring water to a simmer
Pour about 1 inch of water into the bottom pan of the double boiler. Bring it to a simmer and then remove the pan from the heat.
Step 2: Melt some of the chocolate
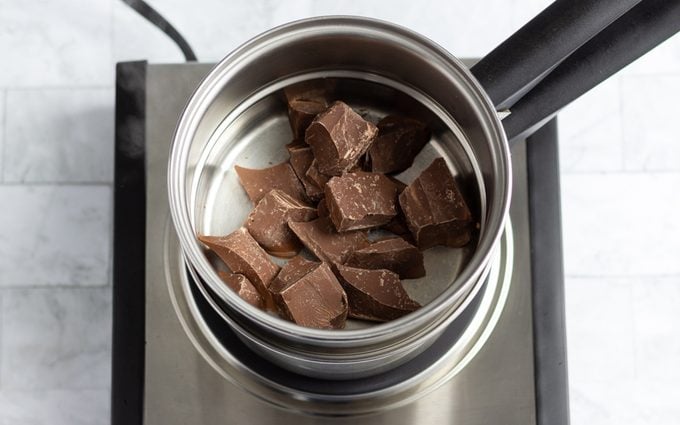
Place two-thirds of the chopped chocolate into the upper pan (or into the bowl set over the hot water.) Stir and melt the chocolate, and use the thermometer to bring it to the proper temperature:
- Dark chocolate: about 115°
- Milk chocolate: about 108°
- White chocolate: about 104°
Step 3: Add the rest of the chocolate
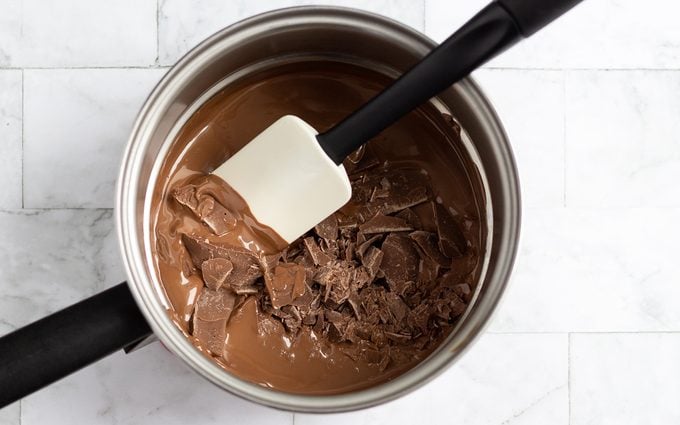
Remove the pan of chocolate from the lower pan of water. Add in the rest of the chocolate chunks. Stir the melted and solid chocolate together; as you do this the temperature will begin to come down. Use your digital thermometer to keep an eye on the temperature while stirring as the chocolate comes into temper. The chocolate will become thicker and more lustrous. Continue until you reach the proper temperature for your chocolate:
- Dark chocolate: 84°
- Milk chocolate: 82°
- White chocolate: 82°

Step 4: Test the chocolate
To see if your chocolate is in temper, spread a tiny bit on a plate. If the chocolate sets within two minutes and has a smooth finish, it’s in temper and is ready to use. If it takes several minutes to set (or doesn’t set), bring the temperature of the chocolate down a few more degrees and test it again.
Step 5: Keep your chocolate in temper
You can keep your chocolate warm to make it easy to work with, over a pan of warm water or even resting on a heating pad set to low. However, it’s important to keep it in temper: have your thermometer handy, and don’t let the temperature rise above 90° or fall below 80°. If your chocolate does go out of temper, you will need to temper it again.
Tips for Tempering Chocolate
Can you temper chocolate without a thermometer?
The most reliable way to temper chocolate is with a thermometer. Once you’ve mastered the technique you may be able to do it without one because you’ll be familiar with what the chocolate should look and feel like. (Students at Le Cordon Bleu culinary school in Paris learn to test the temperature of chocolate on their skin, by dabbing a little just below the bottom lip.)
If you want to try tempering chocolate with no thermometer, remember to heat the chocolate very slowly, and to test a bit on a plate to see if it sets properly.
How many times can you temper chocolate?
Several times! Let your leftover tempered chocolate harden, then store it wrapped in a cool (not cold) location. Follow the steps above to temper it again for your next chocolate project.
Can you temper any chocolate?
Yes! Dark, milk and white chocolate can all be tempered, though I’ve found that dark chocolate is easiest to temper. Follow the temperature guides above, as each chocolate has different requirements. Remember to heat chocolate slowly so it doesn’t get too hot.
Alternatives to Tempering
If you need options to get a glossy coating for your candy, there are a couple of things you can try.
Candy coating wafers are made to melt and set quickly. Chocolate candy wafers are not true chocolate since they contain cocoa blended with oils and emulsifiers, but they are easy to use with reliable results. Find them online or at craft and cake decorating stores.
Another shortcut is to melt a small amount of vegetable shortening in with chocolate: about 1 teaspoon per 6 ounces of chocolate. The shortening gives gloss to the chocolate and helps it set a little more quickly. This is also a helpful alternative if the only chocolate you have on hand is chocolate chips, which do not temper well.
Originally Published: May 01, 2007