


How to Make the Best Dairy-Free Pumpkin Pie Recipe


Updated: Jan. 31, 2024

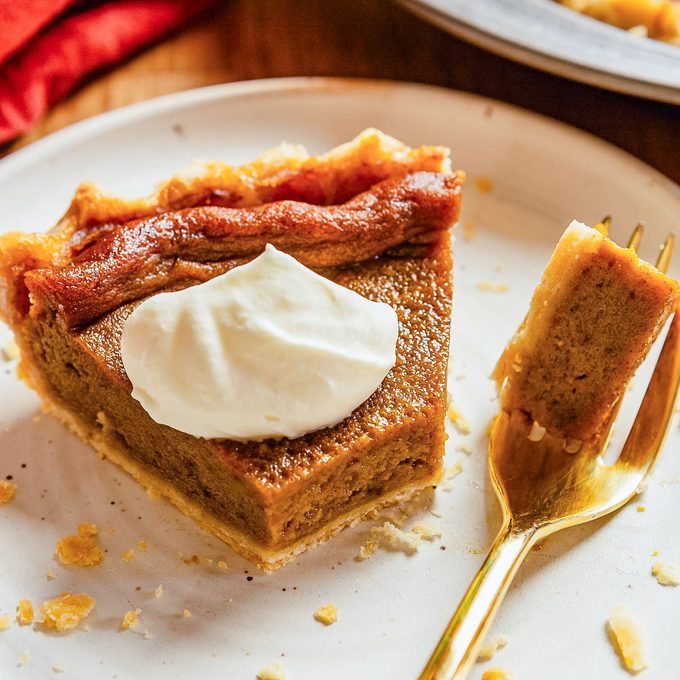
Just one ingredient swap transforms this traditional dessert into a rich and decadent dairy-free pumpkin pie.
This pumpkin pie has a secret: It doesn’t have any dairy! You can make our dairy-free pumpkin pie recipe using a nondairy milk alternative—we’re fans of almond milk—for a seasonal treat that’s perfect for everyone at the table. Top with your favorite homemade or store-bought dairy-free whipped cream, and you’ll never be able to tell the difference!
Dairy-Free Pumpkin Pie Ingredients
- Shortening: The key to a really flaky pie crust, dairy-free or not, is shortening. Unlike butter, shortening does not contain any water and is 100% fat. The lack of added water helps create layers of flaky pastry.
- Eggs: Eggs are essential for creating a creamy yet set dairy-free pumpkin pie filling. Make sure to use eggs labeled as large.
- Nondairy milk: There are so many options these days for nondairy milk. We recommend using an unsweetened and unflavored milk such as almond milk, soy milk or coconut milk.
- Brown sugar: Since evaporated milk is not used in this recipe, you’ll need quite a bit of added sugar. For a more molasses-forward flavor, use light brown sugar. Use dark brown sugar for an even deeper molasses base.
- Canned pumpkin: One can of pumpkin puree (not pumpkin pie filling) will make two pies. We love using this recipe for larger parties or multiple get-togethers in one week. See our notes on halving the recipe below if you don’t want to bake two.
How to Make Dairy-Free Pumpkin Pie
The recipe below was originally submitted by Gloria Warczak of Cedarburg, Wisconsin and modified by our Test Kitchen. It makes two 9-inch pies.
Ingredients
- 6 large eggs, room temperature
- 1 can (29 ounces) solid-pack pumpkin
- 2 cups packed brown sugar
- 2 teaspoons ground cinnamon
- 1 teaspoon salt
- 1/2 teaspoon ground cloves
- 1/2 teaspoon nutmeg
- 1/2 teaspoon ginger
- 2 cups nondairy milk (we recommend almond milk)
Crust:
- 2 cups all-purpose flour
- 3/4 teaspoon salt
- 2/3 cup shortening
- 4 to 6 tablespoons cold water
Directions
Step 1: Make the crust
Mix flour and salt in a large bowl, then cut in shortening. The mixture should start to resemble crumbs. Add water slowly. Toss dough with a fork until it forms one ball. Then, cut the pastry in half.
Flour a flat surface to prevent the dough from sticking, and roll out each section until it fits a 9-inch pie plate. Place the pastry on the plates. Trim the dough to 1/2-inch beyond the edge. Flute the edges. Set the pastry shells in a safe place.

Editor’s Tip: Want to save some time? We tested store-bought pie crusts to help you find a good one. Just be sure the one you buy is dairy-free!
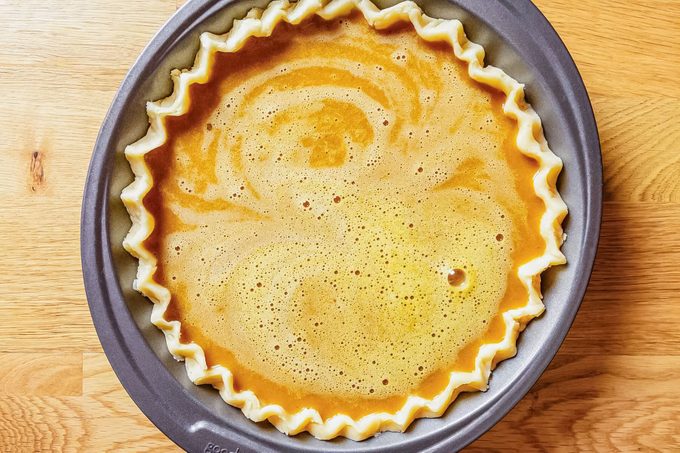
Step 2: Mix the filling
In a large bowl, beat together eggs, pumpkin, brown sugar, cinnamon, salt, cloves, nutmeg and ginger. Slowly stir in your nondairy milk. Once combined, pour the mixture evenly into both of the pastry shells.
Step 3: Bake to perfection
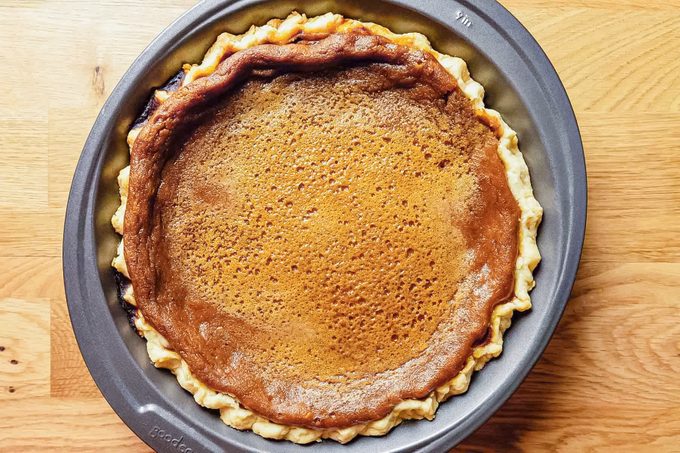
Bake at 450°F for 15 minutes, and then reduce heat to 350°. Bake for an additional 40 to 45 minutes, or longer, depending on the type of milk you used (see tip below). Cool on wire racks for an hour. Serve warm, or after refrigerating for at least three hours. Serve with a dollop of whipped coconut cream.
Editor’s Tip: The creaminess of your dairy-free replacement could lengthen cooking time. To test, insert a knife into the center—if it comes out clean, the pie is ready. You can also gently shake the pie. The filling should jiggle slightly when set.
How to Store Pumpkin Pie
You can keep the leftover pie in the refrigerator for up to four days. If you can’t finish two or want to make dessert in advance, you can freeze pie. Defrost in the refrigerator for at least 12 hours.
Looking for more dairy-free desserts? We have plenty!
Dairy-Free Pumpkin Pie Tips
How to find a substitute for evaporated milk
In many cases, traditional pumpkin pie calls for evaporated milk. Luckily for anyone following a dairy-free diet, there are plenty of alternative milks to make it just as decadent.
For this recipe, you don’t need to reduce any nut milk or seek out any specialty ingredients, but certainly can. To mimic the consistency of evaporated milk, place your almond milk on the stove and simmer; allow it to reduce and concentrate until thick.
Coconut milk, which is naturally sweet and creamy, can be substituted without this extra step; just make sure to buy full-fat coconut milk so it’s not too watery. Alternatively, you could try canned condensed coconut milk (though it can be tough to find).
If you’re short on time, you can mix a tablespoon of cornstarch with your sugar and spices to help thicken the filling.
Can I cut this recipe in half?
There’s nothing more annoying than a recipe that uses a partial can of pumpkin puree. This recipe uses an entire can, but it makes two pies. If freezing the pie isn’t of interest, you can halve the recipe so it only makes one. To do so, simply divide all of the ingredients in half and follow the same instructions. Use up the rest of the pumpkin puree to make pumpkin pancakes or pumpkin whoopie pies! Just make sure to use dairy-free milk.
Can I use an alternative to dairy-free shortening?
We think shortening is the best dairy-free alternative to butter for making a homemade pie crust. But if you want that buttery flavor that you just can’t get from shortening, feel free to substitute some, not all, of the shortening with a vegan butter. Miyoko’s butter is our favorite, but any vegan butter will work.
How to keep pumpkin pie from cracking
The beauty of this pumpkin pie recipe, aside from being dairy-free, is that the filling isn’t keen on cracking. The high sugar content keeps the pumpkin custard from firming up and cracking once cool.
To further ensure your pumpkin pie filling doesn’t crack, however, there are two things to keep in mind. One, don’t overcook the pie. Remove it from the oven once the filling is set and jiggles slightly. Two, let the pumpkin pie cool slowly on a wire rack at room temperature. If you speed up the cooling by popping it in the refrigerator, you risk the filling cracking.
The best way to add pie filling
The best and easiest way to fill a pie shell with pumpkin pie filling is to use a ladle. This helps you avoid dripping or splashing on the edges of the crust and also gives you more control over how full the pie shell gets. When filling your shells, you can also count by the ladle-full to ensure both shells get the same amount.
Originally Published: November 12, 2019