Vanilla Ice Cream in a Bag Recipe

Vanilla Ice Cream in a Bag Recipe 
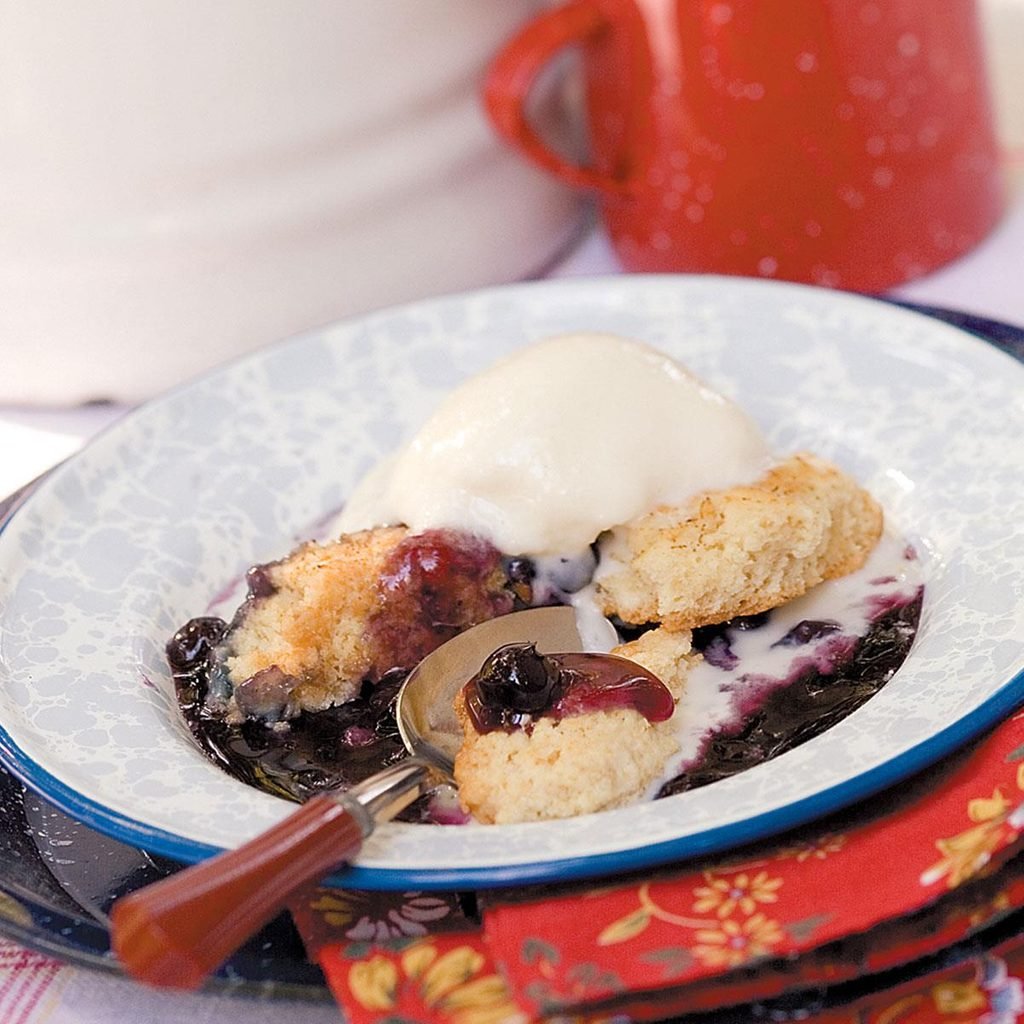
Vanilla Ice Cream in a Bag Recipe photo by Taste of Home Rating 5

Making homemade ice cream is an activity that can involve the whole family. Have the kids shake the bags until the liquid changes to ice cream. No one will be able to resist the taste!—Erin Hoffman, Canby, Minnesota

This recipe is:

Quick

Diabetic Friendly

  • Rate
  • Print
  • Grocery List
  • Recipe Box
  • My Savings
  • Email
[X]

Rate Vanilla Ice Cream in a Bag Recipe

Click on stars to rate
 

Would you make this recipe again?
[X]
Vanilla Ice Cream in a Bag Recipe
  • Prep/Total Time: 15 min.
  • Yield: 2 Servings
15 15

Ingredients

  • 1 cup milk
  • 2 tablespoons sugar
  • 2 tablespoons evaporated milk
  • 1 teaspoon vanilla extract
  • 4 cups coarsely crushed ice
  • 3/4 cup salt

Directions

  • In a small resealable plastic bag, combine the milk, sugar, evaporated milk and vanilla. Press out air and seal. In a large resealable plastic bag, combine the ice and salt; add the sealed small bag.
  • Seal the large bag; place in another large resealable plastic bag and seal. Shake and knead for 5-7 minutes or until cream mixture is thickened. Serve immediately or freeze. Yield: 1 cup.

Nutritional Facts 1/2 cup equals 146 calories, 5 g fat (3 g saturated fat), 17 mg cholesterol, 69 mg sodium, 20 g carbohydrate, 0 fiber, 5 g protein. Diabetic Exchanges: 1-1/2 starch, 1/2 fat.

Originally published as Vanilla Ice Cream in a Bag in Taste of Home's Holiday & Celebrations Cookbook Annual 2008

Recipe Slideshows

Browse slideshows featuring our best recipes, holiday ideas, easy how-tos, cooking tips, and more!

Get Recipes >

Top 10 Recipes

A collection of our favorite, highest-rated recipes—including the best dessert, dinner and holiday recipes.

Get Recipes >

Reviews for Vanilla Ice Cream in a Bag

Vanilla Ice Cream in a Bag Recipe

Vanilla Ice Cream in a Bag

Tell us what you think of this recipe.
Did you modify it? Would you make it again? Rate it today! >

(1-9) of 9 reviews

Reviewed on Aug. 16, 2012 by gwashington1961

Several years ago I was privileged to run a BSA Summer Day Camp for Cub Scouts. We had boys pair-up to fill a 1 lb. coffee can, then seal the lid on with a kind of tape to prevent the salty water from the 5 lb. outer can (which was filled with the crushed ice & salt, closely fitting around the smaller can). The team would sit upon the ground around 8 feet apart, then roll the cans back-&-forth between themselves for 10 min. The cans would carefully be separated, then the tape would be wiped off to prevent the salty water from leaking in. Plastic spoons would be given to the two youngsters. Each would test the mix to check upon the depth of freezing their mixture had taken. Seldom did any team have to reroll their mixture. They would split the final mixture into styrofoam coffee sized cups or small paper dessert bowls. The kids were very happy with the experience. It was something they could take the recipe & method home home to tell their family about. We never had a family complain about the fun activity. I am going to share your recipe & method with our BSA Council to print in their local newspaper, and suggest using the two sized resealable plastic bags. The Packs can even use this method as an outdoor activity for any meeting held during the warm weather. This is a great method! Thanks!!!

`

Reviewed on Jun. 10, 2012 by stone481064

This was awesome! I made it with my two grandkids, ages 4 & 5, and they had a blast. We each had our favorite flavor by thawing a few frozen berries in the microwave then smashing the with a fork, before adding the ice cream to the bowl. I like vanilla, everybody else had strawberry, blackberry or blueberry. YUM!!!!

Reviewed on Aug. 14, 2011 by linlal

What size Ziploc bags did you use? Thanks.

Reviewed on Jun. 14, 2011 by Sharrie10@verizon.net

This recipe can also make chocolate ice cream or other flavors just by adding a small amount of chocolate syrup or fresh fruit to the vanilla. I did this with nieces and nephews when they visited us at our campsite. I have also done this with a large group of children in an educational setting. One bag per two children works well.

Reviewed on Mar. 10, 2011 by corpuscissy

We are talking about rock salt for the recipe,right? At least that is what is used when you make ice cream in coffee cans. Same principle but you use a 1lb. coffee can inside of a larger coffee can that has rock salt and ice around it. Replace lids and have the kids roll it back and forth until it freezes .

Reviewed on Oct. 18, 2010 by k2ec4

This was an excellent recipe that was quite tasty and one that children of all ages would enjoy. The fun was not only in eating the ice cream but in making it and shaking the bag! It's worth trying just be sure you secure the bags.

Reviewed on Aug. 12, 2010 by griff73

Excellant

Reviewed on Aug. 12, 2010 by brknhrted

The salt is for melting the ice in the outer bag - it doesn't go into the milk mixture.

Reviewed on Aug. 12, 2010 by recipefan

Does this really take 3/4 cup of salt


Advertise with us
ADVERTISEMENT
Advertise with us ADVERTISEMENT

Follow Us

Advertise with us ADVERTISEMENT