Grandma’s Best Secrets for Homemade Gravy

Updated: May 17, 2024
How did Grandma get such flawless, flavorful, lump-free homemade gravy? We show you how to recreate that golden goodness.
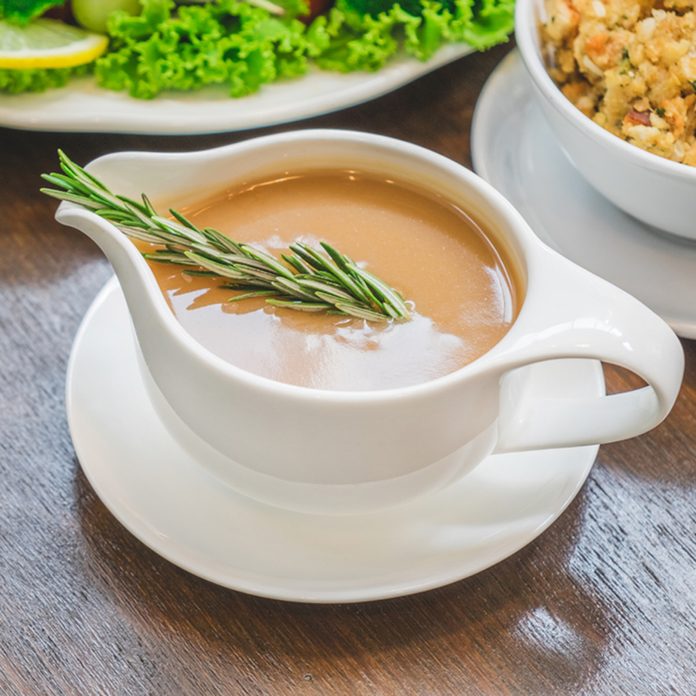
Gravy makes everything better—but only when it’s smooth, pretty, glistening and golden. Whether you want Classic Turkey Gravy for the Thanksgiving feast or irresistible Biscuits and Sausage Gravy for a lazy morning, we’re sharing just how Grandma made that scrumptious, flawless gravy.
Check out these detailed instructions for our Test Kitchen’s best turkey gravy.
Start with a flavorful fat
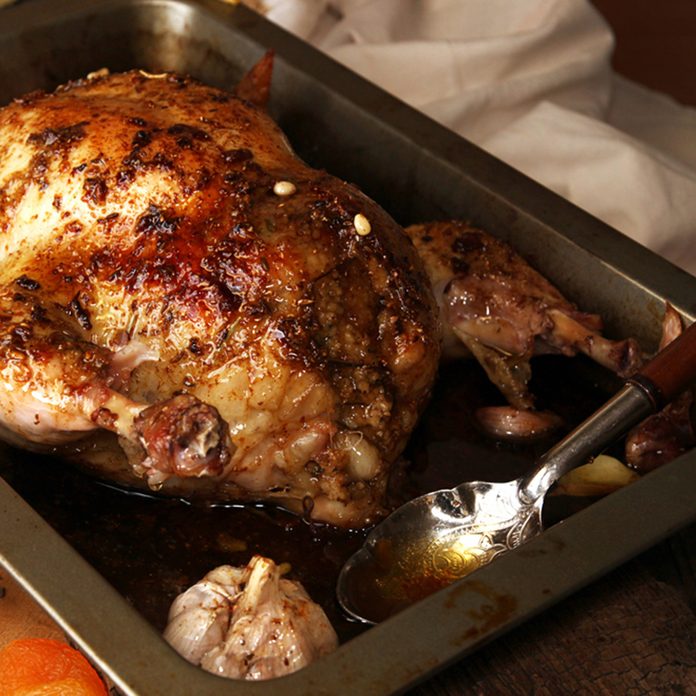
Drippings from cooked turkey, chicken and pork make an excellent base for gravy. Ham and beef, not so much. (Ham is too salty and beef fat just doesn’t taste good.) This trick is key for this chicken gravy.
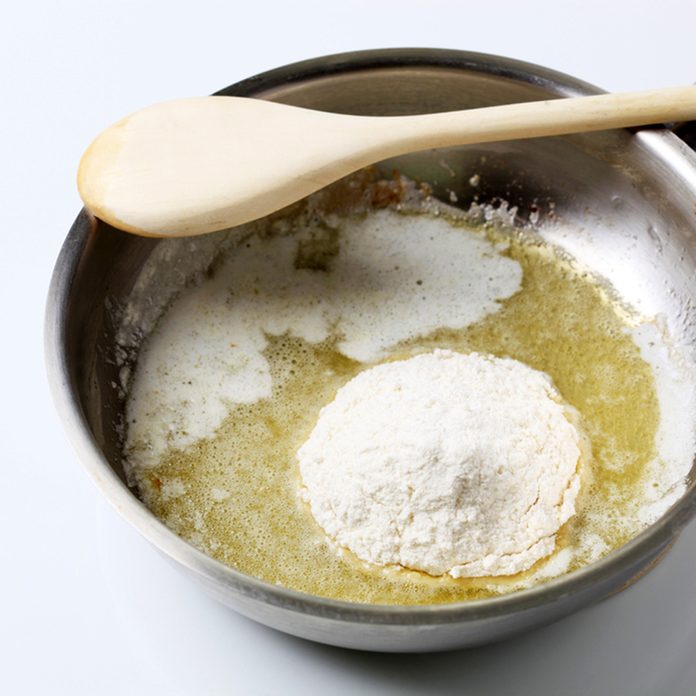
Mix fat with flour in a roughly 50-50 blend
This mixture, called roux (pronounced ROO), is the basic building block of gravy, as well as many sauces and soups. The mixture of fat and flour should resemble wet sand. While some are cooked longer to develop a more intense and rich flavor, you’ll need to be careful not to burn the mixture. (Dark roux is especially popular in Creole cooking, like in this traditional gumbo, which gets its brown color from an oil and flour roux that’s cooked several minutes.)
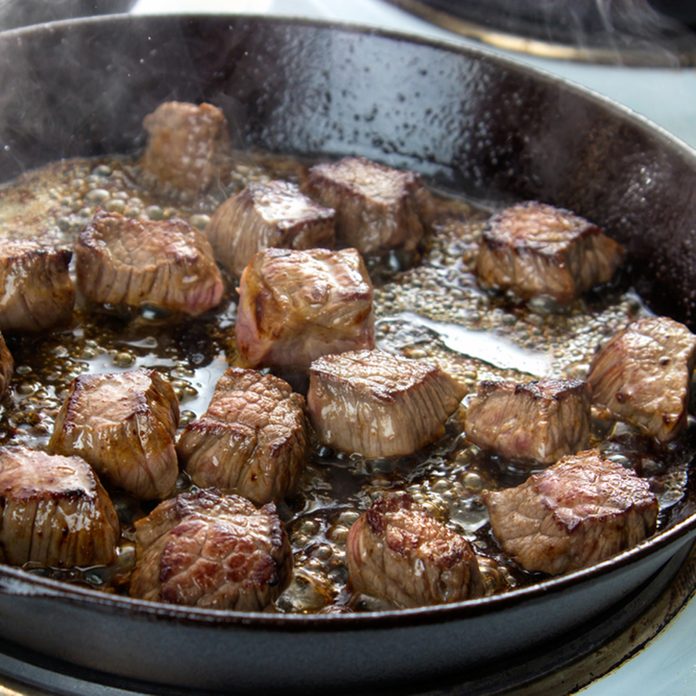
Go for the browned bits
Those yummy bits of caramelized meat and vegetables on the bottom of the skillet or roasting pan are culinary gold. Called fond (pronounced FAWND)—it’s French for “base”—this aptly named goodness is what gives a gravy its rich color and meaty flavor. To capture all the browned bits, place the pan over the heat and deglaze it by adding liquid. Scrape up the browned bits with a wooden spoon (all our pan sauces use this technique, too). Favorite liquids for deglazing include stock, broth, wine and juice.
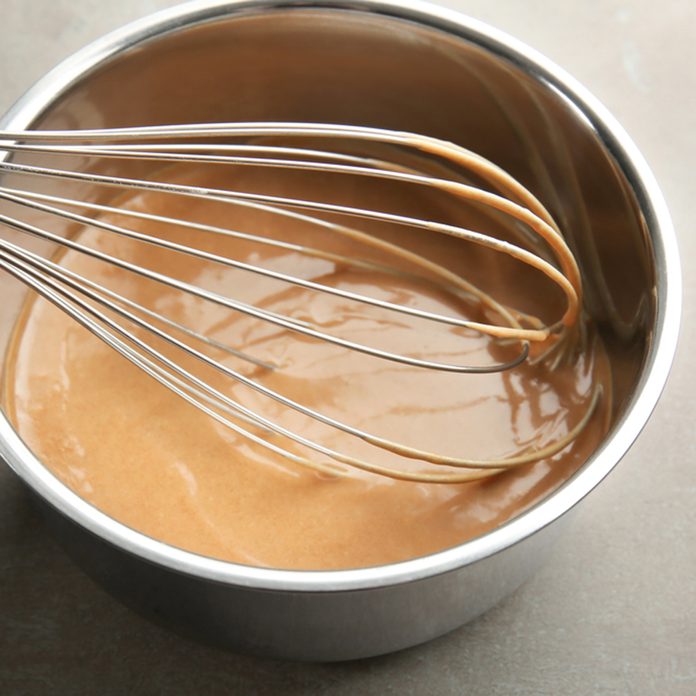
Take care to avoid lumps
The death of any good gravy or sauce? It’s gotta be lumps. To avoid them, add liquid gradually and stir or whisk constantly until the gravy comes to a boil. This is when you really can’t afford to step away. Once the gravy reaches a boil and thickens, you’re good. Until then, you have to keep it moving to avoid lumps.
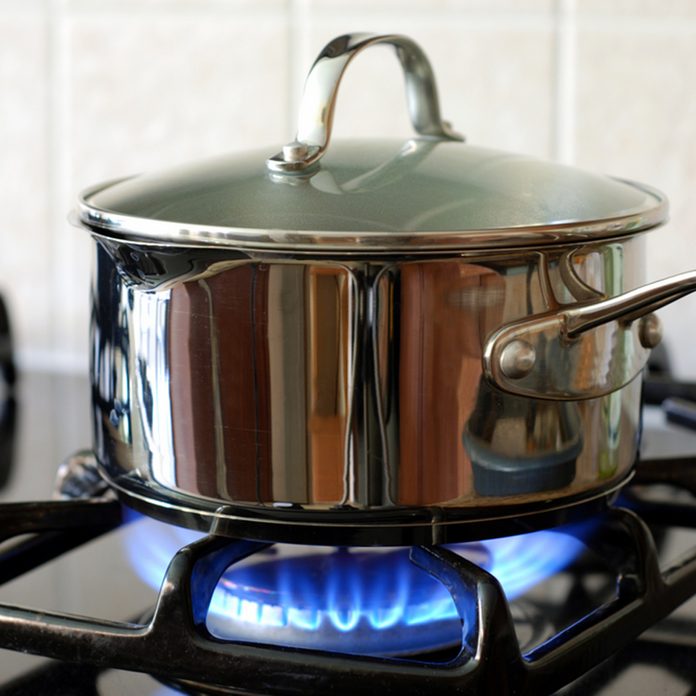
Use a hot liquid if you can
Here’s a smart hack to master the crucial gravy-thickening stage (see No. 4): Start with an already hot liquid. It makes sense, after all. If the liquid is already warm or hot, it has a smaller temperature range (and time frame) to cover before it boils than a liquid that’s cold. The result? Less time spent in the mission-critical stage, where you have to constantly stir the gravy.
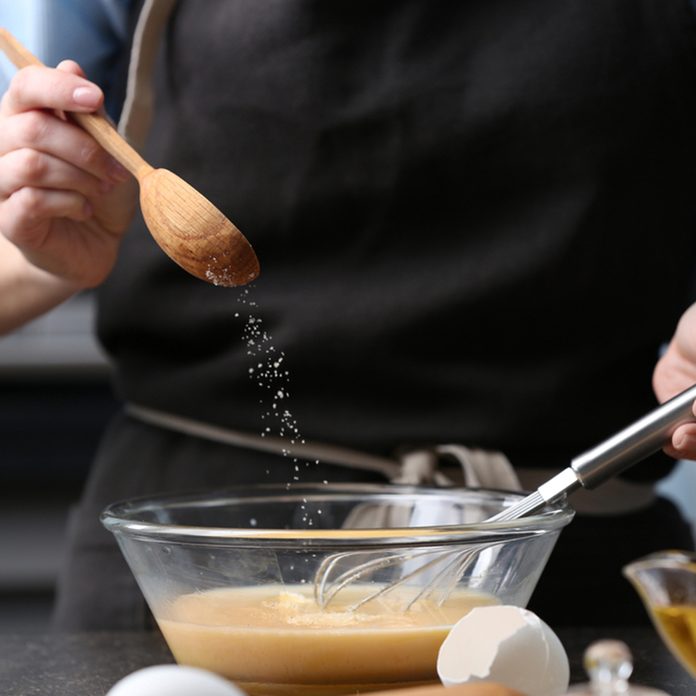
Season and serve
Many factors can affect the natural salt level of your gravy (such as how heavily seasoned the meat was). The sodium content of the deglazing liquid and broth play a big part, too. Cooking wine and sherry contain surprisingly high levels of salt. So it’s prudent to wait to season the gravy until it’s finished.
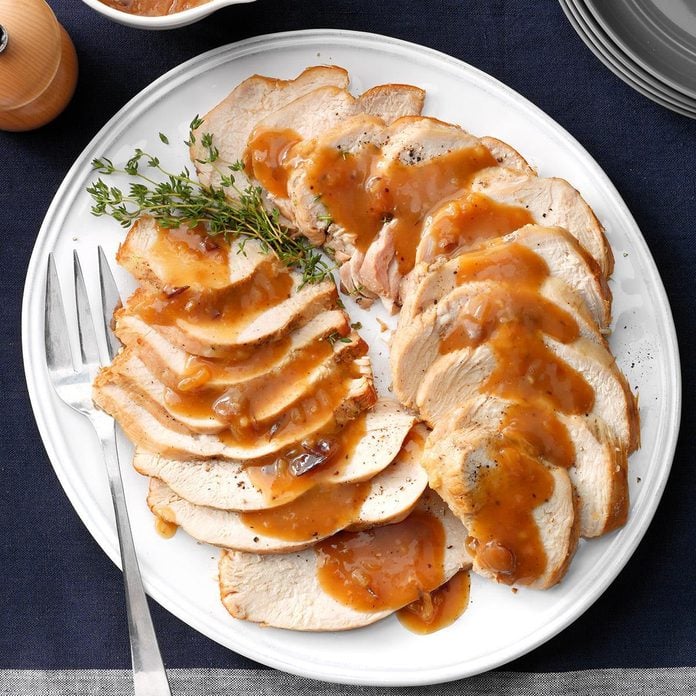
Keep these pointers in mind and you, too, can be a gravy-making legend just like Grandma. Why not start by trying an aromatic shallot-based recipe for Grandma’s Turkey Gravy? And Grandma told you not to waste. If you’re feeling adventurous (or nostalgic), make a gravy with the giblets. Granny would be proud!
Originally Published: November 21, 2022