Cookies Too Crunchy? Soften Them Up with This Simple Tip

Updated: Nov. 10, 2023
Save your next batch of crunchy cookies! We've got an easy tip to soften hard cookies so you can enjoy chewy, gooey cookies no matter what.
It’s a chewy cookie lover’s worst nightmare: You spend an afternoon baking an amazing batch of cookies, and when you go to snack on one the next morning, you find they’ve gone crunchy and hard. This is enough to enrage any baker or cookie devotee, but it’s no reason to toss your cookies (literally).
Instead, you have everything you need to soften hard cookies right in your pantry, or should I say your breadbox?
How to Soften Hard Cookies
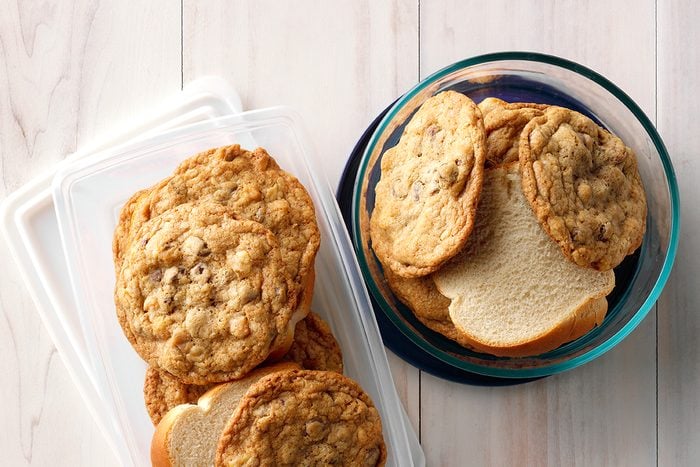
You see, the only thing that you need to soften up a batch of day-old cookies is a slice of bread. This is a trick I learned from my mom after she saw me turn up my nose one too many times at a slightly crispy chocolate chipper (self-proclaimed gooey, chewy cookie fiend here!).
To remedy the problem, she’d take the heel off the loaf of bread and pop it into the container or cookie jar. In a few hours, I’d return for a snack and the cookies would be magically chewy again! My mom was (and still is) a kitchen genius.
How Does It Work?
This tip to soften hard cookies seems too good to be true, but trust me when I say it’s saved many a batch of cookies over the years.
How it works is relatively simple. Simply, the cookies start to absorb the moisture from the slice of bread. You’ll notice this after a day or so (if your cookies last that long) when you open the cookie jar and find, essentially, a crouton. The cookies will sap up all that extra moisture.
With that in mind, it is crucial that you use relatively fresh bread when you perform this little cookie-saving maneuver. After all, if you’re sticking a stale piece of baguette inside, the cookies won’t have much moisture to soak up. Also, be sure not to use any strongly flavored bread. You don’t want your grandma’s favorite cookie recipe being ruined by popping in a slice of caraway rye or a wedge of seasoned focaccia.
A slice of regular white or wheat sandwich bread works best.
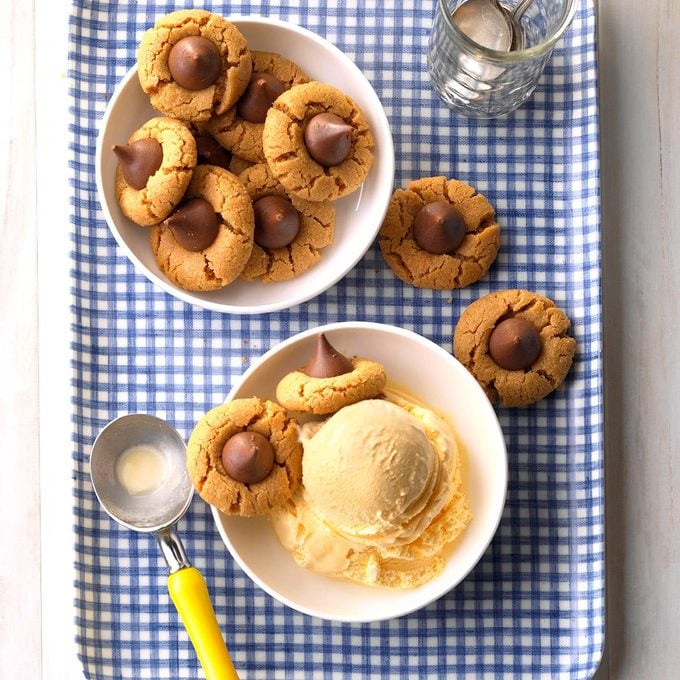
Start simple
New to baking? You might want to try out an easy cookie recipe before working your way to complex confections like ribbons, windmills and rugelach. These simple Peanut Butter Kiss Cookies are a practically foolproof favorite! Master this batch and you'll be warmed up for your complete cookie spread. 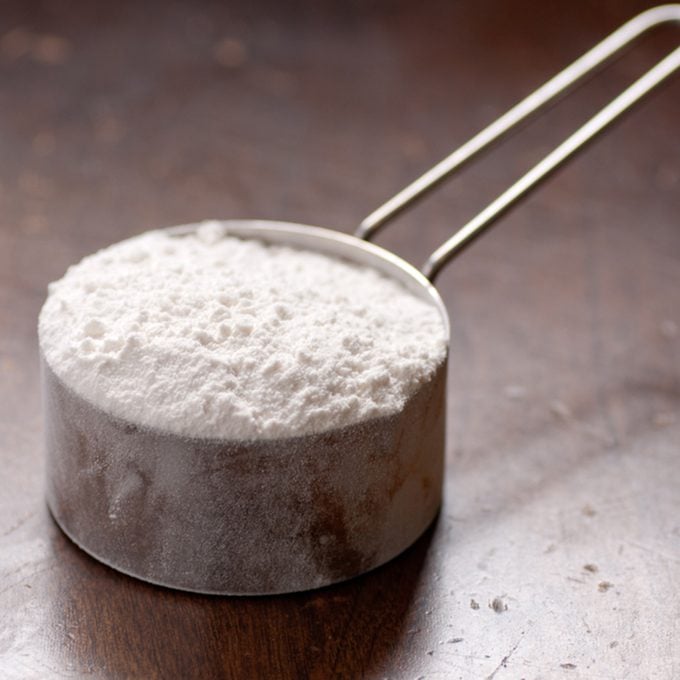
Measure ingredients precisely
Baking is a science. When making cookies, you'll want to measure the sugar, flour and other mix-ins as carefully as possible. Use a digital scale (here's why) and follow these tips for measuring ingredients. Really, it makes a difference. 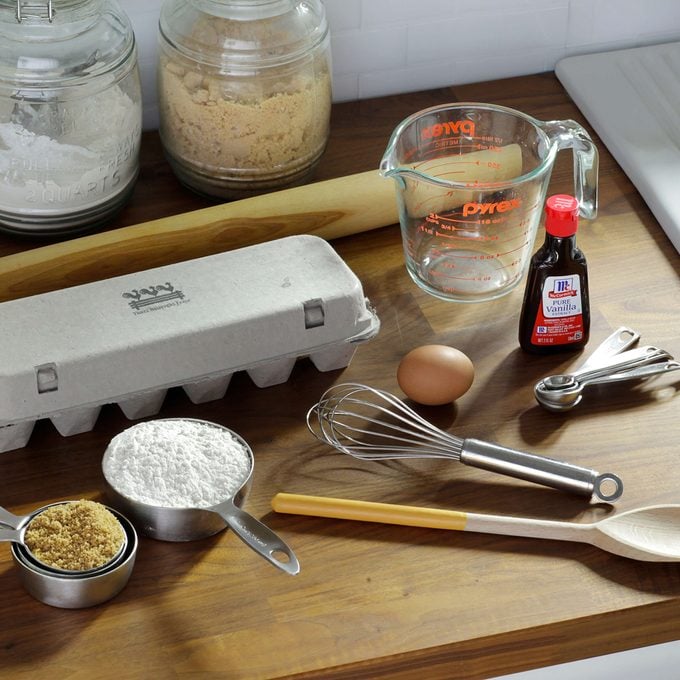
Bring butter and eggs to room temperature
Use room temperature ingredients unless otherwise noted. This is especially important when you're asked to cream butter and sugar. Room temperature ingredients are best for creaming as it helps incorporate more air into the dough, and that will help your cookies rise. Forgetting to pull out your butter ahead of time could lead to dense, flat cookies. If you're ever in a jam, turn to these methods on how to soften butter quickly. 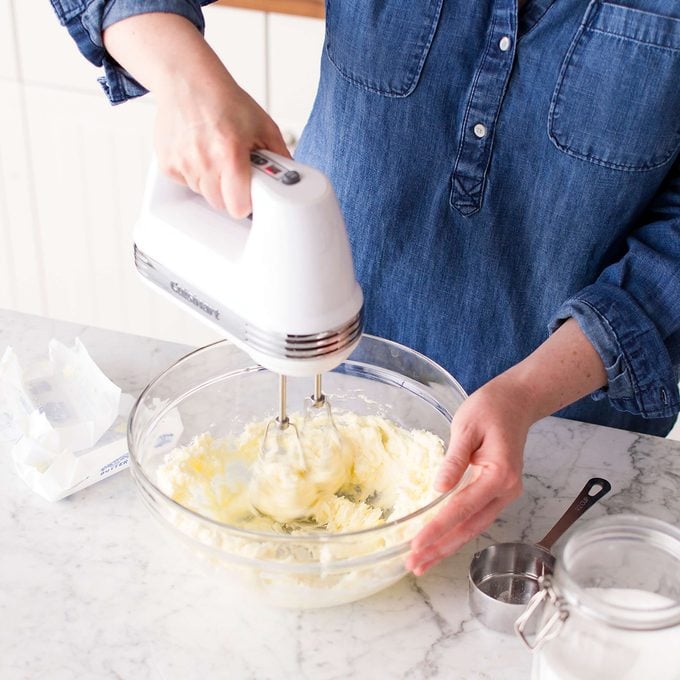
Cream correctly
Cream the room-temperature butter and sugar until completely smooth so the cookies rise to puffed-up perfection. You'll know it's ready when the mixture is smooth and the sugar has dissolved. Here's more on how to cream butter and sugar the right way. 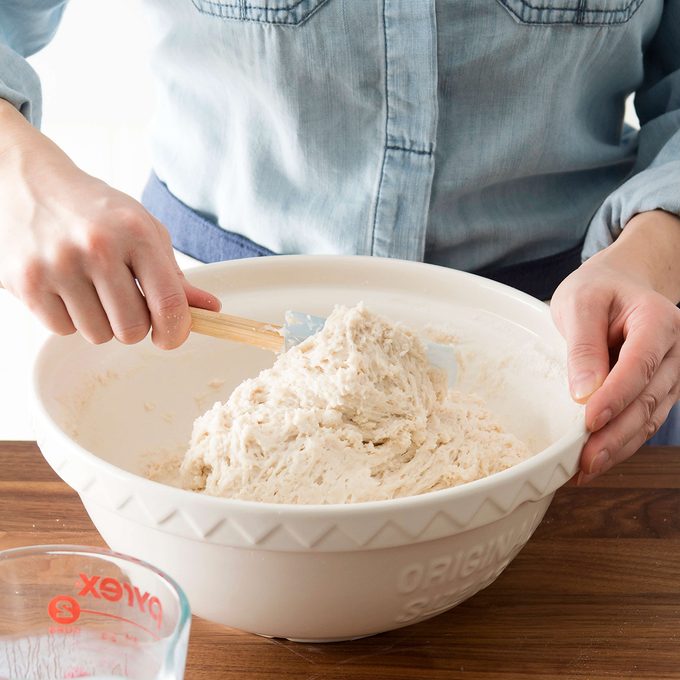
Don't overmix the dough
When adding in dry ingredients, be sure to mix until just combined. Overmixing can toughen your cookie dough. (Read: crumbly, flat cookies.) A good rule of thumb is to stop mixing before you think you should.
(For more tips, check out our cookie baking guide.) 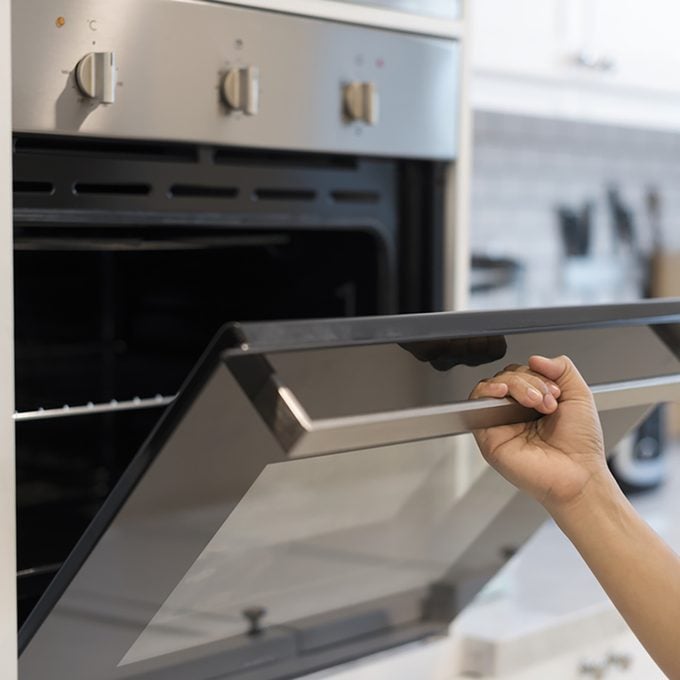
Prep your oven
Before you bake, test the temperature of your oven with an oven thermometer to see if it's accurate. Many ovens don't heat properly. If your oven temperature is incorrect, you could end up with an undercooked or burnt-bottom cookie. Also, don't forget to preheat the oven before popping in your cookie tray! 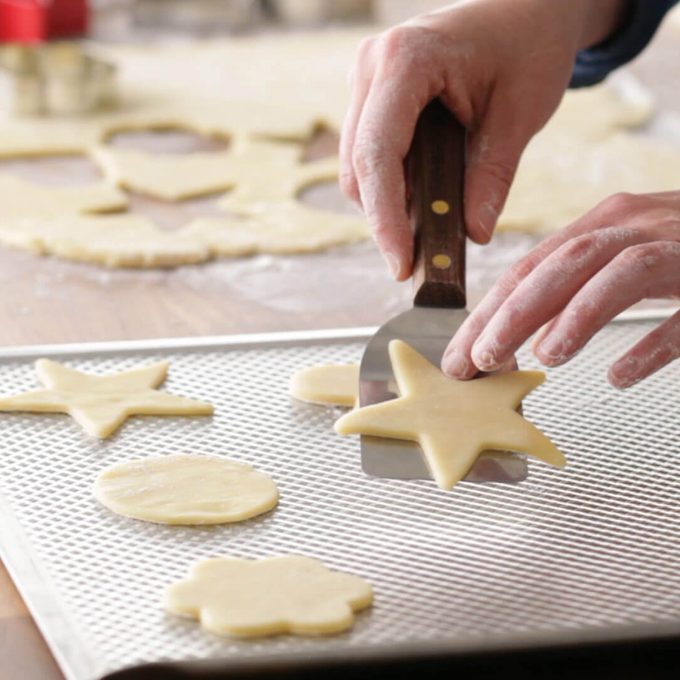
Give 'em some space
Unless otherwise directed, place cookies 1-2 inches apart on baking sheets. The extra room will help them bake and brown evenly (and not morph together into a giant supercookie!) 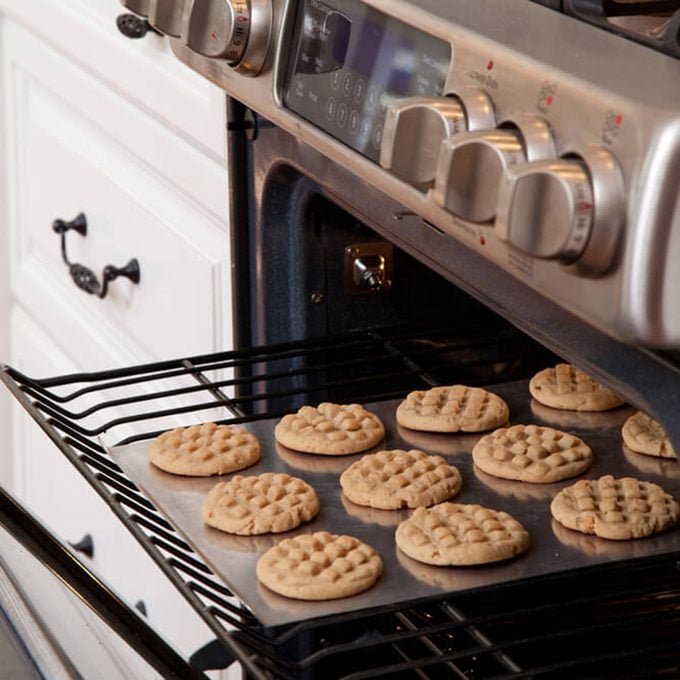
Manage oven placement
When using a single baking sheet, put it on the middle rack. If you are using more than one baking sheet, rotate pans halfway through the baking time. Swap the location of the pans in the oven and rotate 180 degrees for an even double-batch bake. 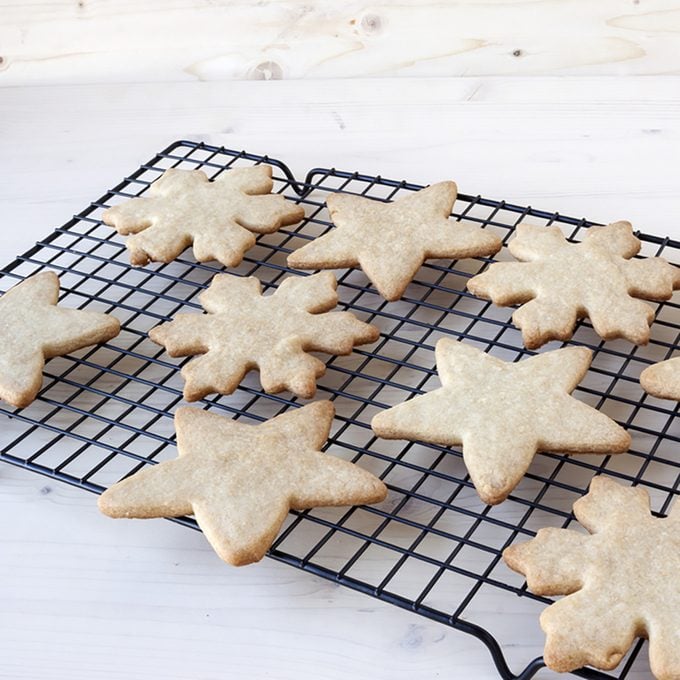
Chill out
Cookies finished baking? Let 'em cool for 1-2 minutes on their baking sheets before transferring to a rack. They'll continue to bake and firm up on the hot pan. (In the culinary world we call this carryover cooking). Psst! Be sure cookies are completely cool before you decorate or store them. 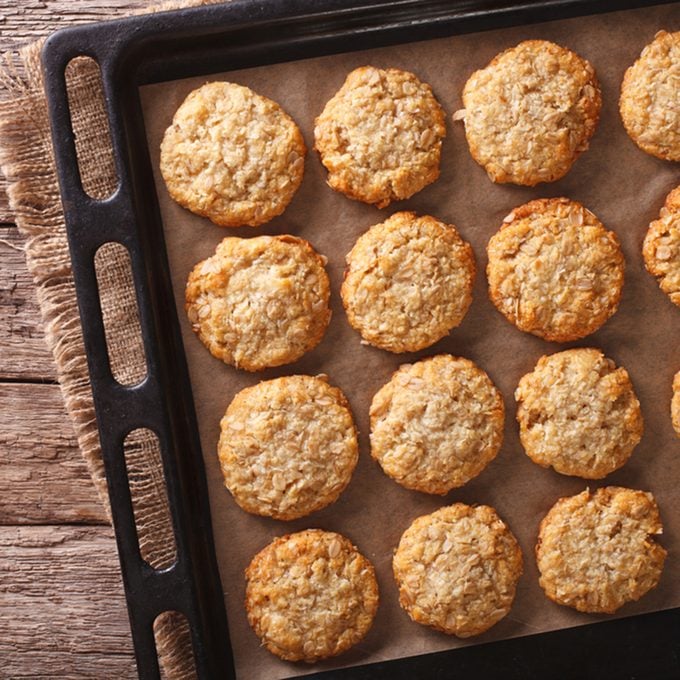
Don't rush a hot pan
Let baking sheets air-cool completely before starting on a second batch. Rinsing baking sheets in cold water can cause them to warp. 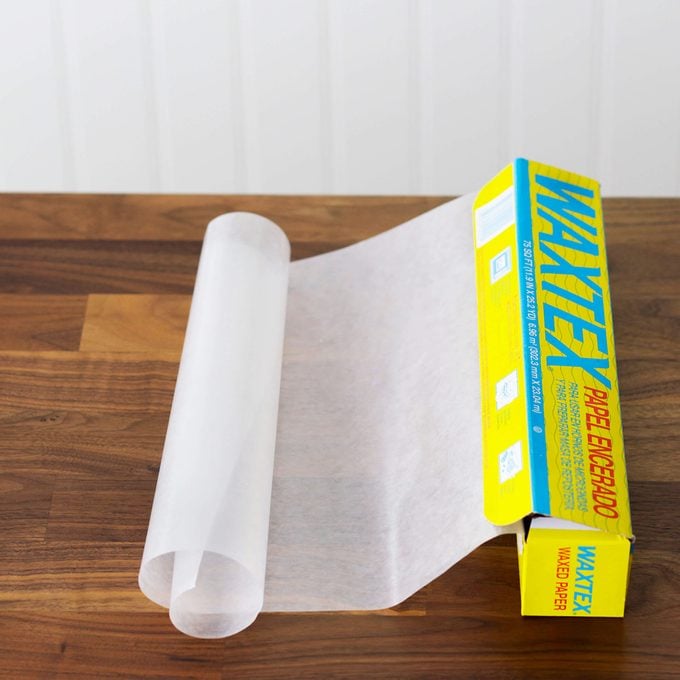
Think ahead
Decorating your cookies with sprinkles, icing or powdered sugar? Cover your workspace with waxed paper before you start. This'll make for easy cleanup (even when the kids are involved!) 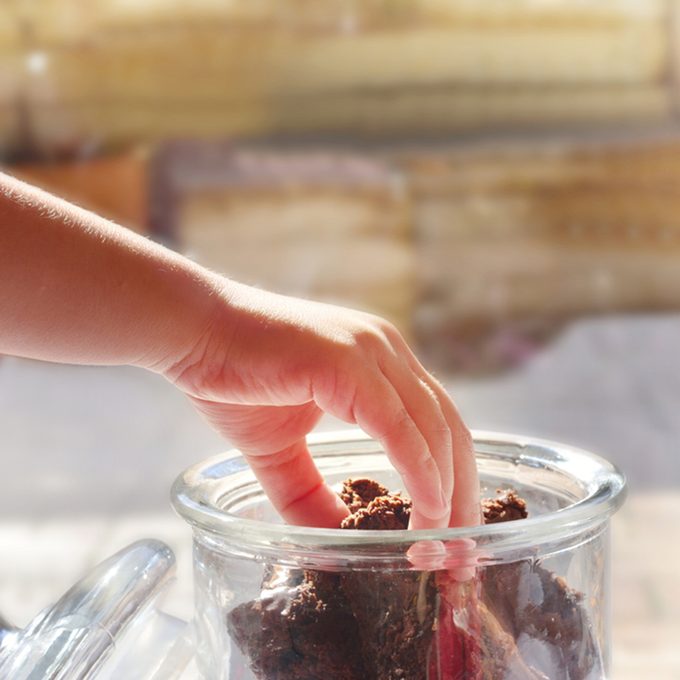
Opt for smart storage
I like to store cookies between layers of waxed paper in an airtight container. Keep chewy and crisp cookies in separate containers, as the moisture from chewy cookies will soften the crisp ones. To keep your cookies in tip-top shape, store them without the decorations. You can always whip up a batch of icing later. 
Save them for a rainy day
For longer storage, wrap cookies in plastic wrap and stack in an airtight container. Cookies can keep in the freezer for up to three months. Just thaw at room temperature when you're craving something sweet! 
Remember, practice makes perfect
No one is born a perfect baker. The secret to perfect cookies is practice. So, tie that apron and get started!
Originally Published: February 16, 2018