How to Make a Chocolate Tart

Updated: Apr. 13, 2024
Making a chocolate tart should be on every baker's bucket list. This rich pastry turns basic ingredients into a sublime filling and crust combo that even the most discerning chocolate lover will appreciate.
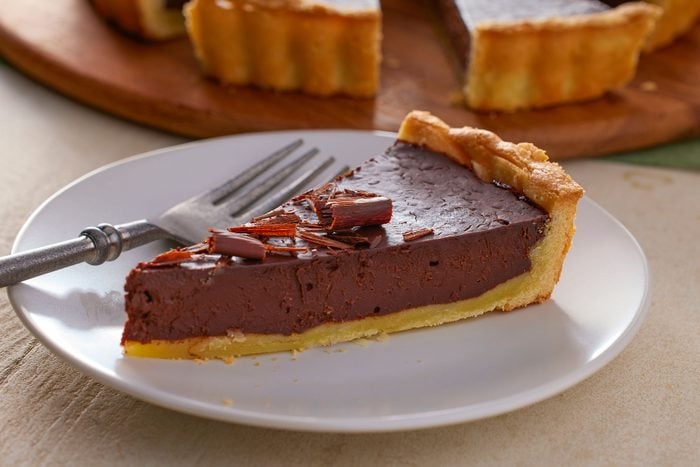
There are chocolate desserts, and then there are chocolate masterpieces. This chocolate tart happens to be the latter, and for good reason. A perfectly structured, simple crust hugs creamy, thick chocolate in this dessert you’re going to fall in love with. Though simple, this tart certainly falls into our roundup of prettiest tarts for its silky glaze alone. Plus, there’s plenty you can add to dress it up—chocolate shavings, orange zest, raspberries—for everything from holiday dinners to birthday parties.
Want to try another humble-looking tart from across the Portugal? Look no further than this egg tart recipe.
Ingredients for a Chocolate Tart
- Dough: Any good tart starts with a solid dough that will hold the filling together once baked into a crust. The best part is that you probably already have all the ingredients for this dough!
- Heavy whipping cream: Like a good homemade ganache, you’ll need heavy whipping cream to add density and thickness to your tart.
- Bittersweet chocolate: Bittersweet chocolate has a higher cacao percentage than semisweet chocolate, which means is has a lower sugar content. This lends to the rich flavor and velvety texture of a chocolate tart.
- Eggs: To take the filling from ganache to tart status, you’ll need to add eggs for structure and setting power.
Chocolate Tart Recipe
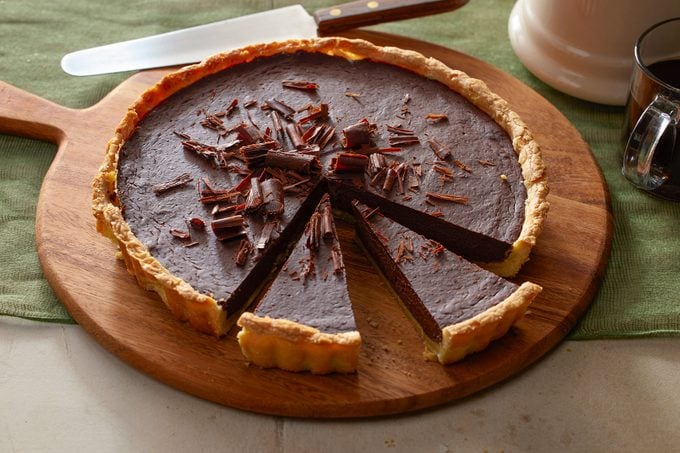
This recipe from Taste of Home contributor Rachael Cushing of Portland, Oregon makes one tart. Cut the tart evenly to get 12 slices.
Ingredients
- 5 tablespoons unsalted butter, softened
- 2/3 cup confectioners’ sugar
- 2 large egg yolks, room temperature
- 1 cup plus 3 tablespoons all-purpose flour
Filling:
- 1-1/4 cups heavy whipping cream
- 10-1/2 ounces bittersweet chocolate, finely chopped
- 2 large eggs, room temperature
Directions
Step 1: Create the dough
Place the butter, sugar and egg yolks in a food processor, and pulse until blended. Then add the flour and pulse again until the dough forms a ball. Shape the dough into a disk, wrap it tightly in plastic wrap and refrigerate for at least one hour or overnight.
Step 2: Shape the dough to the pan
On a lightly floured surface, roll dough into a 1/8-inch-thick circle. Transfer the dough to your tart pan and trim the edges. Refrigerate for one hour.
Step 3: Parbake the dough
Preheat your oven to 325°F. Line your unpricked crust with a double thickness of foil. Fill with pie weights (dried beans or uncooked rice also works here) and bake on a lower oven rack until the edge of the dough is light golden brown, about 15 to 20 minutes.
Remove foil and weights, and bake until the bottom is golden brown, about three to six minutes longer. Cool on a wire rack.
Step 4: Mix the filling
Increase the oven temperature to 400°. While the oven heat rises, create the filling. Place the chopped chocolate in a large bowl. In a small saucepan, bring heavy cream just to a boil. Remove from heat before it becomes a rolling boil and pour it over the chocolate. Let this mixture stand for two minutes.
Stir until smooth and let it cool slightly, then whisk in the eggs. Add the filling to the crust once the eggs are incorporated.
Step 5: Bake the tart
Bake until the crust is golden brown and the filling is just set, about 10 minutes.
Step 6: Let the tart cool
Cool on a wire rack, then refrigerate for at least two hours or overnight. Remove from the refrigerator about 30 minutes before serving so it’s not too chilled.
Chocolate Tart Recipe Variations
Once you’ve mastered the classic chocolate tart, there are plenty of variations to have fun with.
- Salted dark chocolate: If you’re making this tart for people who can’t get enough chocolate in their lives, test out a chocolate crust and sprinkle sea salt on top.
- Chocolate mint truffle tart: Looking for a bit more pizzazz? With a few extra ingredients, you can take a basic chocolate tart and turn it into a minty truffle-esque delight.
- Chocolate ganache pumpkin tart: Topped with ganache and infused with the flavors of fall, this chocolate tart variation should be a must-serve at a Halloween or Thanksgiving party.
How to Store a Chocolate Tart
Store your chocolate tart in an airtight container or tightly wrapped in plastic wrap for up to one week.
Can you freeze a chocolate tart?
You can freeze a chocolate tart for about one month. Allow it to thaw overnight in the fridge rather than the counter. Keep in mind the chocolate might not have the same texture as it did when it was freshly baked, so it’s best to eat it fresh.
Chocolate Tart Tips
Why won’t my chocolate tart set?
Proportions really matter when it comes to setting your chocolate tart filling. If your chocolate didn’t set, it could be because there was too much cream or that it didn’t properly cool before whisking in the eggs and pouring into the crust to bake.
Why is my chocolate filling grainy?
A common fudge-making mistake is that the sugars crystalize and form a grainy fudge. Because there are no added sugars making this chocolate tart filling grainy, the grainy texture could instead be from chocolate that didn’t fully melt. This can happen if you don’t let the hot cream sit with the chocolate before whisking the two together.
How can I decorate a chocolate tart?
Top your cooled tart with shavings of orange zest, fresh raspberries or sliced strawberries for fruity hints of sweetness. If you’d rather skip the fruit, shave chocolate curls over the cooled tart. Mix white and dark chocolate for an elevated look.
Originally Published: October 20, 2023