Move over, chocolate bunny. Easter cake pops are absolutely adorable—and a cinch to make. This Easter recipe is a simple mashup of tender cake and sweet frosting, gently formed into an egg shape. It’s so easy. And so fun!
The cake for these pops can be from scratch or from a boxed cake mix. No matter which you choose, it gets crumbled and mixed with frosting (same deal here, it can be homemade frosting or store-bought.) Then, the pops get covered with a candy coating and decorated to look like spring.
Make the Easter cake pops special by adding stripes, zigzags and polka dots in Easter pastels, along with sprinkles or shimmery finishes. This can be an Easter basket surprise for the kids, or a fun project to do together as a family.
Easter Cake Pop Ingredients
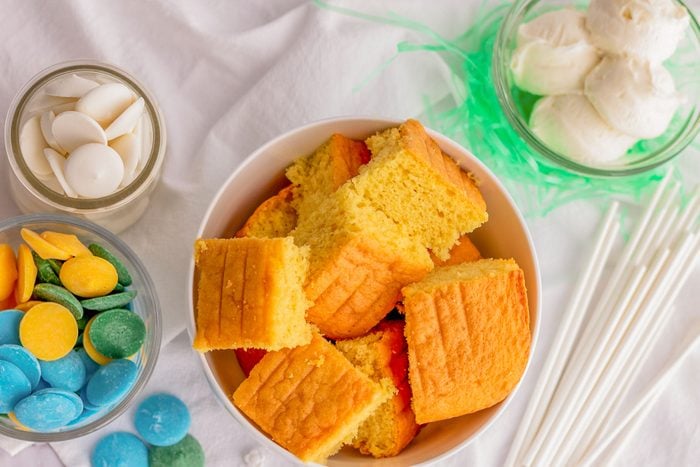
- Baked and cooled cake
- Frosting
- Candy melt wafers
- Additional colorful candy melts, sprinkles, decorating sugar, shimmer dust, candy and ribbon
Directions
Step 1: Crumble the cake

Break the baked cake into pieces and crumble into the bowl of a stand mixer or a large bowl. The crumbs should be coarse with no large pieces left.
Step 2: Add the frosting
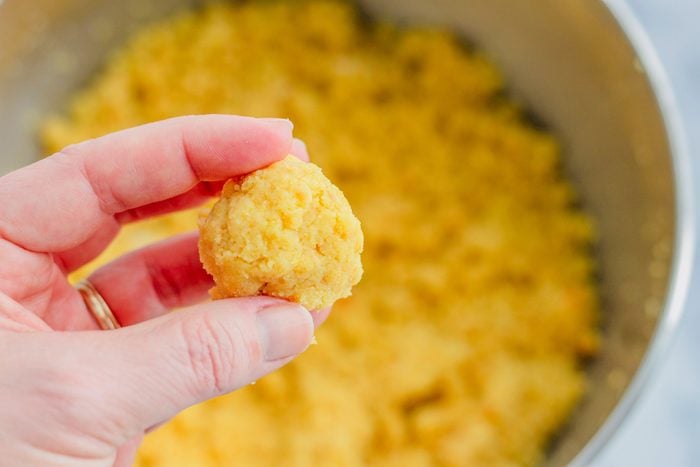
Add 1/4 cup of the frosting to the cake crumbs. Mix the two together on medium speed until the frosting is incorporated. Test the mixture by taking a small amount in your hand and rolling it into a ball. It should be moist enough that it holds together without crumbling apart. If the mixture is too crumbly, mix in more frosting a tablespoon at a time, testing after each addition.
Step 3: Shape the cake into eggs
Have a plate or baking dish ready that will go into the fridge.
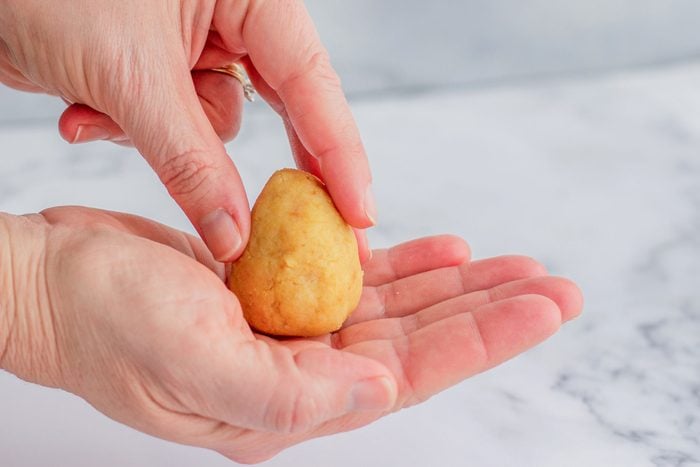
Take two heaping tablespoonfuls of cake and frosting mixture in your hand. (If you have a digital scale, the cake egg should weigh between 1.25 and 1.5 ounces.) Squeeze and roll the cake mixture into a smooth ball. Then, shape the ball into an egg by tapering one end while smoothing and rounding the other. The bottom should be a little flat so it will stand on end.
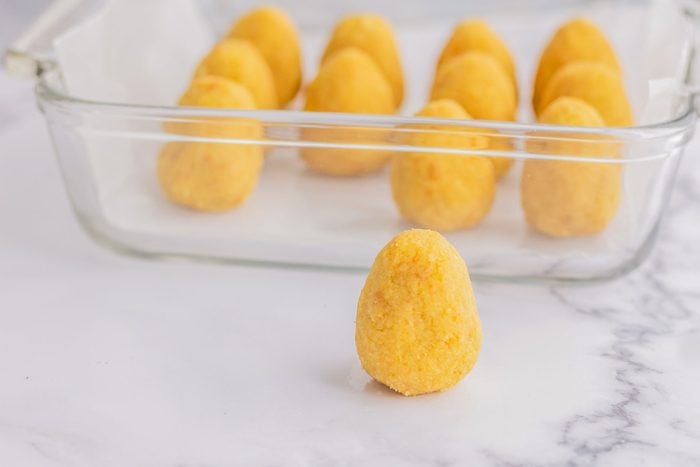
Place the shaped cake egg onto the plate or dish. When all the cake pop eggs are done, loosely cover with plastic wrap, and refrigerate for 20 to 30 minutes to firm them up.
Step 4: Melt the candy wafers
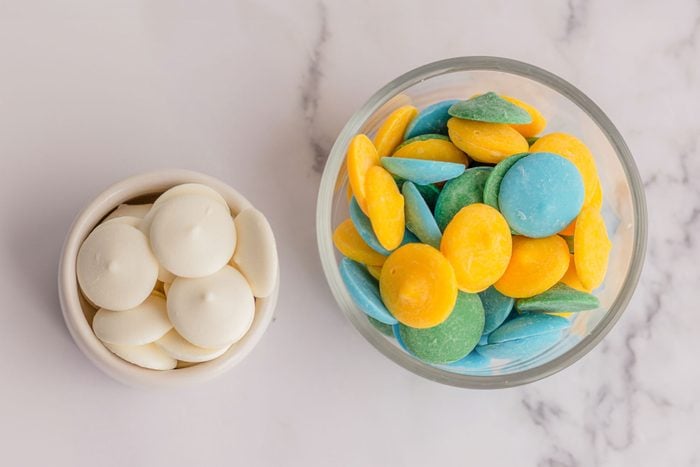
Pour the candy wafers into a microwave-safe dish. Microwave them in 30 second bursts, stirring after each session. The candy coating is ready when it’s melted and smooth. Be careful not to overheat the candy, because this will make it seize.
Step 5: Coat the cake pops
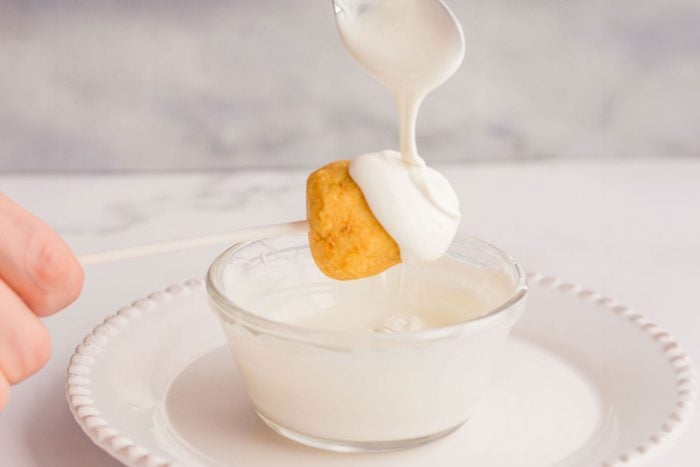
Organize your work area with the candy coating, the egg-shaped cake pops, lollipop sticks, a spoon and a foam block or cake pop stand to hold the cake pops while they set.
- To start, dip one end of a lollipop stick in the candy coating, then push the coated end into the bottom of one of the cake pop eggs. (Dipping first helps keep the “egg” secure on the stick.)
- Holding the cake pop over the bowl, spoon the candy coating over the pop, turning it to cover all sides.
- Let the excess drip away. Gently tap the stick with your fingernail as you slowly rotate the pop to help the excess drip off and leave a smooth surface.
- If you want to add sprinkles while the coating is wet, you can. The coating sets very quickly, so you’ll need to work fast!
- Stand the cake pop up in the foam block or cake pop stand.
- Continue with the rest of the cake pops until they’re all coated.
Step 6: Add decorations
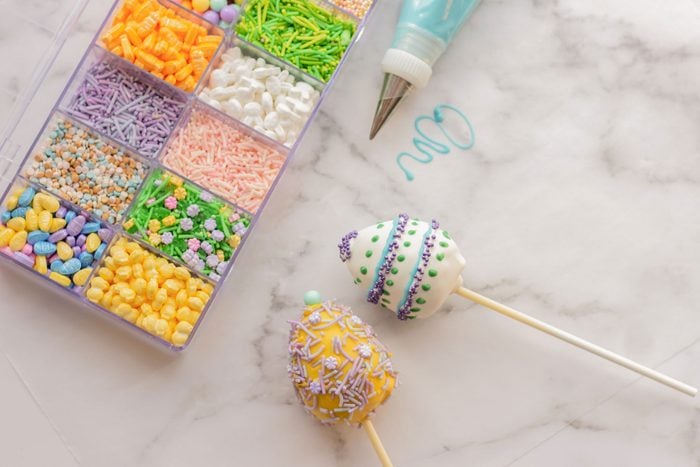
Once the cake pops are coated, it’s time to decorate! Here are some ideas:
- Melt other colors of candy wafers and pour them into piping bags with small tips. (The melted coating is too thin for larger tips.) Pipe stripes, dots, zigzags and drizzles on the pops. Add sprinkles to the designs while they’re still wet.
- Use a small pastry brush to spread shimmer dust over the cake pops once they’re set, to give them a beautiful luster.
- Put candy coating or frosting in a piping bag to add larger sprinkles or decor. Pipe a small dot of frosting on the surface and stick the decor to it.
- Tie small pieces of ribbon on the sticks for a finishing flourish.
Easter Cake Pop Tips

Why are my Easter cake pops so dense?
You probably made your cake crumbs too fine. Crumbling the cake by hand only takes a few minutes, and it gives crumbs that lead to the best texture in the finished cake pops. If the cake crumbs are too fine (for example, if you ran them through a food processor), the cake pop mixture will be gummy and dense.
How do I use candy wafers for Easter cake pops?
Because they melt smoothly and set quickly, candy wafers are fun and convenient to use for cake pops. They’re relatively inexpensive and come in a rainbow of colors. But to get the best results, there are a few things to keep in mind when using them. When heating the wafers, do so in short bursts in the microwave. Stir each time until the candy is melted and smooth. Don’t overheat the candy because it will turn hard and grainy.
Water will also make the candy coating seize. Don’t get any water in the candy coating—this includes food coloring.
What’s the best way to coat the Easter cake pops?
Regular, round cake pops are typically dunked into the candy coating. However, these egg-shaped pops are a little larger, so they’re at greater risk of falling off the sticks when dunked. To prevent this, hold the cake pop parallel over the bowl of candy coating and spoon the coating over it. Rotate the cake pop slowly and gently tap the stick to encourage the excess to drip off smoothly.
Why are my Easter cake pops cracking?

Just when you think you’re done, you notice cracks in your finished cake pops. Yikes! This typically happens because the cake pops are too cold. When the hot candy coating is added, the temperature difference causes the coating to crack as it hardens. To prevent this, let the cake pops chill for 20 to 30 minutes max in the fridge before coating.
If your pops have been in the fridge longer, let them set out at room temperature to warm up before adding the coating.

