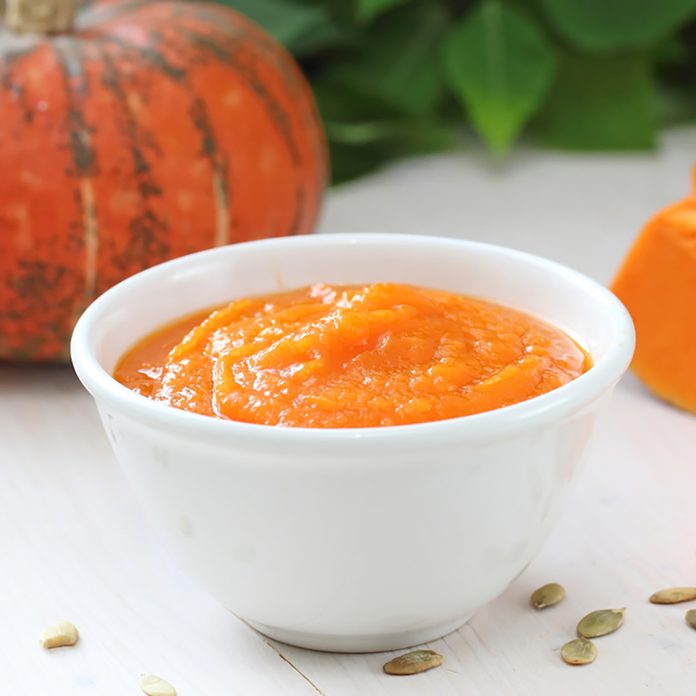
Every fall there’s a gorgeous display of fresh pumpkins at the grocery store. Sure, some are for carving into jack-o’-lanterns (Psst! Learn how to carve a pumpkin here), but others are for cooking and baking. If you’ve never used fresh pumpkin before, the process can look a little intimidating. But don’t sweat—we’ll show you exactly how to transform your giant gourd into a silky-smooth puree that tastes (and looks!) better than the canned kind.
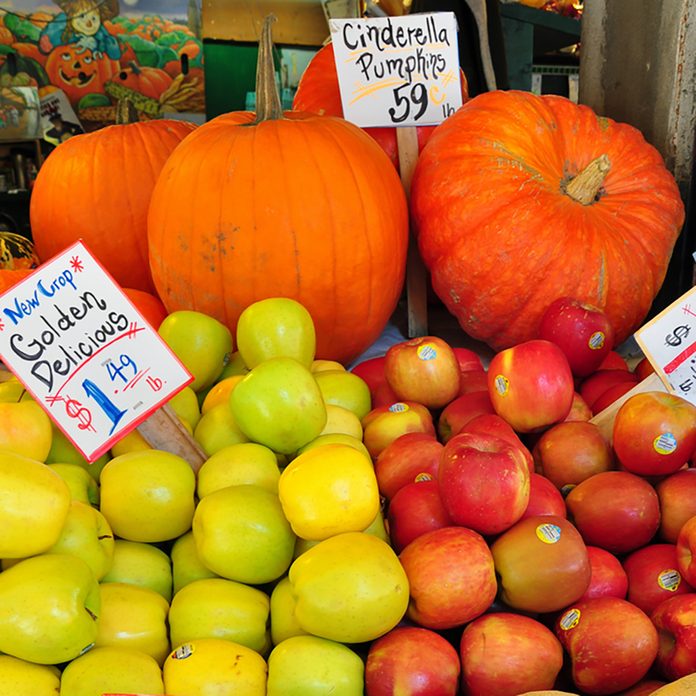
Before You Begin: Pick a Pumpkin
When making pumpkin puree, you need to start by picking the right pumpkin. Cooking pumpkins work best—they weigh about 4-6 pounds and are a lot smaller and sweeter than carving pumpkins. You can usually find this variety in the produce section of your grocery store.
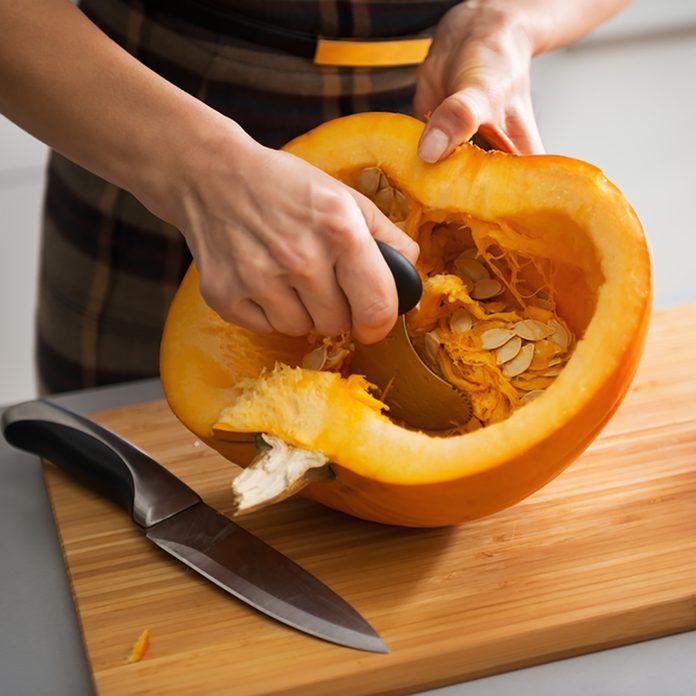
Step 1: Cut Pumpkin
Thoroughly wash and dry the pumpkin. Then, with a small serrated or heavy knife, remove the top of the pumpkin. Use a sawing motion to cut the pumpkin into four quarters. Scrape out all of the seeds and stringy pulp.
Don’t toss the seeds! Instead, turn them into a delicious snack. Here’s how.
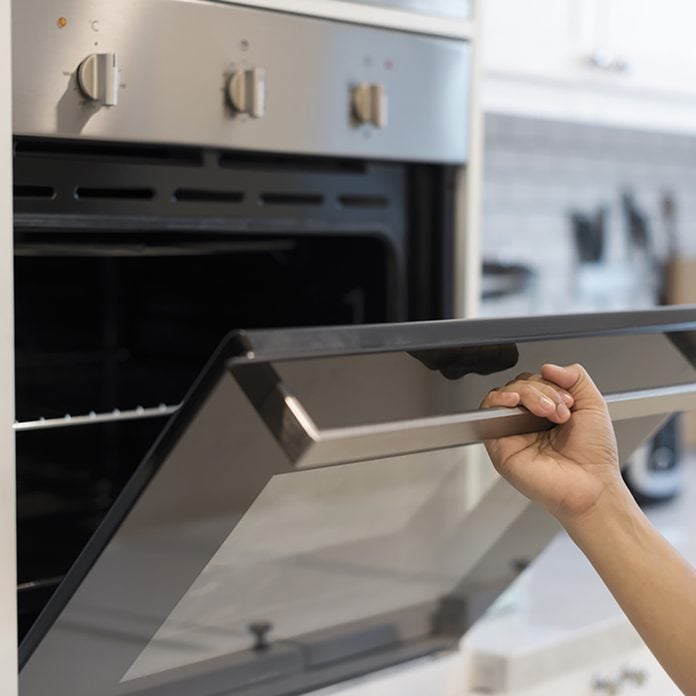
Step 2: Bake Pumpkin
For easy clean up, line the pan with aluminum foil or parchment paper. Place pumpkin, flesh side down, on a 15-in. x 10-in. x 1-in. baking pan. Bake at 350 degrees for 45-60 minutes or until a fork inserted in the skin comes out easily.
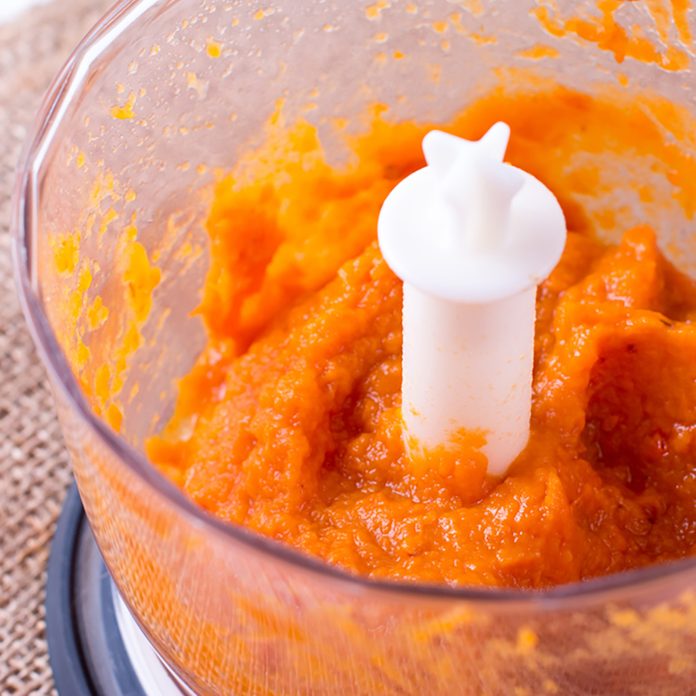
Step 3: Process Until Smooth
Let the pumpkin cool, then scoop out the flesh. Add a few chunks at a time to a food processor and process until smooth.

Step 4: Strain Pulp
Place puree in a large strainer lined with 4 pieces of cheesecloth or 1 large coffee filter. Place strainer over a large bowl; cover and refrigerate for 8 hours. Remove pumpkin from strainer and discard the liquid.
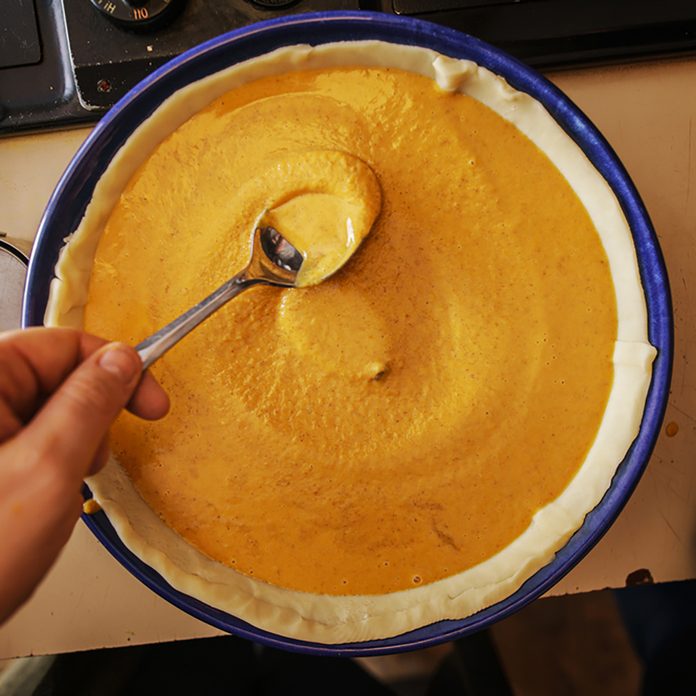
Step 5: Start Cooking
The puree is ready to use! Make it into our fresh pumpkin pie or pop it in the freezer for up to one year. As you’re cooking, keep in mind that 1-3/4 cups of puree is equivalent to one 15-oz. can of pumpkin.
