11 Quick Tips for Frosting a Simply Perfect Layer Cake
Updated: May 28, 2021
A perfect layer cake doesn't have to be elaborate; simple is beautiful. It's not hard to get a clean, professional look! Here are one baker's best tips for how to frost a cake.

Keep your cool
Always—always!—make sure your cake is completely cool before frosting it. If you can, chill it for two hours to overnight. Once you get started with the frosting process, cold air is magic. If your layers slide, put the cake in the fridge for 15-20 minutes to firm everything up.
Keep the cake high and flat
The three rules of cake placement: keep it high, keep it flat and keep it stable. For elevation, use a pedestal cake plate, if you have one. If you don’t… I often use a big stockpot, upside down on my counter, with a cake plate set on top. Works like a charm!
Always work on a completely flat surface, so you can have full access to your cake, top to bottom. That means no plates with slanted or raised sides.

Keep it stable
Make sure your cake is on a nonslip surface, so it won’t slide all over the place. Cake boards (also called cake rounds) are great for this. This baker’s tool is now commercially available in a variety of sizes. If you prefer a decorative plate, put a spoonful of frosting in the center of the plate and then set the first layer down on top of it.
Keep the plate clean
Many a lovely cake is let down by the plate underneath being smeared with icing. To prevent this, cut strips of parchment paper and lay them underneath the edge of the cake. For ease of removal, I use 5-6 thin strips, and set them shallowly under the edge of the cake.
Use the right tools
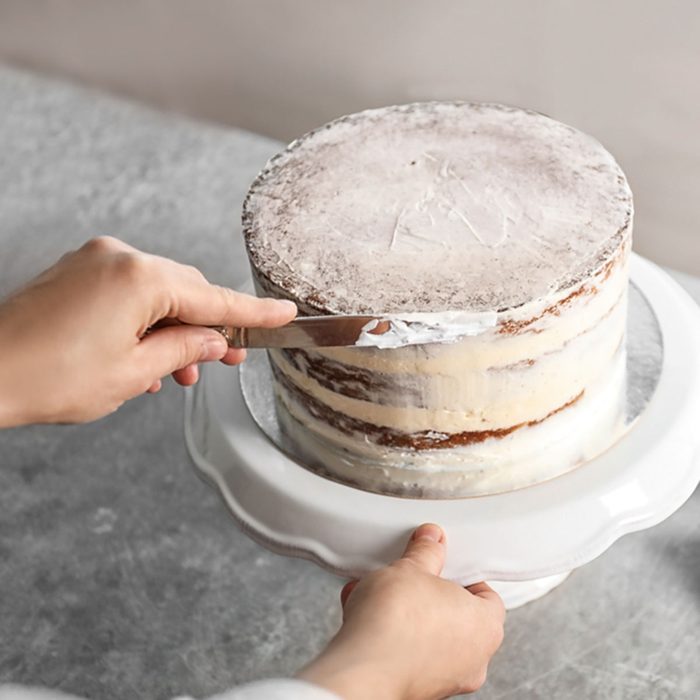
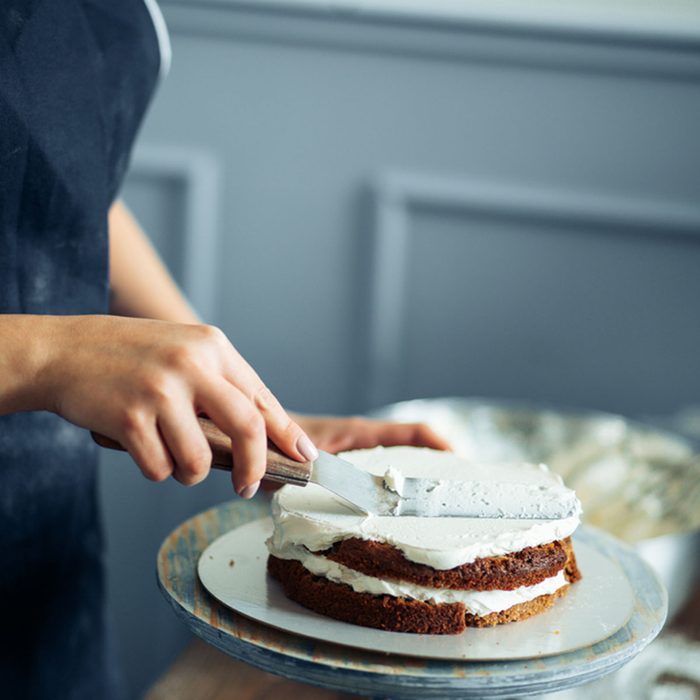
If you’re splitting your layers, use a long, serrated knife. A long bread knife is good for this task. For applying frosting, use an offset spatula instead of a straight one. They’re magic for keeping your knuckles out of the way of the frosting, and giving you a better angle for applying the creamy goodness.
An offset spatula is one of the $20 gadgets pro cooks use—here are the rest.
Frost beyond the edge
When you frost the middle layers, be sure to extend your frosting out over the edge of the cake. Later, when you frost the sides, smooth the overhanging bit along the side of the cake. It’s much easier to get a smooth finish (without picking up crumbs) if you’re not trying to fill in a gap between the layers.
See our most buttery, chocolaty, fluffy and fanciful frosted cakes.

Choose the right frosting
Most cakes are very forgiving, and can take any frosting. But if your cake is particularly light and airy, like a delicate white cake or a chiffon, be picky. Go with a whipped cream frosting or a meringue—a heavy frosting will weigh the cake down.
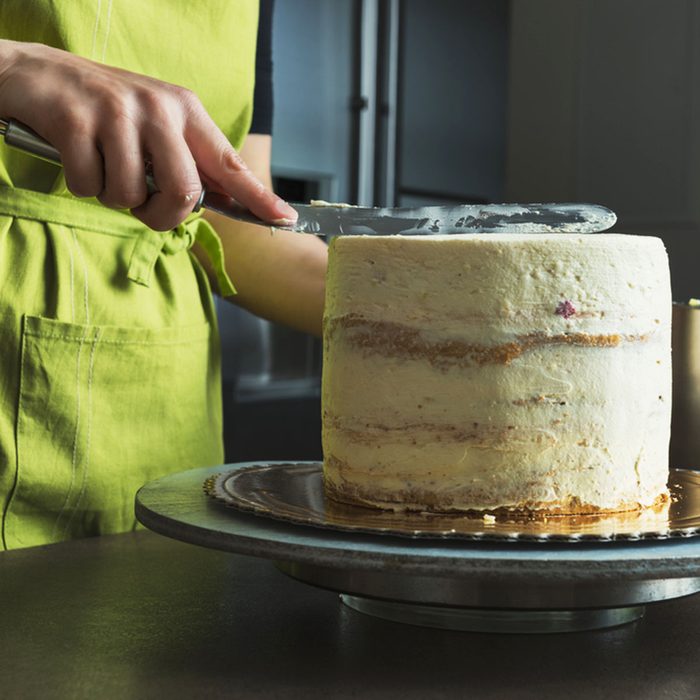
Defeat the crumbs!
Crumbs are the bane of the frosted cake. When you’ve stacked your layers and are ready to frost the top and sides, use a pastry brush to lightly brush away any stray crumbs. Then, take the time to apply a crumb coat. It doesn’t have to be thick—you’ll probably be able to see the color of the cake through the frosting—or particularly pretty. Think of it like a coat of primer when you’re painting a wall.
Don’t overfrost
One of the easiest mistakes to make is putting a lot of frosting in the middle, and running out of frosting by the time you get all around the sides. For a basic two-layer cake, you’ll need a third of your frosting for each of the top, middle and sides.
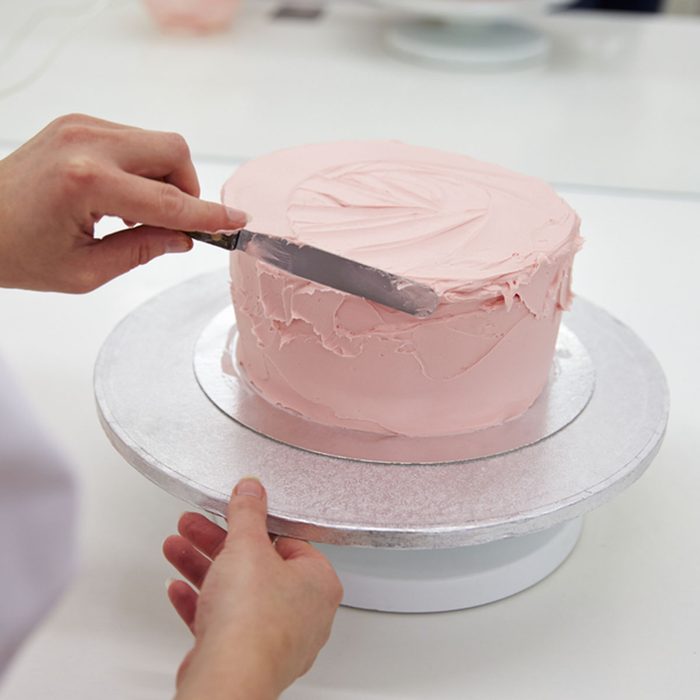
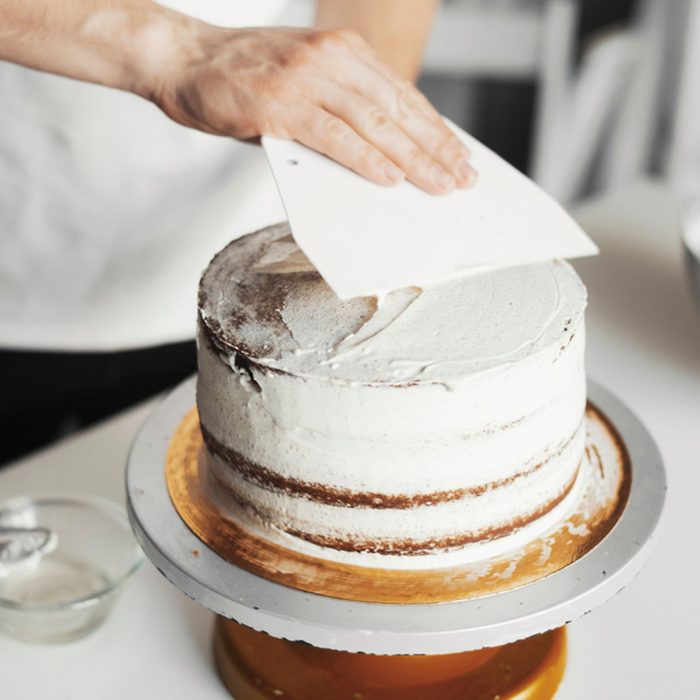
Smooth out the finish
If you’re not getting as smooth a finish as you like, try dipping your spatula in very hot water, wiping it dry and then using it to smooth the surface of the cake. This bit of controlled heat helps move the frosting without overworking it. Use the edge of your spatula along the top edge of your cake (in both directions) to create a crisp edge.
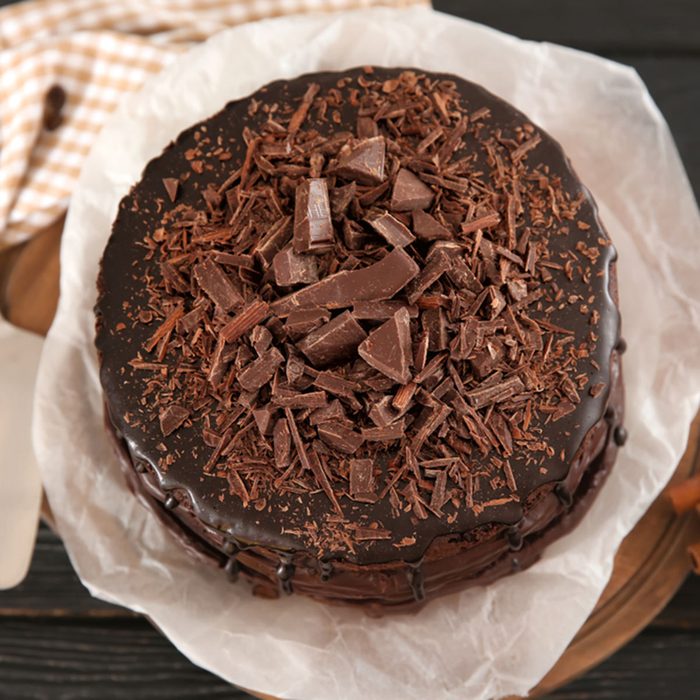
Hide the flaws
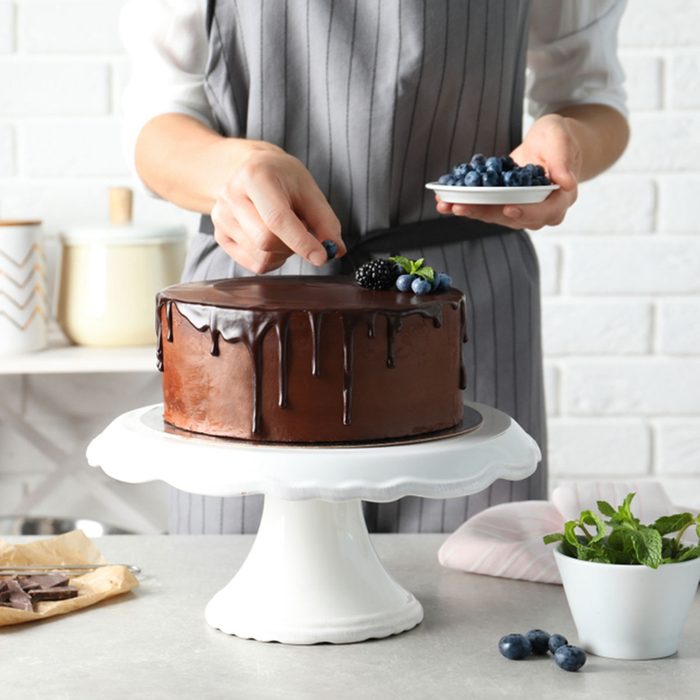
Remember, you can always use a final decoration to cover any flaws. Sprinkles, coconut flakes or chopped nuts all work, depending on the flavor of the cake. For a simple but stunning effect, use a stencil to dust a pattern on top of your cake. Choose sanding sugar in a contrasting color, powdered sugar on a chocolate icing, or cocoa on a white icing.
Now that you know how to frost a cake—make some homemade frosting! Or better yet, learn how to decorate a cake like a pro.