How to Make Beef Stock the Old-Fashioned Way


Updated: May 22, 2023
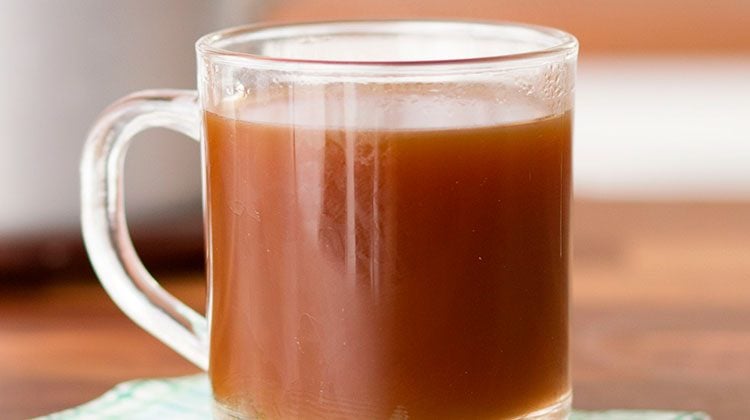
It's the base of your soup, heart of your gravy and secret to your sauce. What are we making? Homemade beef stock.
I’m not going to lie to you. Making stock from scratch is an endeavor. It involves simmering a pot on the stove for hours, straining extra fat and collecting a small boneyard in the freezer. Sure, it tastes great in homemade beef stew or blended into enchilada sauce, but why go through the hassle of learning how to make stock when you can buy it in a can from the store?
There’s a reason most chefs swear by the homemade stuff: It’s just better. It tastes richer and beefier than anything available at the store. The FDA requires that only 0.007% of commercially packaged stock be made of actual meat, so many companies use additives, flavorings and sodium-packed shortcuts in their recipes. Instead of having the beef flavor come from meat scraps and bones, it’s crafted in a lab. That doesn’t sound too good, does it?
Before we dive into making homemade beef stock, there are a few important things to know.
Know the difference between stock and broth
Chefs and home cooks alike often used the terms broth and stock interchangeably. Technically speaking, stock refers to liquid made from bones, fat, meat and vegetables. Broth is made with just meat and vegetables. Stock is what most people are aiming for when they make this flavorful liquid at home.
Start collecting bones
A crucial component to homemade stock is meaty bones. Our Test Kitchen experts recommend using bones from beef shanks or short ribs. If you cook meat often, I suggest collecting the leftover bones in a resealable bag in the freezer. You’ll know it’s time to make your stock when the bag is full. Don’t want to wait? Many butchers provide bones for a very affordable price-and some will even let you have them for free.
Clear some space in the freezer
This recipe yields about 10 cups of stock. Unless you’re making a massive batch of soup, you’ll want to save the rest for later. Luckily, homemade stock can be frozen for up to 6 months. My favorite way to store stock is to pour it into an ice cube tray and/or pint- and quart-sized containers and freeze. When you need it for a dish, simply pop what you need into the saucepan.
Now that we’ve covered all the stock-y basics, let’s get cooking. Follow along as the Taste of Home Test Kitchen teaches you how to make this homemade base.
How to Make Beef Stock
You’ll need:
For the stock:
4 pounds meaty beef soup bones (beef shanks or short ribs)
3 medium carrots, cut into chunks
3 celery ribs, cut into chunks
2 medium onions, quartered
1/2 cup warm water (110° to 115°)
3 bay leaves
3 garlic cloves
8 to 10 whole peppercorns
3 to 4 sprigs fresh parsley
1 teaspoon dried thyme
1 teaspoon dried marjoram
1 teaspoon dried oregano
Cold water
Tools:
Roasting pan
Dutch oven
Slotted spoon
Cheesecloth
Colander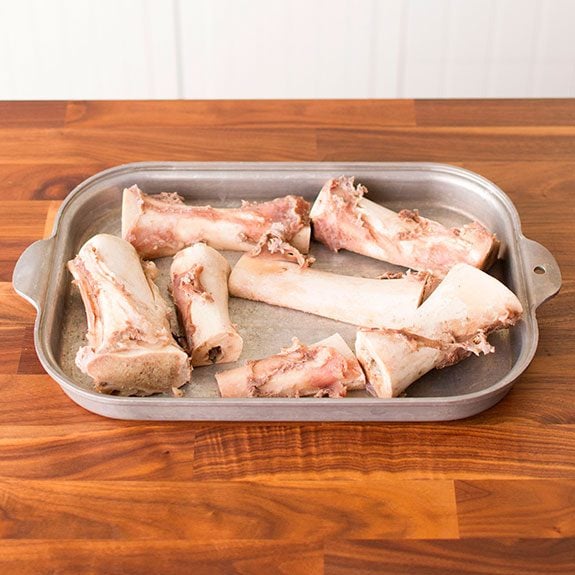
Step 1: Roast the bones and vegetables
For the most flavorful stock, you’ll begin by roasting the bones. Crank the oven up to 450° and spread the bones on a large roasting pan. Cook uncovered for about 30 minutes. Then add chopped carrots, celery and onions.

Continue to roast for about 30 minutes longer. The bones and veggies should start to turn a deep, caramelized brown. Remove the pan from the oven and carefully drain the fat.
Test Kitchen tip: Don’t skip this step. Roasting is what lends the final stock gets its rich color and flavor.
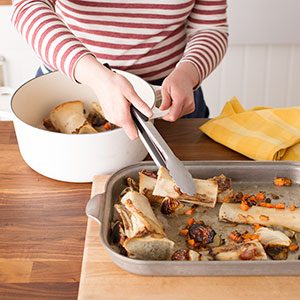
Step 2: Add the roasted ingredients to a pot
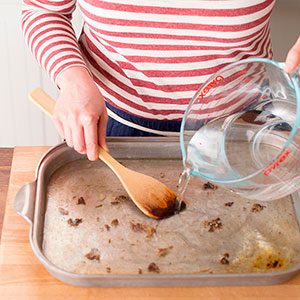
Using tongs, carefully transfer the cooked bones and vegetables into a large Dutch oven or stockpot. Don’t rinse that roasting pan just yet. See those brown bits stuck to the bottom? That’s what the French call the fond, and it helps form the base of the stock. Add warm water to the pan and stir to loosen.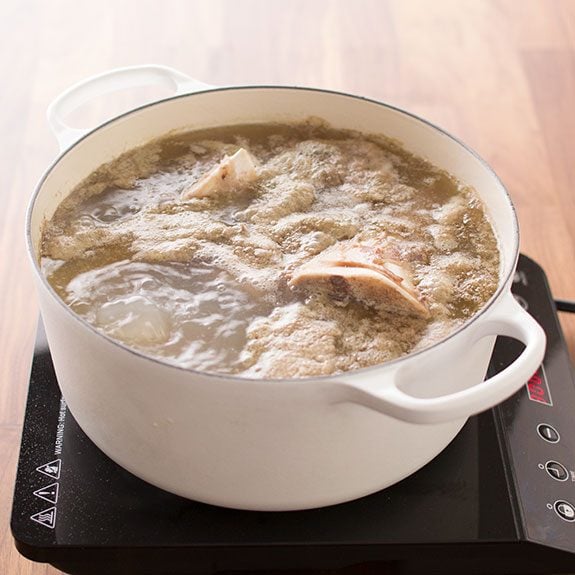
Step 3: Bring to a boil, then simmer
Pour the pan juices into the Dutch oven. Then add the seasonings and enough cold water to cover.
Test Kitchen tip: We usually love adding lots of herbs and spices, but in this case, keep them to a minimum. The long simmering time will extract a ton of flavor from the herbs, which could overpower the completed stock. You can always add more herbs and spices when you’ve finished.
Next, bring the stock to a boil. It’ll take about 30 minutes. Once you start to see bubbles, reduce the heat and bring to a simmer.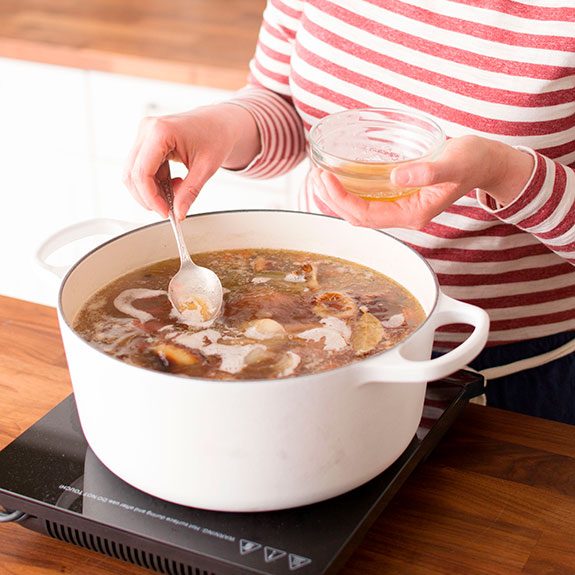
Let it sit like this, uncovered, for 4 to 5 hours. It isn’t necessary to stay glued to the stovetop, but do return occasionally to skim the foam from the top. If necessary, add water to keep the ingredients covered.
Step 4: Strain the stock
Using tongs, remove the beef bones from the stock, then let the pot cool.
Test Kitchen tip: Cut down on food waste by removing the meat from the bones before throwing them away. The leftover meat is great to add to a sandwich or cup of soup.
Line a colander with cheesecloth and place over a large bowl; carefully pour the stock through to strain. Discard any remaining vegetables or seasonings.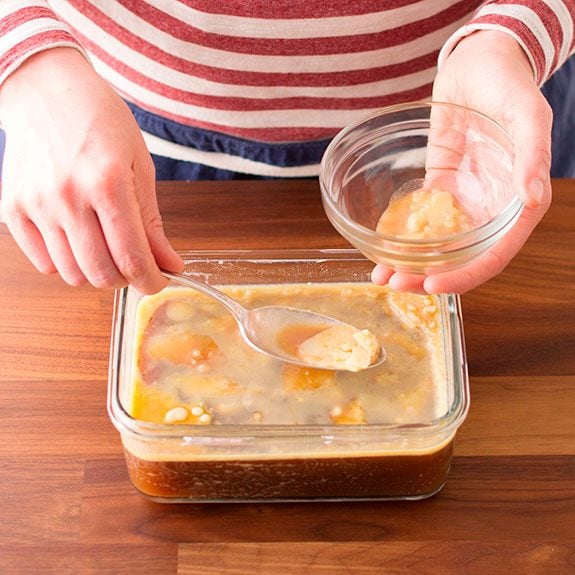
Step 5: Enjoy now, or save for later
If using immediately, you’ll want to skim the fat before adding stock to a soup or bowl of rice. It’s easier to remove fat after the stock is cooled, though. Stick the stock in the fridge to chill overnight. The fat will congeal on the surface, making it easy to scrape away with a spoon. Covered in the fridge, stock will keep for up to 3 days; in the freezer, it’s good for up to 6 months.
Now that you’ve simmered your way to a tasty beef stock, it’s time to build on it. Here are some starting points:
- Braise some beef. Try our Coffee-Braised Roast Beef recipe for a tasty slow-cooked dinner.
- Use the stock as a base for a beefy soup or stew.
- Make an awesome sauce. Add garlic, diced tomatoes and extra seasonings to the stock for a quick pasta sauce. Check out this Barbecued Pork and Penne Skillet recipe to learn how.
Begging for more? Check out this step-by-step guide for how to make bone broth.
Originally Published: June 19, 2017