Put up your fall harvest so you'll have plenty of root vegetables for those hearty stews, soups and casseroles that everyone craves this time of year.
How to Keep Root Vegetables Fresh All Winter Long—No Freezer Required

Updated Dec. 12, 2022
A sack of potatoes from the local farmer. Onions from a neighbor. A pile of carrots or beets pulled from your lovingly tended garden. Follow these storage tips and you’ll have fresh root vegetables from fall to spring, providing the ingredients for many a warming winter dish, from steaming soups to hearty salads.
Potatoes
Step 1: Dry them. After harvest, remove any damaged potatoes. Leave the rest outside to dry for a couple of hours. Don’t wash them but brush off excess dirt.
Step 2: Cure them. Keep the potatoes in a dark, humid place for one to two weeks. These conditions help prevent rot. Indoors near the furnace works best. Spread out the potatoes in boxes and covered with cloth to enhance humidity.
Step 3: Choose a spot. For long-term cold storage, find a storage area that’s dry and dark, such as a basement, garage or shed with plenty of ventilation. A temperature of 35° to 40° is good.
Step 4: Pack them. Pack the potatoes in a wooden crate, or something similar, with slatted sides and bottom. Alternate layers of newspaper and potatoes until the stack reaches 6 to 8 inches high. Make sure the newspaper covers the open slats so that light can’t get in.
Step 5: Keep an eye on them. Check your potatoes monthly and remove any that are beginning to rot. One rotten spud will ruin the lot. Some varieties store better than others—russet potatoes are among the best. For more on the types of potatoes, read this.
Step 6: Cook them! Here are a ton of recipes for serious potato lovers.
Onions and Garlic
Step 1: Cut the tops. Trim off the tops, leaving a small stub.
Step 2: Leave them in the sunlight. Expose the onion and garlic to natural light for a week.
Step 3: Pack them. Spread the bulbs loosely in shallow boxes or hang them in bags or old pantyhose.
Step 4: Cook them! Have a bunch of garlic? Try these 22 recipes for garlic lovers.
Sweet Potatoes and Yams
Step 1: Time your harvest correctly. Wait for dry weather to dig up sweet potatoes and yams. Wet tubers attract insects, disease and mold.
Step 2: Cure them. Lay the tubers in a warm location, similar to potato storage. Let them dry for 10 days to two weeks. Curing ensures excess moisture is drawn out, preventing mildew.
Step 3: Pack them. Box up the tubers or wrap them in newspaper. Store them in a cool pantry or closet at 55° to 60°. If no cool place is available, pack them in layers of sand in barrels or crates. The sand cushions and keeps the tubers cool, but not cold enough to freeze. Place the containers in a moderately warm basement or garage.
Step 4: Cook them! We have 55 savory sweet potato dishes right here.
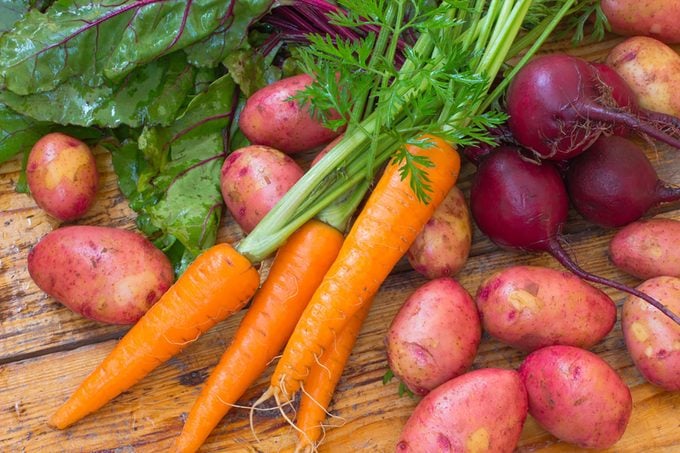
Carrots, Beets, Turnips, Parsnips, Swedes and Celeriac
Step 1: Trim the tops. Cut off the leafy tops. Left on, they will draw moisture from the vegetable. Brush off loose dirt and remove any damaged ones.
Step 2: Pack them. Place the root vegetables, unwashed, in boxes layered with slightly damp sand. Dry leaves or sawdust can also be used.
Step 3: Store them. Keep them in a cool place such as a basement.
Step 4: Keep an eye on them. Check regularly for spoilage and moisture, which causes rot, or dryness that could cause them to harden and split.
Step 5: Cook them! All of these veggies are amazing when roasted, especially our roasted turnips. Crank up your oven and get cooking.
Sure, storing your garden vegetables takes a bit of work, but the results are so, so delicious. You’ll be thanking yourself all winter.
Originally Published: October 27, 2017