If you’re looking for a delicious way to use a quart or so of tart summer berries, start with this impressive raspberry pie.
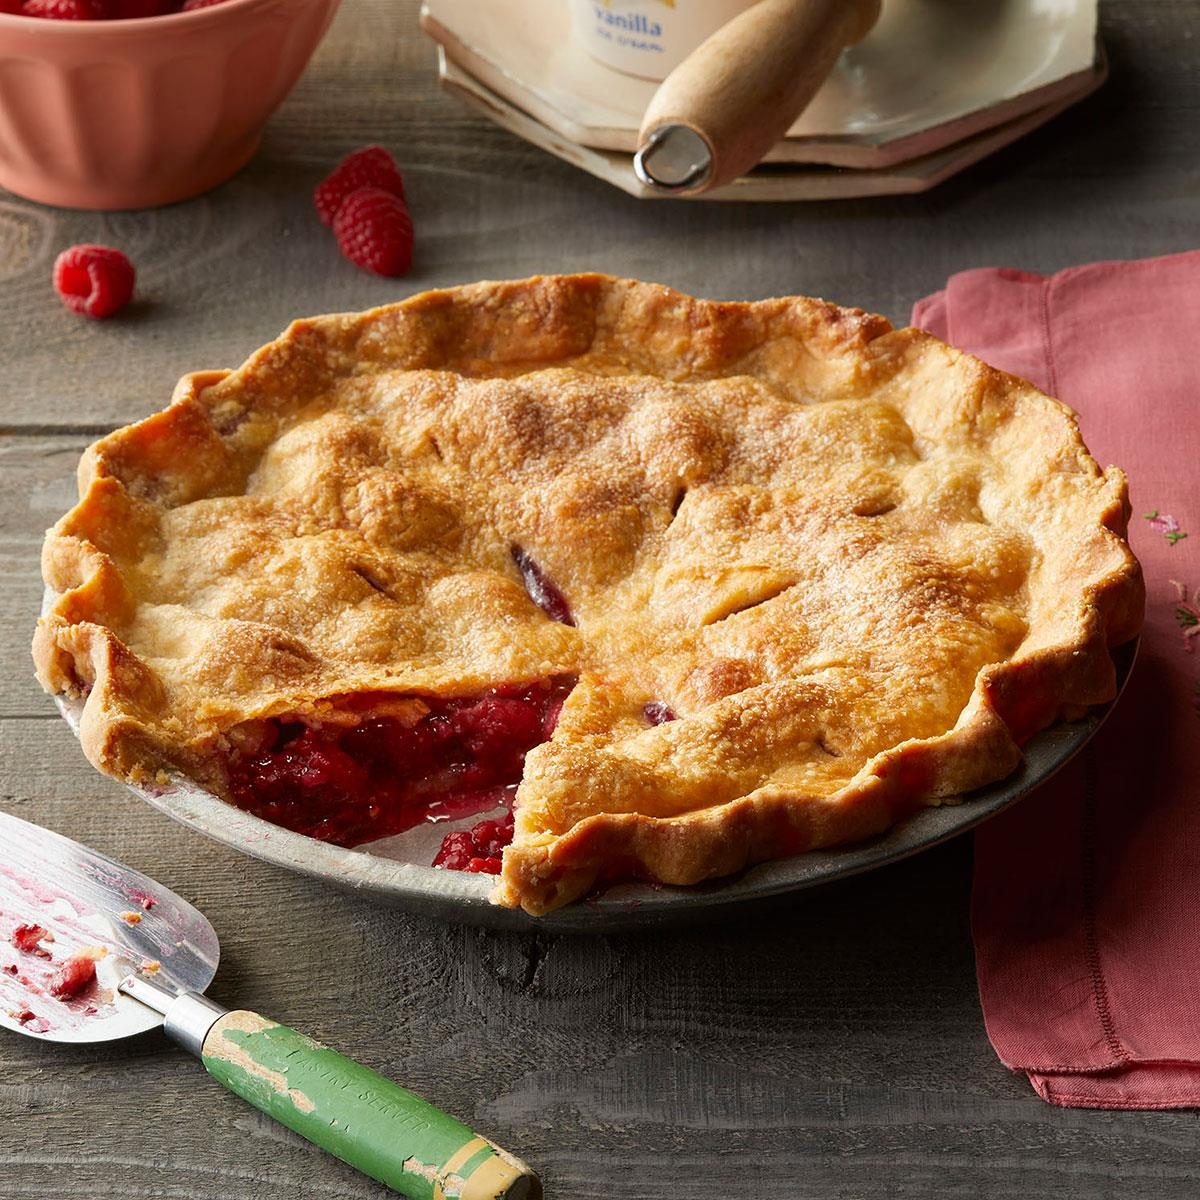
Raspberry Pie

This raspberry pie is a favorite for several reasons. It’s somehow both complex and balanced with a flaky-yet-tender crust and a sweet-yet-tart filling. Plus, it’s as easy to throw together as most fruit pies, but with this recipe, you’re rewarded with a bright pink filling that’s bursting with juicy raspberries. A scoop of creamy vanilla ice cream served with every slice rounds out the flavor beautifully.
Ingredients for Raspberry Pie
- All-purpose flour: All-purpose flour gives the pie crust its structure.
- Shortening: We’re using shortening instead of butter for this crust because shortening has a higher melting point, meaning it won’t melt into the flour quite as easily as butter would. Since the fat isn’t melting into the flour, we’re able to keep those fat layers between the flour for a flakier pie crust.
- White vinegar: White vinegar makes the pie dough tender. Swap with apple cider vinegar if that’s all you have, but don’t swap white vinegar for just any type of vinegar since they all have different flavors that may not work here.
- Sugar: Sugar sweetens the filling to balance raspberry’s super-tart flavor. It also helps create a delicious, golden-brown crust.
- Quick-cooking tapioca: This kind of tapioca is an ideal thickener with its neutral flavor.
- Cornstarch: Cornstarch is an effective pie thickener since it doesn’t need much time to cook, so your pie won’t be a runny mess when you serve a slice.
- Raspberries: Use fresh or frozen raspberries. If using frozen, make sure you completely thaw them and drain the excess liquid.
- Milk: We brush milk on the top pie crust right before it goes into the oven. Milk has natural sugars that will brown the crust beautifully during baking.
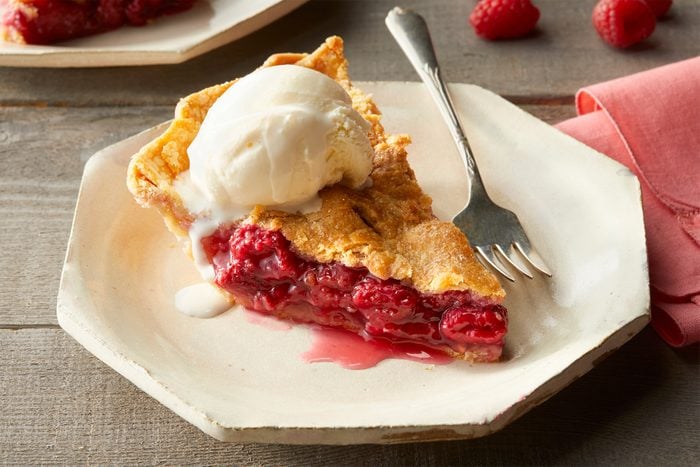
- Ice cream: A scoop of vanilla ice cream with warm raspberry pie is an absolute must!
Directions
Step 1: Create the pie dough
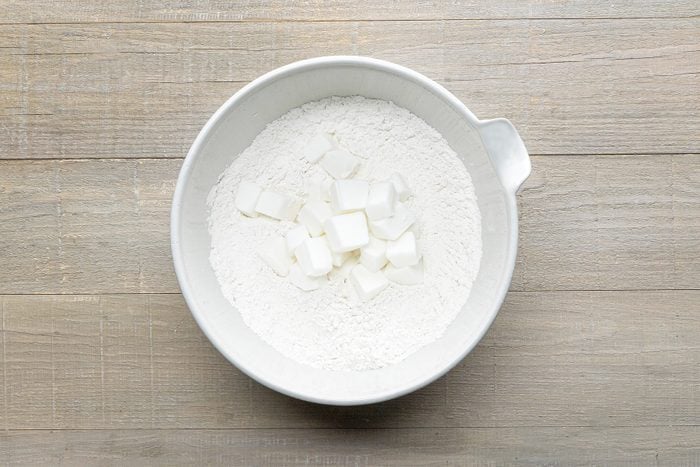
In a large bowl, whisk together the flour, sugar and salt. Cut in the shortening until the mixture resembles coarse crumbs. In a separate bowl, whisk together the egg, water and vinegar. Stir the wet mixture into the flour mixture just until moistened.
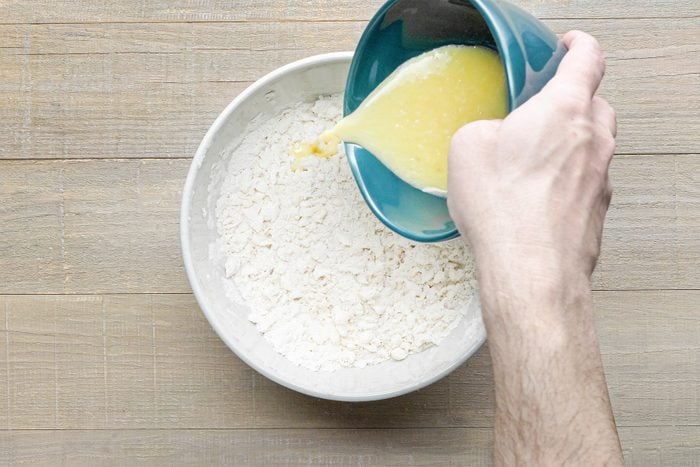
Editor’s Tip: Don’t cut in the shortening too much; stop when the shortening pieces are about pea-sized before adding in the wet mixture.
Step 2: Chill the dough
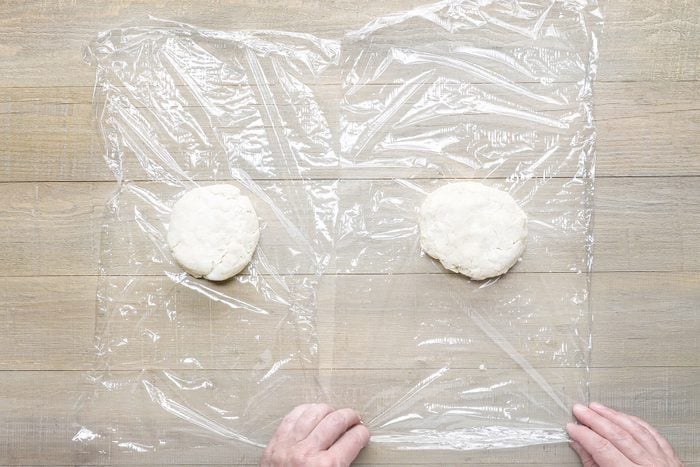
Divide the dough in half so that one ball is slightly larger than the other. Wrap each in storage wrap. Refrigerate the doughs until they’re easy to handle, about 30 minutes.
Step 3: Make the filling
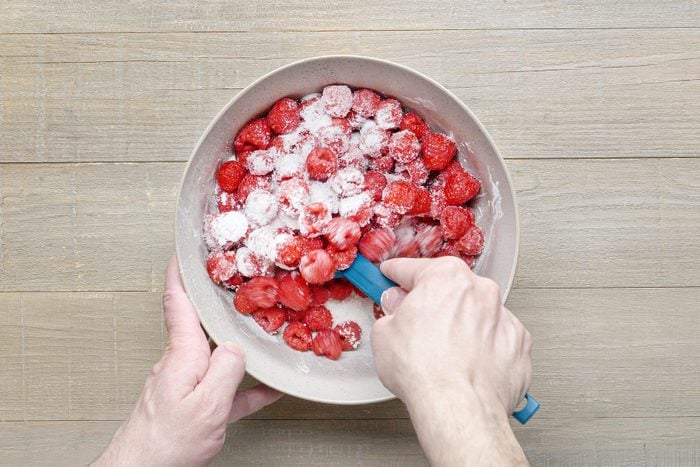
Meanwhile, in another large bowl, toss together the sugar, tapioca, cornstarch and raspberries. Let the mixture stand for 15 minutes. Preheat the oven to 350°F.
Editor’s Tip: Make sure to toss the ingredients together really well throughout so the cornstarch doesn’t clump up, resulting in thick, glue-like pieces.
Step 4: Roll out the pie dough
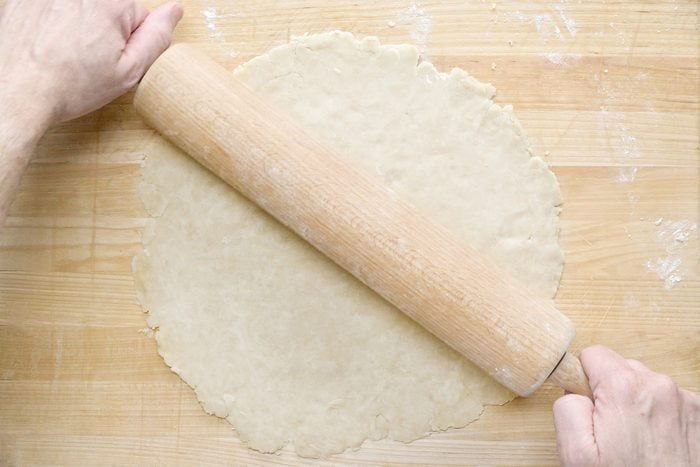
On a lightly floured surface, roll out the larger ball of dough to fit a 9-inch pie plate. Transfer the dough to a pie plate and trim it even with the edge.
Step 5: Transfer the filling to the crust
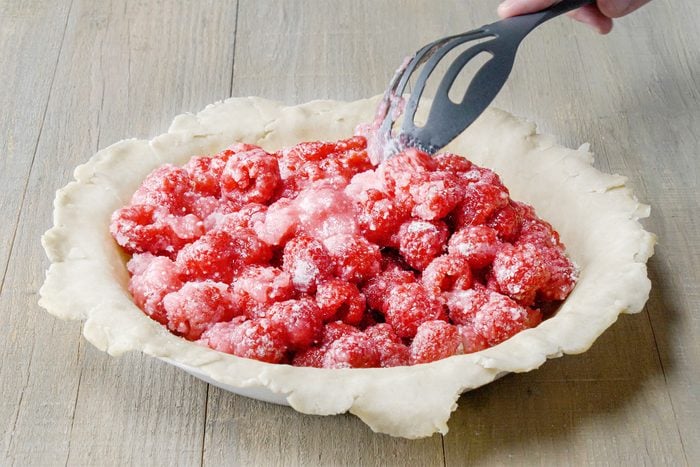
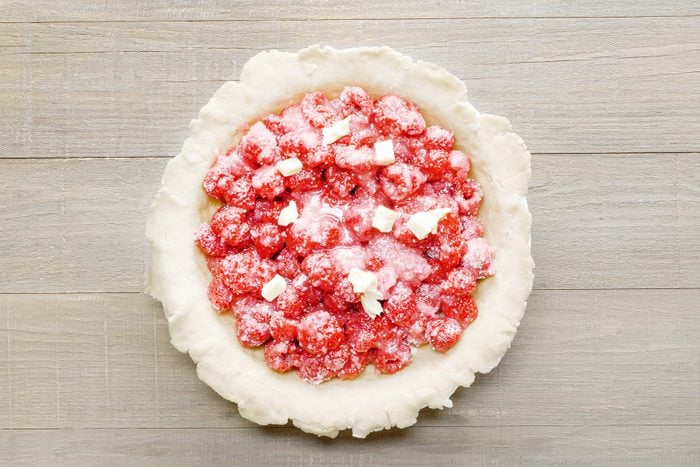
Gently pour the raspberry filling into the middle. Dot the top of the filling with the butter.
Step 6: Top with pie dough
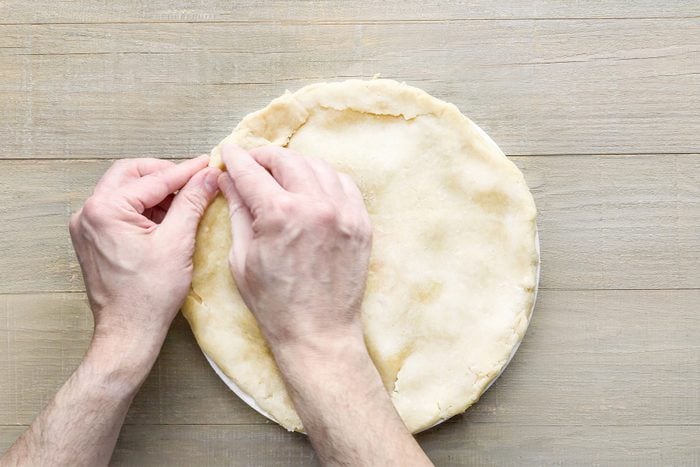
Roll out the remaining dough to fit the top of the pie. Place the crust over the filling. Trim, seal and flute the edges. Cut slits in the top of the pie dough. Brush the top with milk, and sprinkle with the sugar.
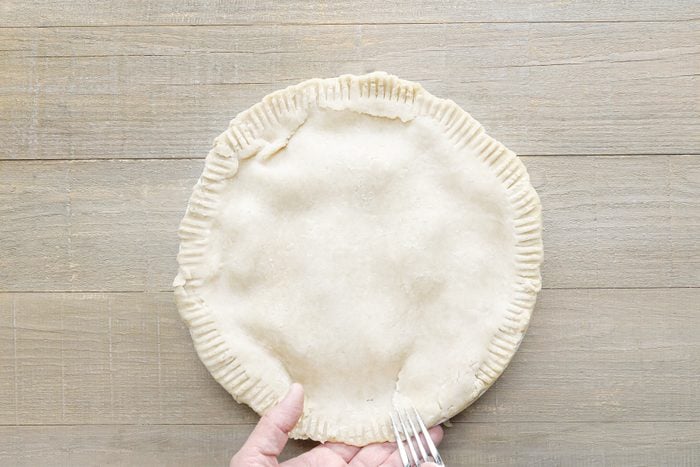
Editor’s Tip: If you want to get fancy with your fluting, learn how to make decorative pie crusts.
Step 7: Bake the pie
Bake until the crust is golden brown and the filling is bubbly, 50 to 55 minutes.
Editor’s Tip: Place a baking sheet underneath the pie to catch anything that may bubble over during baking. It’s much easier to clean a baking sheet than the bottom of an oven!
Step 8: Cool
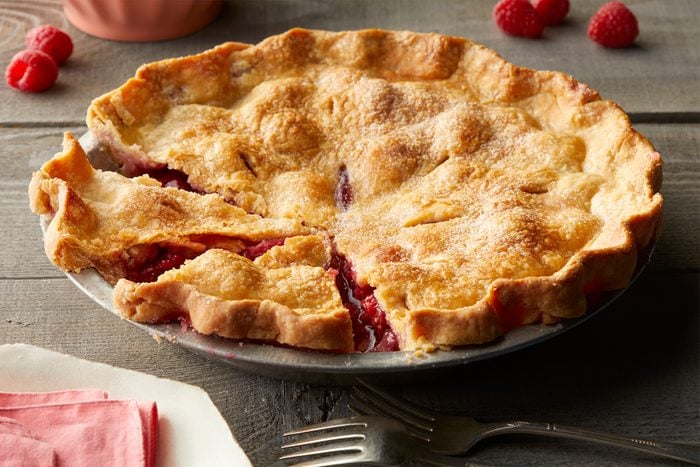
Cool the pie to room temperature on a wire rack. If desired, serve with vanilla ice cream.
Recipe Variations
- Use a crumb topping instead of a top crust: This crumb topping would add a lovely texture and sugary taste to this raspberry pie.
- Mix in other berries: Blackberries, blueberries and strawberries would be excellent additions to this raspberry pie. Reduce the amount of raspberries so you still have 5 cups of fruit.
- Add fun cutouts: Roll out any extra pie dough and use a cookie cutter to punch out fun shapes like hearts or stars. Add to the top of the unbaked pie crust for decor!
- Make it gluten-free: Replace the crust in this recipe with a gluten-free pie crust.
- Use a store-bought crust: There is zero shame in using a store-bought pie crust. We are so behind this idea that our Test Kitchen pros took time to find the best premade pie crust.
How to Store Raspberry Pie
To store, allow raspberry pie to cool completely to room temperature, then cover. Like most fruit pies, this raspberry pie will keep for up to five days in the refrigerator. Let the pie come to room temperature before eating.
Raspberry Pie Tips
Why is my raspberry pie runny?
Your raspberry pie may be runny for a few different reasons. The first is that your pie filling is underbaked. Only take your pie out of the oven when the filling is bubbling. If your crust is browning too quickly and the filling isn’t bubbling yet, make a pie crust shield to protect the crust from browning further.
The explanation could be not letting the quick-cooking tapioca starch set for 15 minutes before baking. The tapioca needs that time to soften so it can activate its thickening powers.
Another culprit? Not letting the pie cool after baking. It’s so tempting to cut a slice of pie as soon as it comes out of the oven, but the starches are still setting up the filling even after the pie is done baking. Let the pie cool to room temperature before digging in—trust us!
Last, if you used frozen raspberries, it’s important that they were fully thawed and drained of excess liquid before using in the filling. The excess liquid will throw off the starch-to-liquid ratio.
How do you thicken raspberry pie filling?
We use a double-duty of quick-cooking tapioca starch and cornstarch to thicken this raspberry pie’s filling. There are a lot of different pie thickeners, but we’ve found that quick-cooking tapioca and cornstarch are the most effective. Quick-cooking tapioca starch takes 15 minutes to set in the filling, so don’t skip that step!
Watch How to Make Raspberry Pie
Raspberry Pie
Ingredients
- 2 cups all-purpose flour
- 1 tablespoon sugar
- 1/2 teaspoon salt
- 3/4 cup shortening, cold
- 1 egg, lightly beaten
- 3 tablespoons cold water
- 1 tablespoon white vinegar
- FILLING:
- 1-1/3 cups sugar
- 2 tablespoons quick-cooking tapioca
- 2 tablespoons cornstarch
- 5 cups fresh or frozen unsweetened raspberries, thawed
- 1 tablespoon butter
- TOPPING:
- 1 tablespoon 2% milk
- 1 tablespoon sugar
- Vanilla ice cream, optional
Directions
- In a large bowl, combine the flour, sugar and salt; cut in shortening until mixture resembles coarse crumbs. Combine the egg, water and vinegar; stir into flour mixture just until moistened. Divide dough in half so that one ball is slightly larger than the other; wrap each in plastic wrap. Refrigerate for 30 minutes or until easy to handle.
- Meanwhile, in another large bowl, combine the sugar, tapioca, cornstarch and raspberries; let stand for 15 minutes.
- On a lightly floured surface, roll out larger ball of dough to fit a 9-in. pie plate. Transfer dough to pie plate; trim even with edge. Add raspberry filling; dot with butter.
- Roll out remaining dough to fit top of pie; place over filling. Trim, seal and flute edges. Cut slits in top. Brush with milk; sprinkle with sugar.
- Bake at 350° for 50-55 minutes or until crust is golden brown and filling is bubbly. Cool on a wire rack. If desired, serve with vanilla ice cream.
Nutrition Facts
1 piece: 498 calories, 21g fat (6g saturated fat), 30mg cholesterol, 168mg sodium, 74g carbohydrate (41g sugars, 6g fiber), 5g protein.

