Gingerbread Chalet

Total Time

Prep: 25 min. Bake: 15 min. + assembly

Makes

1 chalet

Updated: Jun. 27, 2023
The A-frame design on this pretty country chalet is easy enough for even first-timers to make. So gather the kids or grandkids and have a blast creating this fun holiday project. —Peggy Anderson, Haughton, Louisiana
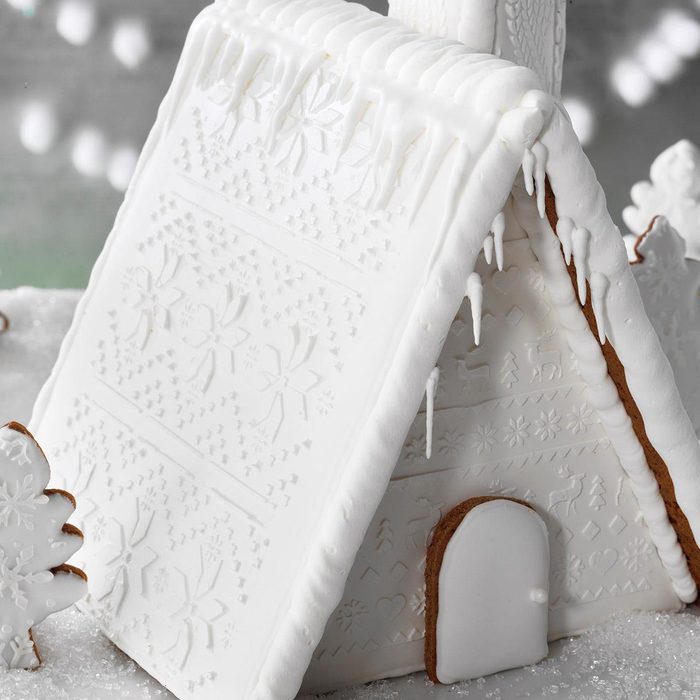
Gingerbread Chalet Recipe photo by Taste of Home

Ingredients

  • DOUGH:
  • 1 cup butter, softened
  • 1-1/2 cups packed dark brown sugar
  • 1 large egg, room temperature
  • 2 tablespoons molasses
  • 1 tablespoon dark corn syrup
  • 4 cups all-purpose flour
  • 4 teaspoons ground cinnamon
  • 1 tablespoon ground cloves
  • 2 teaspoons ground nutmeg
  • 2 tablespoons hot brewed coffee
  • 2 teaspoons baking soda
  • ICING AND ASSEMBLY:
  • 2 large pasteurized egg whites, room temperature
  • 3-3/4 cups confectioners' sugar
  • Warm water

Directions

  1. In a large bowl, cream butter and brown sugar until light and fluffy, 5-7 minutes. Beat in egg, molasses and corn syrup. Combine flour, cinnamon, cloves and nutmeg; gradually beat into creamed mixture. In a small bowl, combine coffee and baking soda; gradually beat into the dough. Divide dough in half. Shape each into a disk; wrap and refrigerate 1 hour or until firm enough to roll.
  2. Preheat oven to 350°. Trace patterns onto waxed paper and cut out. Lightly grease 2 baking sheets. Divide dough in half. Using a lightly floured rolling pin, roll out the dough directly onto the baking sheets to 1/8-in. thickness.
  3. Position patterns on dough. Using a sharp knife, cut out according to quantities noted on each pattern piece. Remove patterns. Remove dough scraps; cover and refrigerate dough scraps to re-roll if desired.
  4. Bake until set, 10-12 minutes. Cool on pans for 5 minutes before removing to wire racks to cool completely.
  5. To make icing: In the bowl of a stand mixer fitted with paddle attachment, beat egg whites until foamy; Gradually add sugar until completely incorporated. Increase speed and continue to beat until stiff, glossy peaks form and sugar is dissolved, 8-12 minutes, adding a few drops of warm water as needed. Spoon half the icing into another bowl. To 1 portion stir in additional warm water, a few drops at a time, until icing reaches a thin flood consistency. If necessary, stir in additional confectioners' sugar to the remaining portion of icing to form a stiff icing. Place a damp cloth over bowls and cover tightly between uses.
    To decorate: Insert #3 round tips into 2 pastry bags; fill 1 with flood consistency icing and the other with stiff consistency icing. Working with 1 piece at a time, pipe a border using stiff icing. Fill area inside border with flood icing; pop any air bubbles with a toothpick. When all pieces have been iced, set aside and allow to dry for several hours or overnight. Icing must be completely dry and hard to the touch. Working with 1 piece at a time, place food safe stencil on surface of dried icing; using an offset spatula, spread a very thin layer of stiff icing over stencil. Carefully remove stencil; wipe off stencil between uses. When all pieces have been decorated with stencil set aside to dry for several hours or overnight.
  6. To assemble: Test cookie pieces to make sure they fit together snugly. If necessary, file edges carefully with a serrated knife to make them fit.
  7. Insert #5 round tip into pastry bag; fill two-thirds full with stiff icing. Beginning with the chimney, pipe a wide strip of icing along the longest edge of chimney piece A. Angle and press the longest edge of chimney piece B against it; set aside.
  8. Ice along the 2 longer edges of chimney piece C. Press 1 edge against the shortest edge of chimney piece A and 1 edge against the shortest edge of chimney piece B to form a triangle. Gently press all 3 chimney pieces together (see Fig.1). Set aside to dry completely, 3-4 hours.
  9. Meanwhile, pipe icing along the 2 longest edges of both the front and back chalet pieces. With longest sides pointing up, position 1 A-frame roof piece, then the other, at about a 45° angle between the front and back house pieces. Press pieces gently together. Prop with canned goods and set chalet aside to dry, 3-4 hours.
  10. Referring to photo, center chimney on 1 side of chalet. Ice bottom edge of chimney piece C and press onto peak of chalet so that the chimney rises above it.
  11. Ice the back of the door and center it on front of chalet, as indicated on pattern. Press into place. If desired, use reserved dough scraps and icing to create tree and deer cutout cookies.

Nutrition Facts

1 serving: 189 calories, 5g fat (3g saturated fat), 19mg cholesterol, 120mg sodium, 34g carbohydrate (22g sugars, 1g fiber), 2g protein.