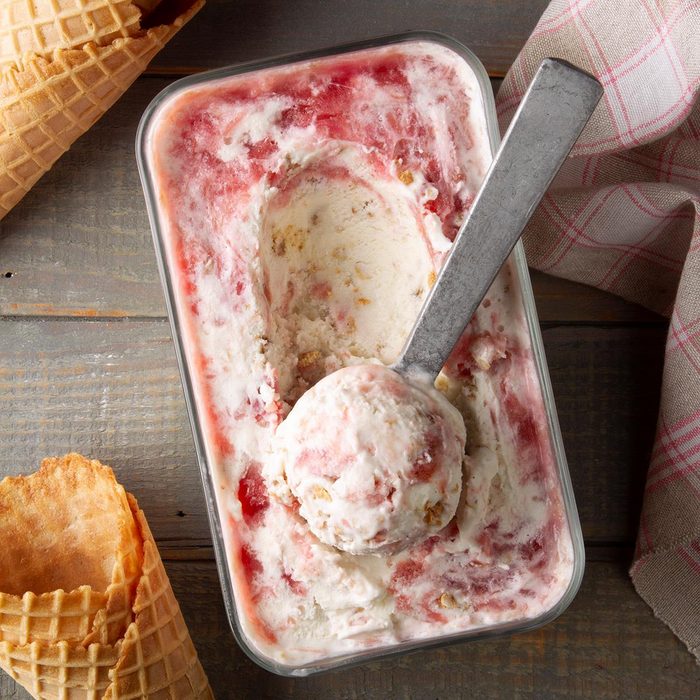
Let your base rest
According to Maggie Knoebel, Taste of Home culinary assistant, exercising a little patience while making ice cream at home yields better results. Once you’ve made your custard, don’t rush right to your ice cream maker.
“Give your ice cream base time to rest. A night in the fridge will improve the texture and quality of the final mix,” she says
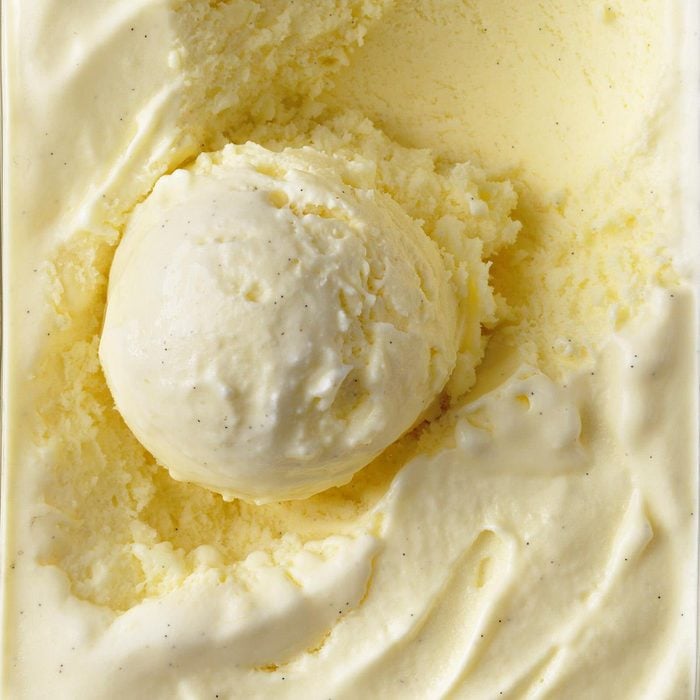
Use quality ingredients
Your ice cream is only as good as what you put into it, according to Maggie. So when it’s time to make a batch of this best-ever vanilla ice cream, Maggie says “splurge on good vanilla!” She enjoys Nielsen Massey vanilla paste for its rich flavor and for the vanilla bean flecks that you can see in the finished product.
This tip applies to more than just vanilla, though. Use fresh fruits when possible, good quality cream and decadent chocolate when the recipe calls for it.
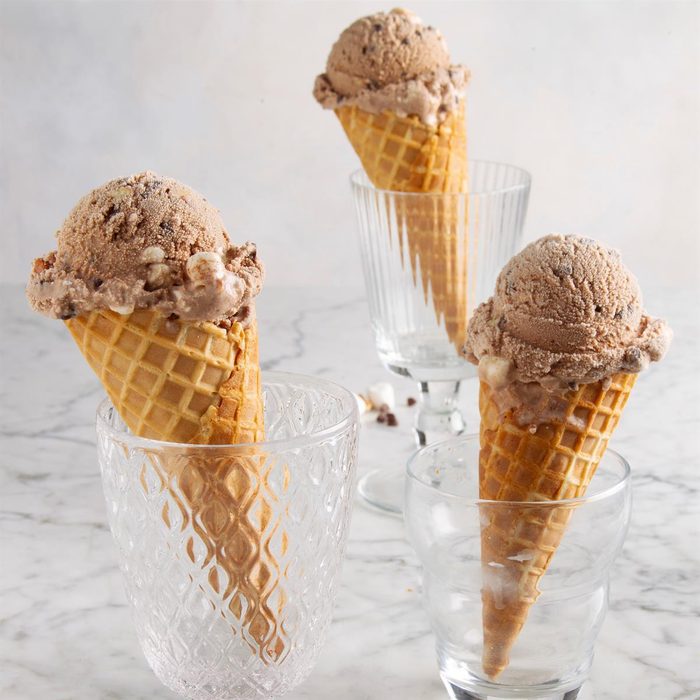
Keep crystals at bay
One pitfall of homemade ice cream is that it’s more likely to crystalize than its commercially produced cousins. A good way to combat ice crystals is to make sure you’re using enough sweeteners. Sugar and other sweeteners help prevent crystalization, so don’t try to cut any from your recipe!
To take things a step further, Culinary Deputy Editor James Schend recommends replacing up to a quarter of the sugar called for in any homemade ice cream base with corn syrup.
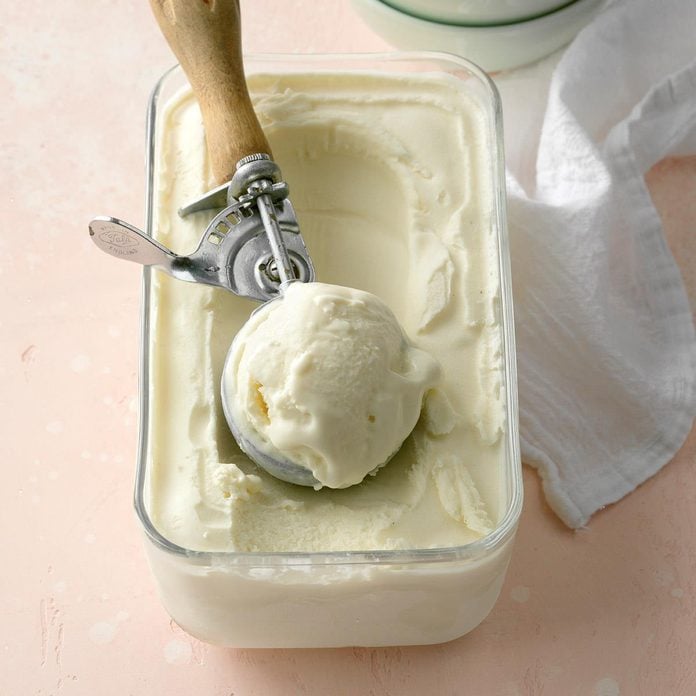
Don’t be afraid to use eggs
The secret to really creamy homemade ice cream is to not make ice cream at all, says Food Editor and homemade ice cream expert Peggy Woodward. Instead, make frozen custard.
The difference between ice cream and custard bases is that frozen custard contains eggs. Peggy explains: “After lots of testing and tasting, I’ve found that eggs are the key to making smooth and creamy ice cream at home.” Learn how to make vanilla custard ice cream at home.
And don’t worry about having eggs in your custard ice cream. The eggs are cooked; it’s all a part of making that lush custard base.

Nontraditional ingredients are welcome
According to Peggy, what makes some of our favorite store-bought pints so good are the nontraditional ingredients you find inside. These commercial ingredients—like gelatin, pectin and starch—help give these ice creams the rich texture we all love.
While these trade-secret ingredients aren’t readily available to homemade ice cream fanatics, you can get that premium ice cream feel by including similar ingredients in your own ice cream, like jams, jellies and even pudding mixes. In fact, a box of pudding mix is what gives this top-rated blueberry cheesecake ice cream its ultra-smooth texture and rich taste.
So next time you see a recipe that calls for pudding mix, gelatin or jelly, don’t balk! Know that those ingredients will help you produce the best results.
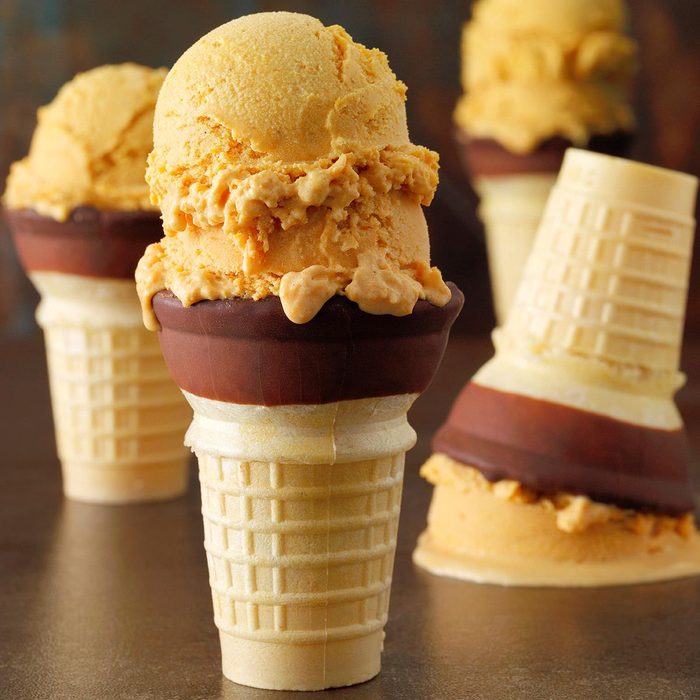
You don’t have to stick with cream
According to Prep Kitchen Manager Catherine Ward, “while heavy cream sounds like the richest and most delicious option, it can leave a fatty coating on the tongue.”
To prevent that feeling, Catherine suggests replacing some of the heavy cream in your recipe with half and half or milk. “The result is still quite indulgent,” she says.

You can make ice cream without an ice cream maker
Nope, you don’t need any fancy appliances to make homemade ice cream. All you need is a large glass pan (your favorite 13×9 will do) and a hand mixer. After chilling your ice cream base, pour it into an ice-cold pan and freeze for 30 minutes. Then use the hand mixer to beat the mix until smooth. Repeat this process over and over until you’ve reached the right consistency. We’ve got a step-by-step guide to making ice cream without an ice cream maker for all the details.
There is a caveat here, according to Catherine: Ice cream that is made this way is best eaten within three days. This ensures you get to enjoy your frozen treat when it has the perfect texture.

Keep things cold
Keeping temps cold is key when making homemade ice cream recipes—even after all the churning is done. Senior Food Stylist Shannon Norris always transfers freshly made ice cream into a chilled container. “That way the ice cream stays frozen instead of melting in a room temperature container,” she explains.
So stash storage containers in the freezer while the ice cream is churning away. A 30-minute stay is all you need to cool them down.
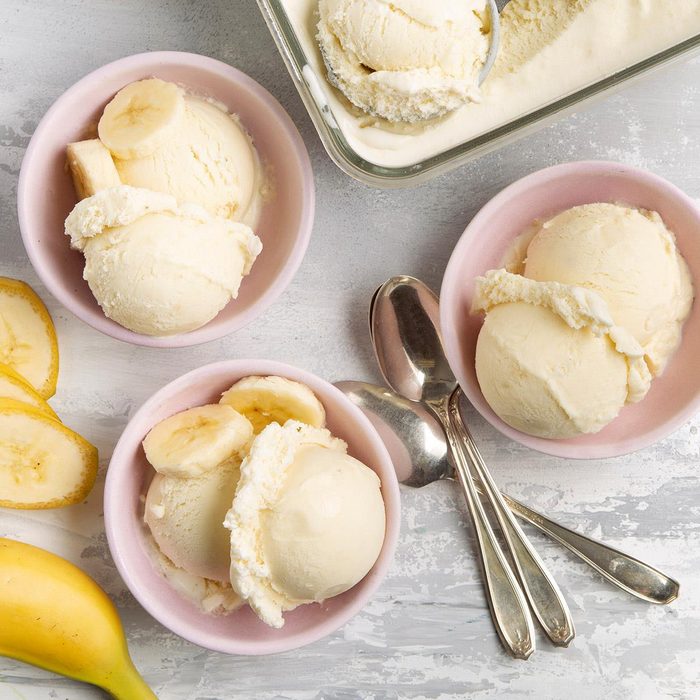
Soften slowly
If you find your ice cream is too hard to scoop right out of the freezer, do not turn to your microwave! Instead, pop your ice cream—homemade or otherwise—in the fridge for 20 minutes, recommends Shannon. “It will soften much more evenly than in the microwave or sitting at room temp,” she says.
And don’t underestimate the power of a good ice cream scoop! The right model can make scooping even extra-frozen pints easy.
