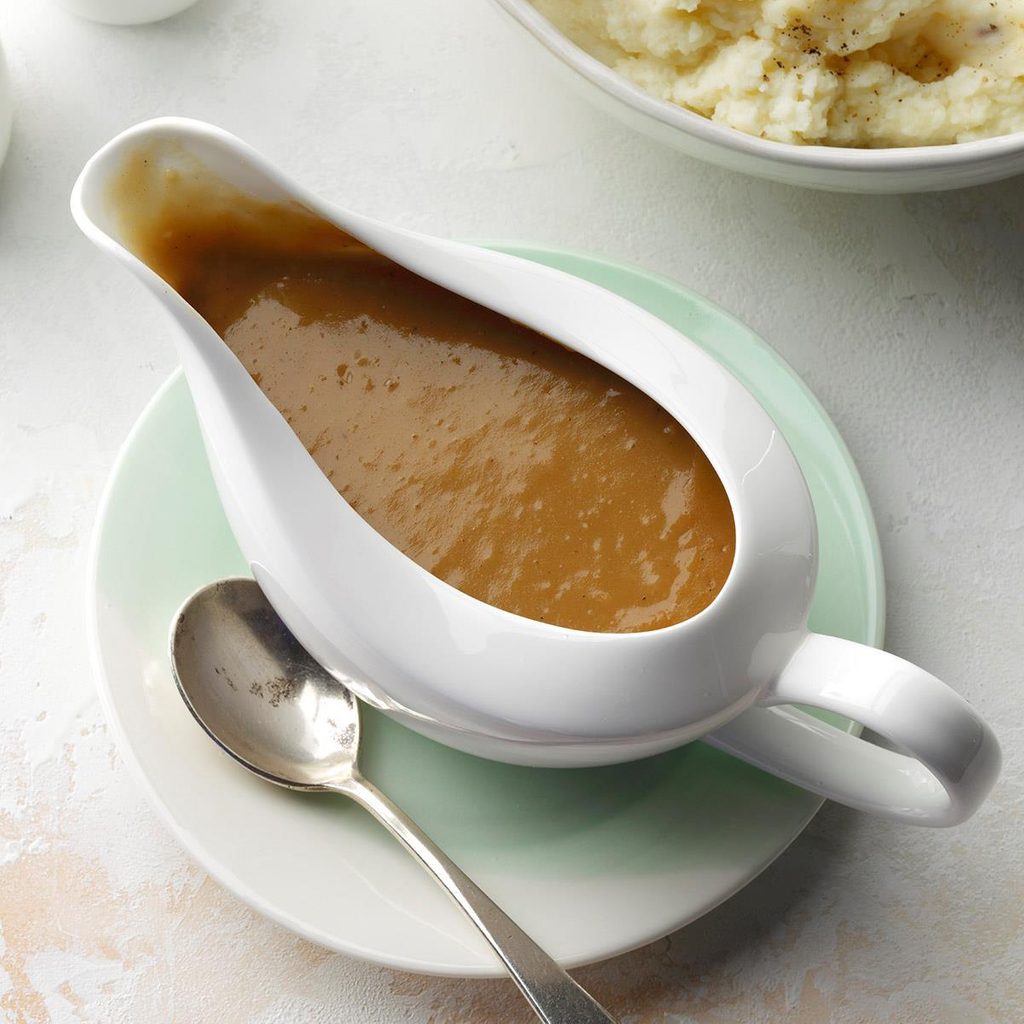
When it comes to Thanksgiving dinner, we love the classics—turkey, stuffing, mashed potatoes. But if we’re being honest, what takes all these dishes from tasty to absolutely irresistible is the gravy. Not just any gravy will do, however, for the biggest—and best—meal of the year. Jars and packets of gravy simply won’t cut it.
To make your dishes really sing, you need homemade gravy. Made from scratch, gravy takes a little extra effort, but our Test Kitchen experts broke down the process to a few simple steps. With a little extra planning, you’ll have gravy that guests will be talking about—and craving—for years to come.
Key Ingredients for Gravy
- Turkey bones: These are the most important part when you’re making homemade turkey gravy. The second most important part? Making sure the bones are brown enough (maybe even darker than you think). If you like, you can brown the bones in a 425°F oven a few days ahead of time to save you some precious time on Thanksgiving, or you can brown them on the stovetop the same day. The browned bones help give the gravy color as well as the rich, deep flavor that you’re looking for.
- Vegetables: Veggies add even more depth to gravy beyond the browned turkey bones. While you might not be able to taste carrots or celery on their own in your gravy, you’d definitely notice if they were missing. Plus, gravy is the perfect place to use those oddly shaped carrots and onions.
- Acid: When you think of gravy, you think of a velvety, lightly salty and sometimes fatty sauce that makes anything on your plate better. But when you cut it with a little bit of lemon juice or vinegar, the acidity enhances all of the ingredients and goodness that goes into your gravy. Taste your gravy before you add a teaspoon of lemon juice or vinegar, and then after; and you’ll never skip the acid again.
How to use homemade gravy?
Gravy can make so many, already delicious dishes all the better. If you want to come home to something simmering in the slow cooker and covered in gravy after a long day at work, all of these slow-cooker recipes are better with gravy. Otherwise, dishes like mashed potatoes, steaks, roasts, poutine, meatloaf or even a Thanksgiving leftovers sandwich—with turkey and cranberry sauce drizzled with gravy—would be an indulgence to look forward to.
Gravy Ingredients
- Canola oil
- Turkey backbone, neck bone and wingtips
- Canola oil
- Carrots
- Celery ribs
- Onion
- Reduced-sodium chicken broth
- Fresh parsley
- Garlic cloves
- Bay leaves
- Whole peppercorns
- Cornstarch
- Cold water
- Fresh sage
- Fresh thyme
- Salt
- Ground pepper
- Lemon juice
Directions
Step 1: Brown the bones
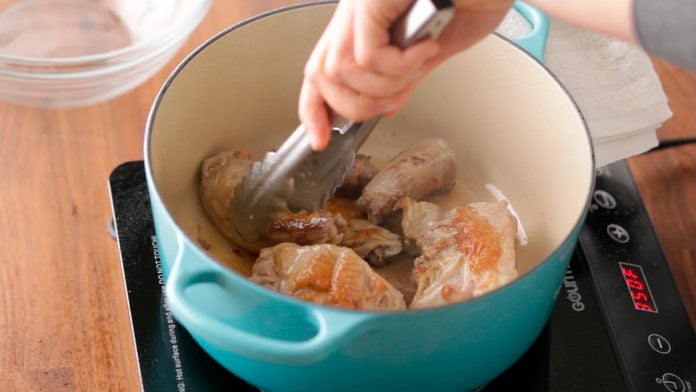
The secret to any good gravy is a good stock. To create this foundation, you’ll need to brown a few of your ingredients to get maximum flavor. Start by heating your canola oil over medium-high heat in a Dutch oven. Once the oil is hot, add your turkey parts and brown on all sides. This should take 8 to 10 minutes. Once brown, remove from the pan and set aside.
Test Kitchen Tip: Don’t skip this step! Browning the bones before preparing the stock helps develop a richer, deeper turkey flavor. Plus, this step also gives the gravy that perfect color.
Step 2: Brown the vegetables
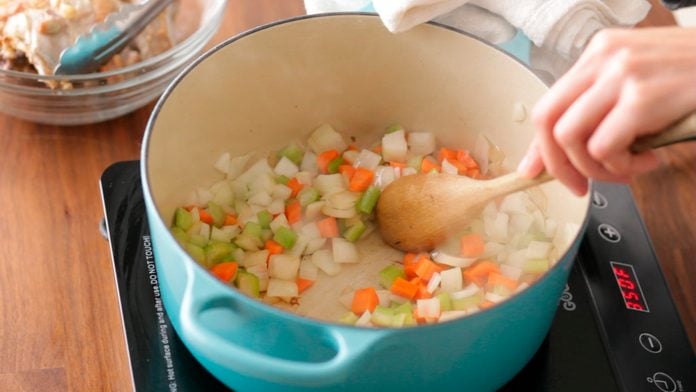
Just like the turkey, you want to develop as much flavor as possible from your vegetables and aromatics. In the same Dutch oven, add your carrots, celery and onion. Cook until browned and softened, about 6 to 8 minutes. Be sure to stir occasionally.
Step 3: Simmer the bones, broth and seasoning
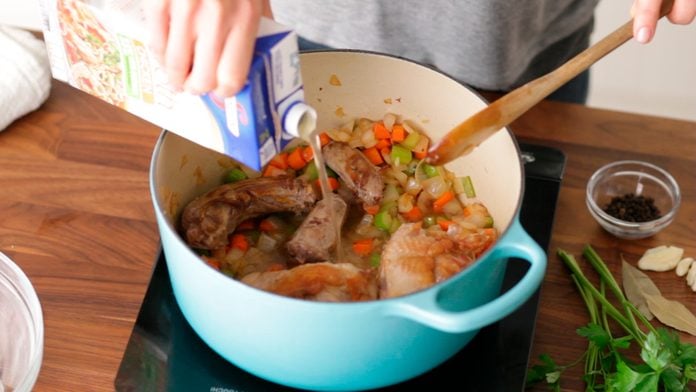
Add your turkey bones back into your pot along with the chicken broth, parsley, garlic, bay leaves and peppercorns. Bring the broth to a boil, then reduce the heat. Let this simmer for 30 minutes.
Test Kitchen Tip: As the stock cooks, the flavors will concentrate, so keep any additional flavorings to a minimum at this point in the process. You can always add more later.
Step 4: Strain the broth
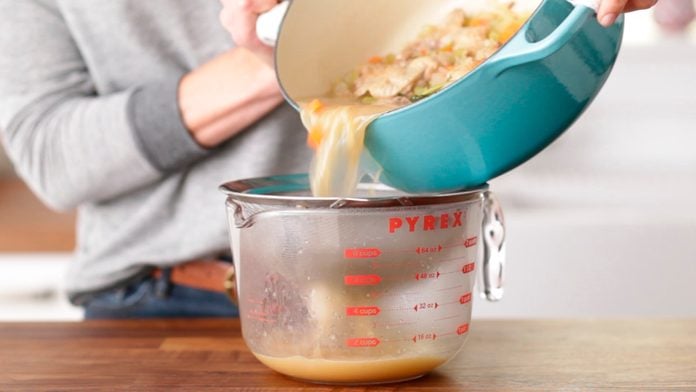
Pour your broth through a strainer. Discard the bones, vegetables, peppercorns and bay leaves—you’ve extracted all the flavor you’ll need from them. Once strained, pour your broth back into the Dutch oven and bring to a boil. If you have any pan drippings from your turkey that you’d like to use in your gravy, now is the time to add them. However, be cautious if you’re using drippings from a brined or kosher turkey—these drippings tend to be saltier, and you don’t want to overwhelm your broth.
Test Kitchen Tip: For a really clear broth, pour it through a mesh strainer and then strain again using a few layers of cheesecloth.
Step 5: Prep (or pause) for thickening the gravy

Heads up: If you’re preparing your gravy ahead of time, this is the point where you should press pause. Wait until shortly before dinner to thicken your gravy. If you’re making the gravy right before dinner, move forward with this step.
In a small bowl, whisk together the cornstarch and cold water, being sure to get rid of any lumps. Stir this mixture into the broth until the broth thickens. Be sure to whisk, whisk, whisk as you add the cornstarch mix.
Test Kitchen Tip: Cornstarch is the simplest thickener for gravy. You can also use flour, but be sure you’re cooking the flour long enough—at least five minutes to get rid of that raw taste.
Step 6: Thicken the gravy
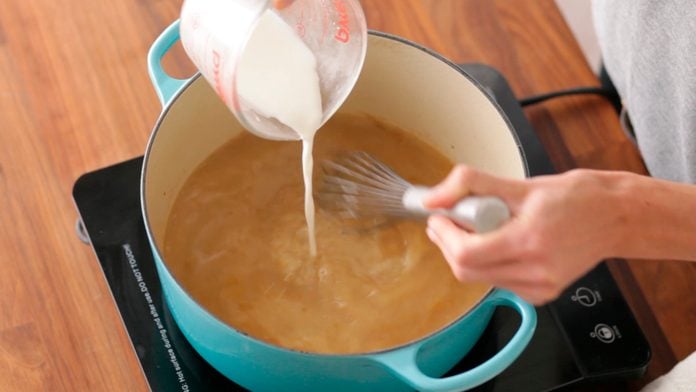
Bring your mixture back up to a simmer to fully activate the cornstarch—keep at a simmer for one minute. You don’t want to overcook the cornstarch; it will start to lose its thickening power if it’s kept at high temperatures for too long. If you’re using flour as a substitute, simmer for five minutes to activate its thickening power.
Step 7: Season the gravy
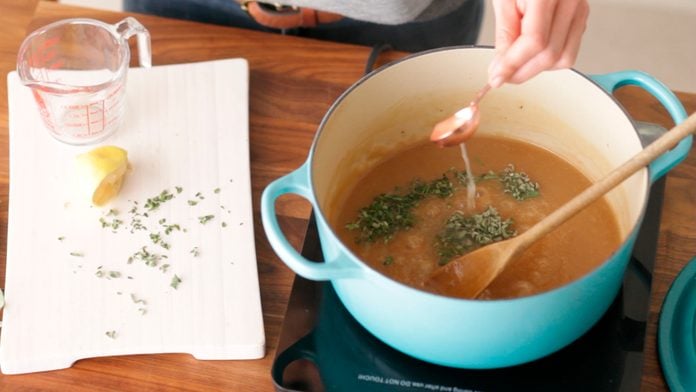
The final step to making the perfect holiday gravy is to season it well. Before you add any seasonings, give your gravy a taste to see what you’re starting with. Then add your remaining herbs and seasonings—age, thyme, salt and pepper—and give it another taste. Keep in mind that it’s totally acceptable if gravy is a little salty. Gravy is meant to add a little something to plain foods like mashed potatoes.
Finish your gravy by adding a tablespoon of lemon juice. This might seem like a strange addition, but the acidity works to bring out all those delicious flavors in the gravy. If you don’t have lemon juice on hand, a splash of apple cider vinegar or white wine vinegar will work just fine. And remember, before you serve, give the mixture one more taste.
Gravy Variations
The Test Kitchen loves to tuck a sprig of rosemary in their gravy, so you can give that a try! Otherwise, give homemade gravy a little spice by mixing in minced chipotle pepper (or go all out and add a few drops of liquid smoke—it’ll taste like you grilled your turkey!). Most other fresh herbs work wonderfully in your homemade gravy, but if you’re making chicken gravy specifically, lemon thyme or lemon verbena will give it a perfect citrusy pop.
Gravy Tips
How do you make this gravy recipe vegetarian?
If you or your guests are eating vegetarian this Thanksgiving, you don’t need to scramble to find a new gravy recipe! Use triple the amount of vegetables in place of the turkey bones, and use vegetable broth or stock in place of the chicken stock. Just be sure to let the veggies get nice and golden brown to help give the gravy the traditional brown color that perfectly contrasts creamy mashed potatoes.
Can you use beef or chicken bones for this gravy recipe instead of turkey bones?
Yes, if you prefer to stay away from turkey bones, switching the type of bones for this gravy recipe is simple. Follow the same recipe with your choice of bones, and don’t forget swap in the matching broth, too.
How can you make this gravy recipe extra creamy?
This gravy recipe is velvety and rich already, but if you really want an extra creamy gravy, you can stir in a little heavy cream at the very end.
Can you use stock cubes instead of broth?
Of course! Just be sure to follow the directions on the package for a regular strength broth, so you don’t mess with the amount of salt and end up with a very salty gravy.
How do you fix gravy?
Mistakes happen in the kitchen. Learn how to fix gravy whether it’s too thin, too lumpy or just not flavorful enough.