19 DIY Christmas Ornaments You Can Make Right at Home

Updated: Feb. 15, 2024
It's easy to deck your tree with crafty homemade Christmas ornaments. Just grab your baking sheets, hot glue gun and ribbon!
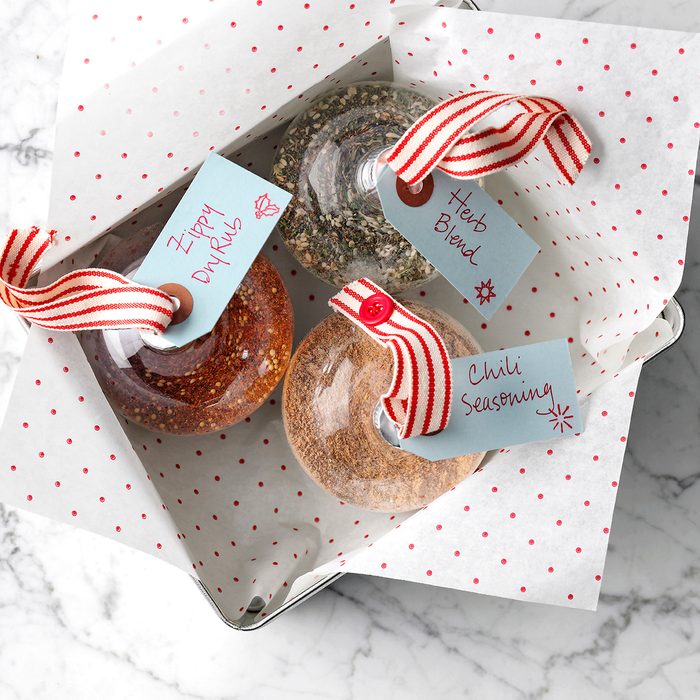
Herb Blend Gift Ornaments
Give the gift of cooking this holiday season with these homemade Christmas ornaments. Fill several transparent plastic ornaments with different seasoning mixes. Loop festive ribbon through the top, add a label and sew a button at the end to make a hanger.
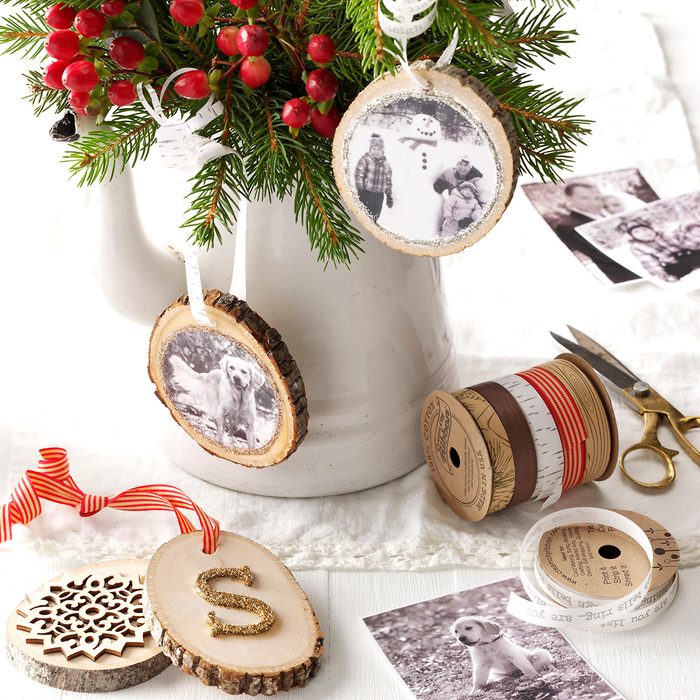
Wooden Photo Ornaments
Perfect for decorating the Christmas tree, these keepsake ornaments also make handsome additions to wrapped presents and centerpieces. You’ll need coaster-sized wood slices, photos, spray adhesive, glitter and ribbon. Use your vintage Christmas photos for this one!
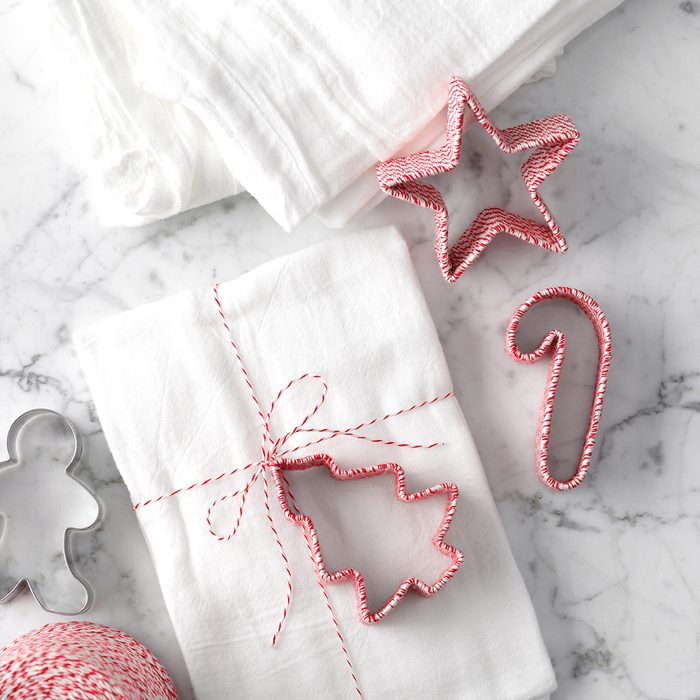
Cookie Cutter Ornaments
Use these easy crafts as tree ornaments or gift toppers. Start by wrapping metal cookie cutters with yarn or ribbon, then secure the ends with tacky glue. Let the glue fully dry before hanging.
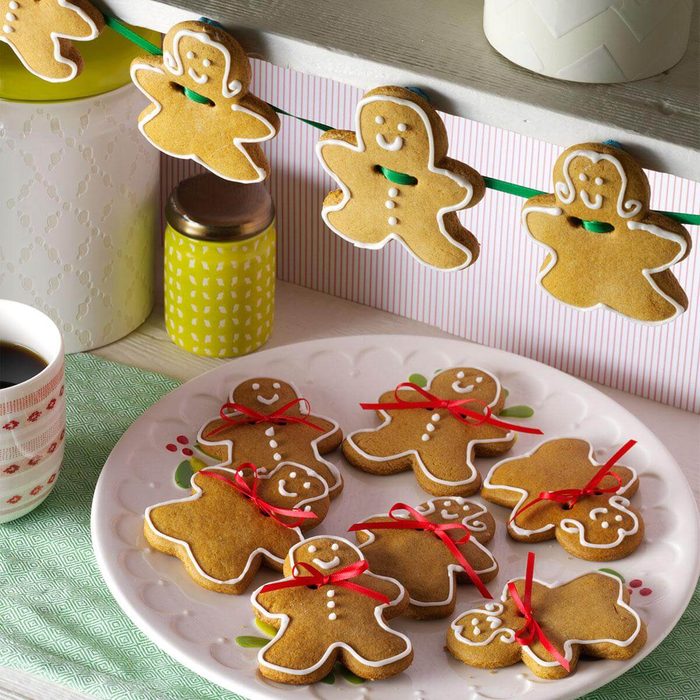
Holiday Gingerbread Cookie Ornaments
Adding a festive ribbon to your gingerbread cookies changes them from a sweet treat to a traditional ornament you can hang on your Christmas tree. The cookies also look darling when strung together as a garland. Use different shapes of holiday cookie cutters for variety if you wish.
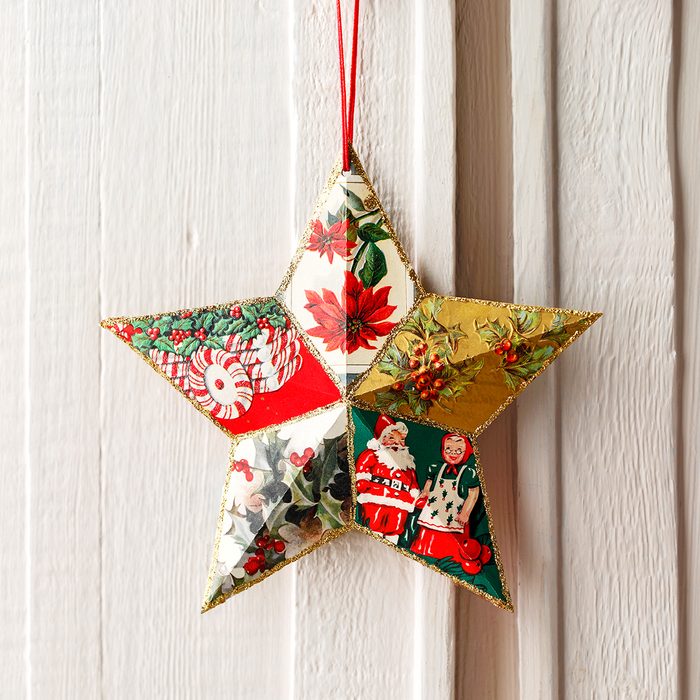
Shining Star Ornaments
It’s surprisingly easy to make these homemade Christmas ornaments. Start with 10 star points cut from old holiday cards. Fold down the center, then lay five points together into a star shape and tape together on the back. Repeat with remaining star points.
Place the two stars together and tape on the inside. Coat the edges with glitter glue and let dry. Thread a thin ribbon through the top to create a loop.
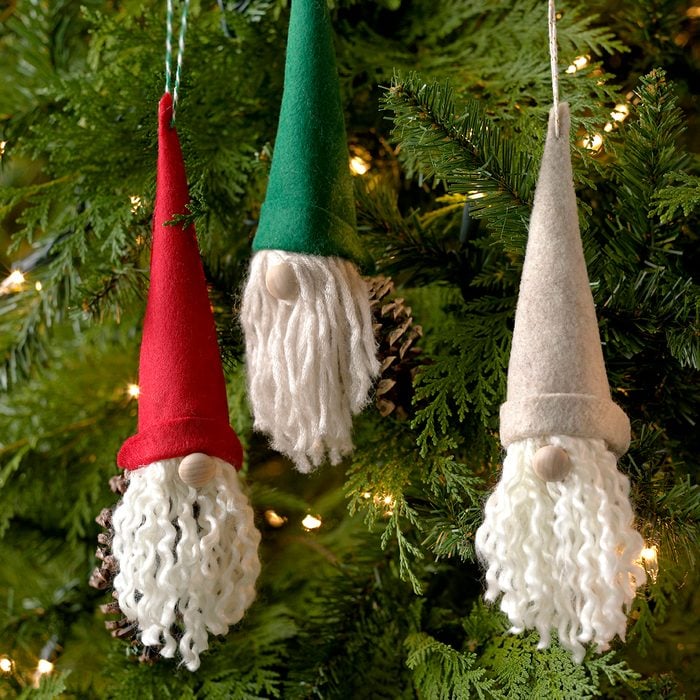
Santa Gnomes Ornaments
Put fallen pine cones to good use with these whimsical ornaments. Using a hot glue gun, attach a 1-1/4 inch wooden ball to the flat bottom of each pine cone. Glue on yarn for the beard and a wooden half ball for a nose.
Roll felt into a cone shape; glue the seam and bottom to create a pointed hat. Thread twine through the felt hat to hang on the Christmas tree.
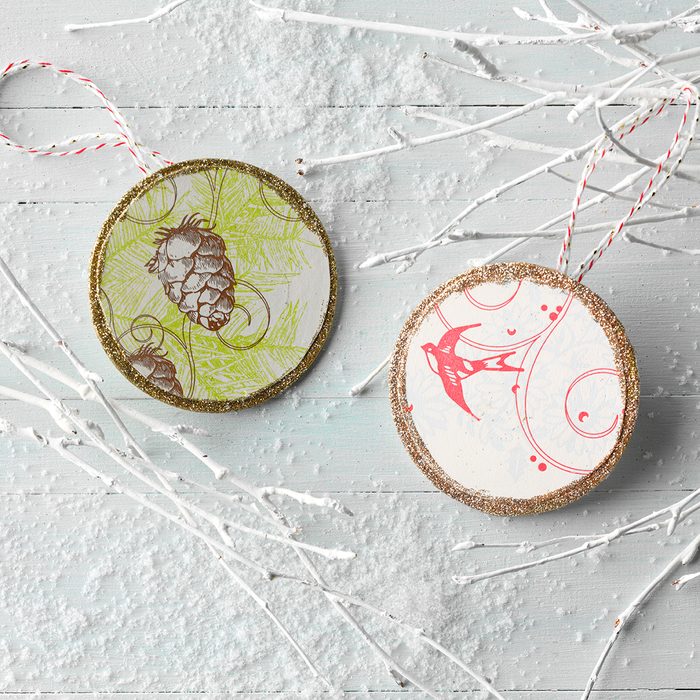
Dazzling Christmas Card Ornaments
Some Christmas cards are just too cute to toss! Repurpose them by making them into ornaments so you can enjoy them every year. You will need flat wood rounds (you can find these at craft stores), glitter and twine. Cut your card a bit smaller than your wooden disk. Paste it to the wood using decoupage glue (regular school glue works OK, too).
Once dry, finish the edges with a bit of glitter for extra sparkle. Glue a loop of twine to the back, and you’re ready to deck the halls! Find more crafts to make with previous Christmas cards.
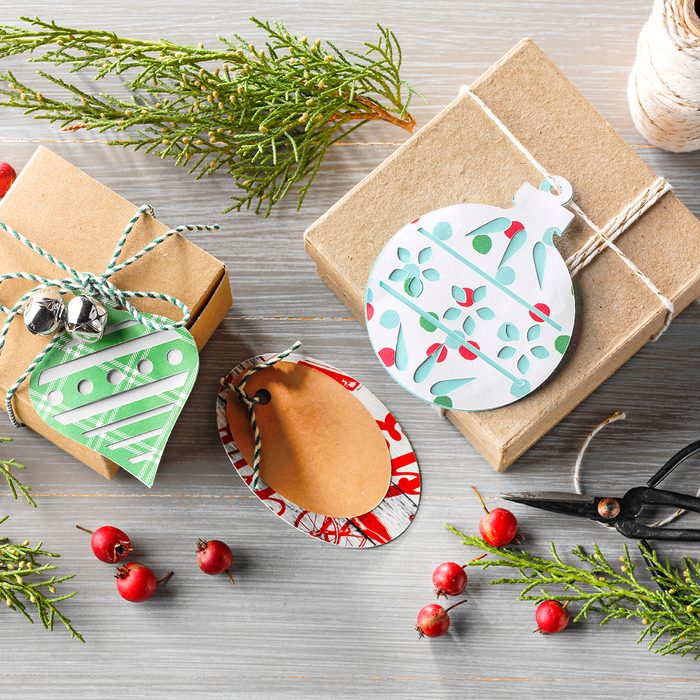
Gift Tag Ornaments
Decorate your packages with these cute cutouts, then save them for hanging on the Christmas tree. Trace and cut holiday shapes out of cards or scrapbook paper. Layer multiple patterns and colors together for a fanciful look. Punch a hole in the top and attach a pretty ribbon. For even easier DIY ornaments, try making ice marbles.
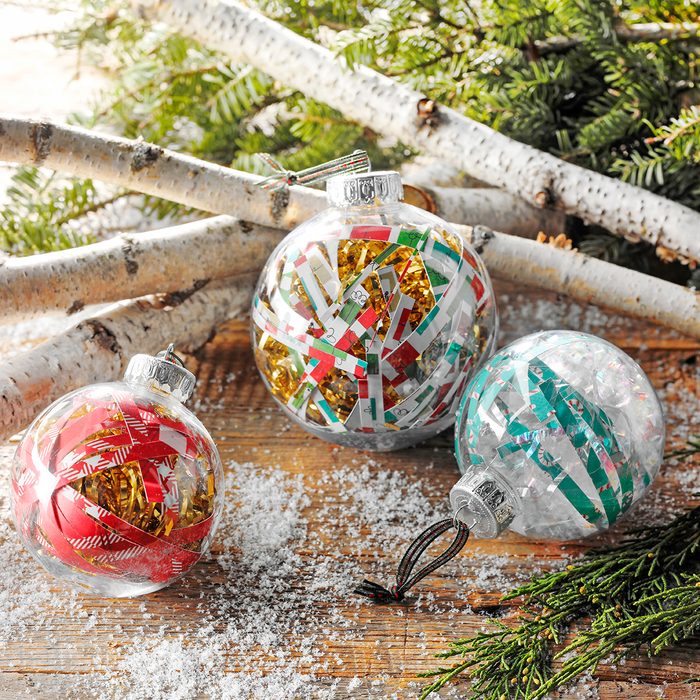
Wrapping Paper Ornaments
Do you have lots of little scraps after wrapping presents? Put them to good use! Fill a clear plastic ornament with shreds of sparkly gift wrapping and filler. These ornaments make for a kid-friendly Christmas craft they’ll enjoy doing over winter break.
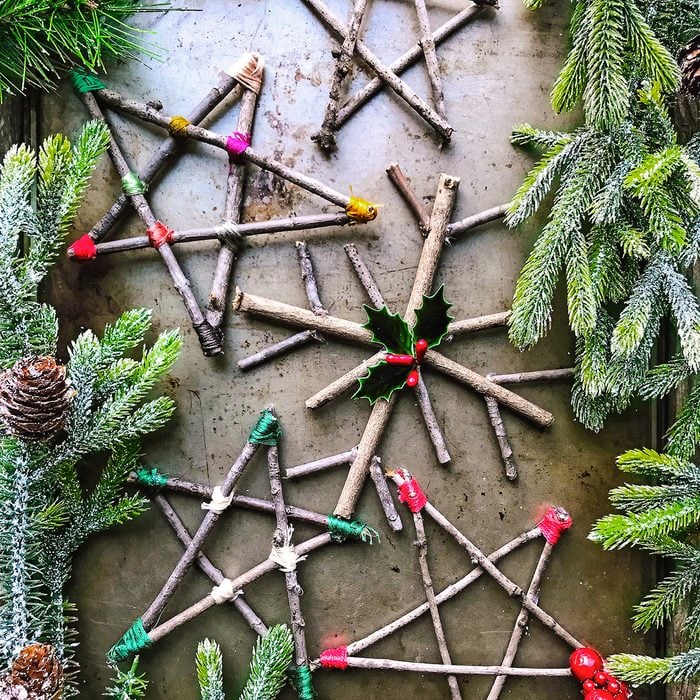
Twig Star Ornaments
These homemade Christmas ornaments take tools right from your backyard. Lay out twigs in a snowflake or star design, trimming as needed with pruners. Secure the pieces together by glueing them with a hot glue gun. If desired, wrap ends with colored embroidery floss.
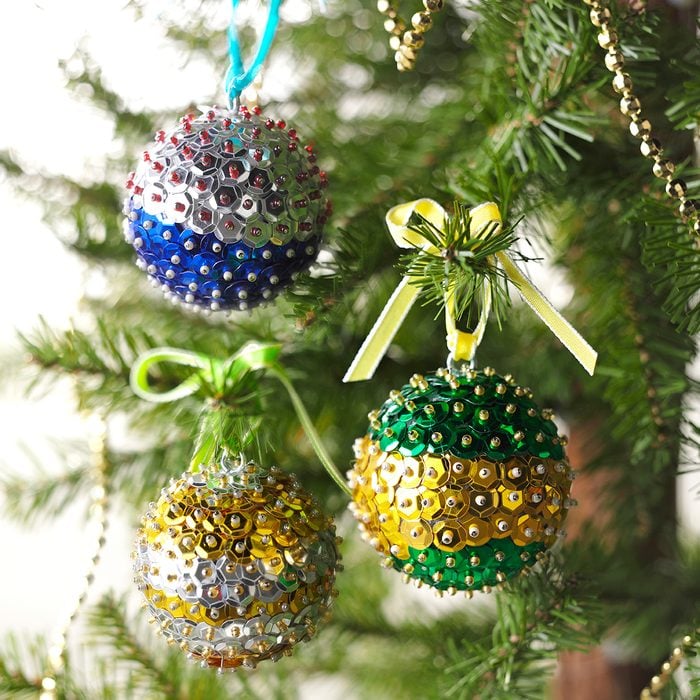
Beaded Sequin Ornaments
These intricate ornaments may take extra time to create, but the results will be cherished decorations year after year. You’ll need a foam ball, sequins, seed beads and sequin pins. With a sequin pin, pick up a sequin and a seed bead. Push them into the ball.
Continue adding sequins and beads, overlapping slightly, working in rows around the circumference of the ball. This DIY reminds us of vintage Christmas decorations!
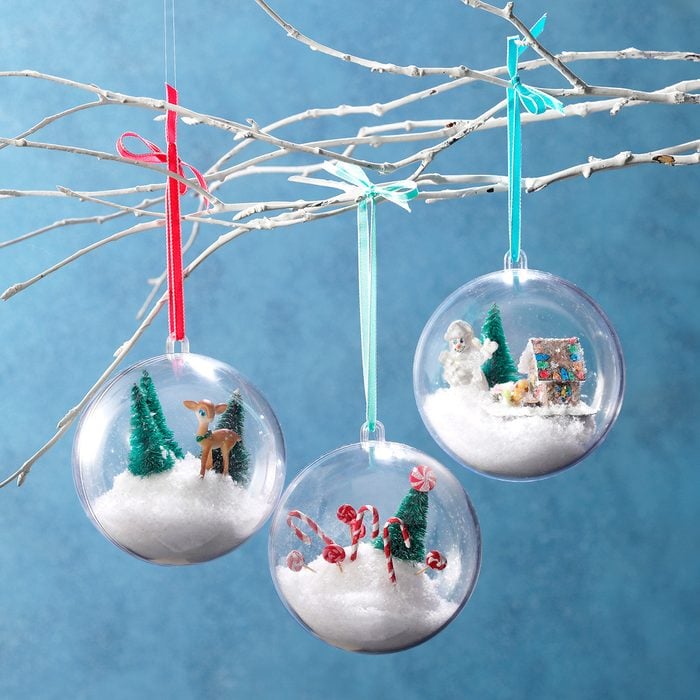
Snow Scene Ornaments
Capture the whimsical spirit of the season with these enchanting snow globes. You’ll need clear two-piece fillable ball ornaments, a small plastic foam ball (cut in half) covered in artificial snow and glitter, and miniature trees and figures of your choice.
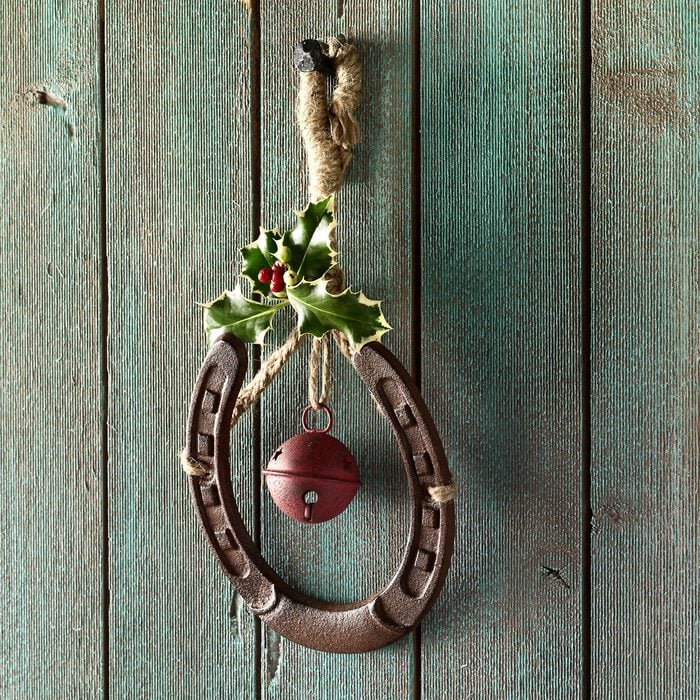
Horseshoe Door Hanger
Hang a festive horseshoe on a door to hear the bell’s merry ring as guests come and go. Thread twine through the holes and then form a knot and a loop to attach the large jingle bell. Check out more front door decor ideas you can DIY.

Paint Chip Garland
Turn paint chips from the hardware store into a garland that makes any room fa-la-la fabulous. Trace a lightbulb pattern onto each paint chip, with the white lines of the chip centered across the bulb. Cut them out and arrange them on a string or twine. Attach letter stickers if desired.
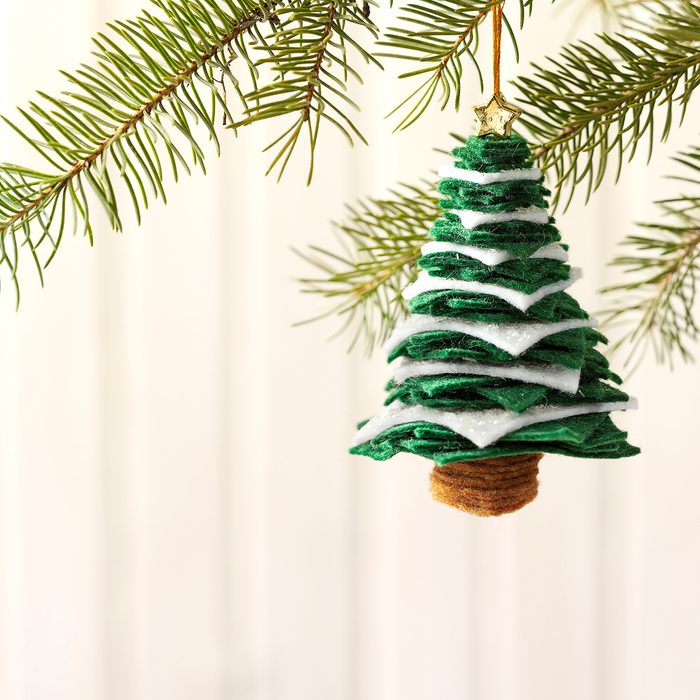
Felt Christmas Tree Ornaments
This adorable tiny tree uses felt cut into circles for a tree trunk and squares for the branches. Stack brown felt cut in circles and stitch them through with embroidery floss to form the tree trunk. On top of the felt tree trunk, stack four squares of green felt and one of white felt. Stitch through to secure. Continue the pattern, crisscrossing corners.
Finally, stack five small green felt squares at the top. Stitch through the center of each stacked square to secure the layers. Sew a star bead to the top, if desired.
Editor’s Tip: To cut squares quickly, use a rotary cutter and a quilter’s ruler on a cutting mat.
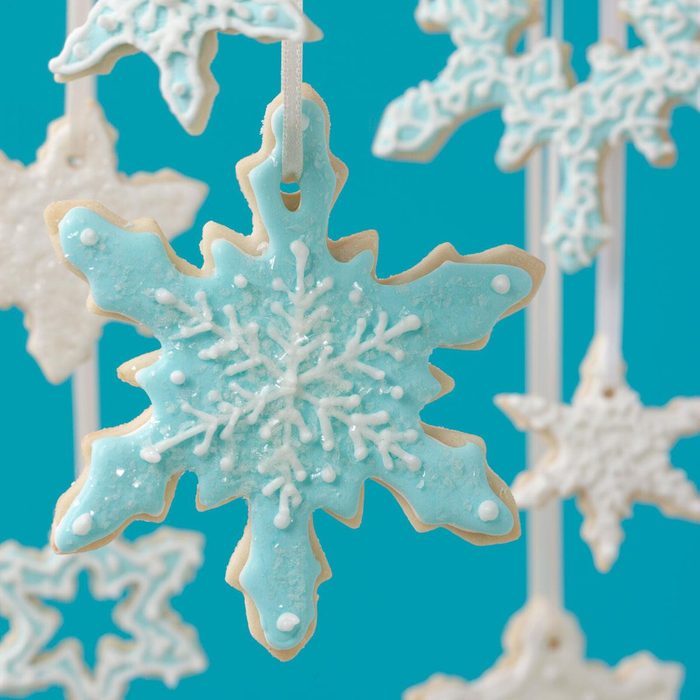
Snowflake Cookie Ornaments
Your cookie trays and Christmas tree will twinkle with these festive snowflake cookies. Fancifully decorated, they make dazzling ornaments—if you can avoid snacking long enough to display them. Try making each ornament look a bit different, just like real snowflakes!
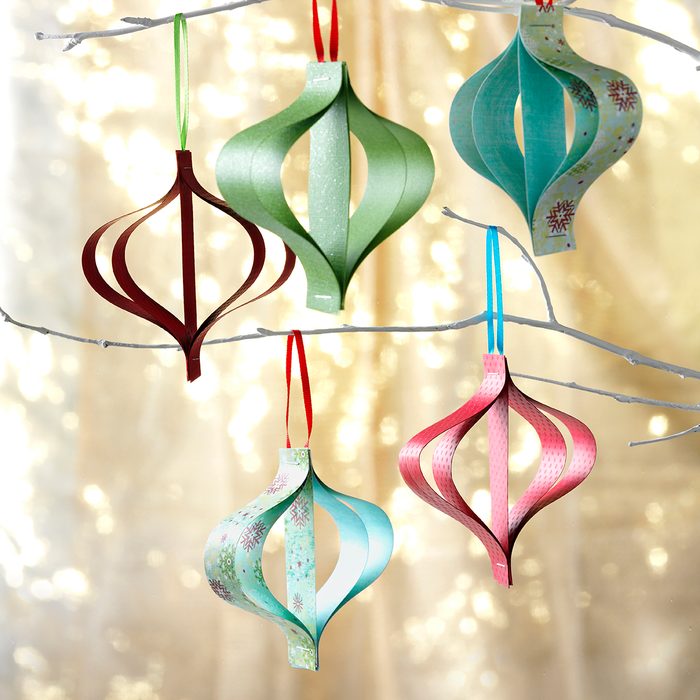
Retro Paper Ornaments
This craft is easy to create, but the result looks fancy. Gather 12-inch squares of double-sided cardstock (one sheet makes four ornaments). For each ornament, cut one 4×1-inch strip, two 5×1-inch strips and two 6×1-inch strips. Layer the strips with the shortest in the center, two medium-length strips on either side and the two longest on the outer layer.
Position the layered strips so they line up at one short end. Staple all the layers at the flush end in place. Use your other hand to pinch the opposite ends of the longest strips up toward the stapled end until all ends meet at the end of the shortest strip, then staple in place.
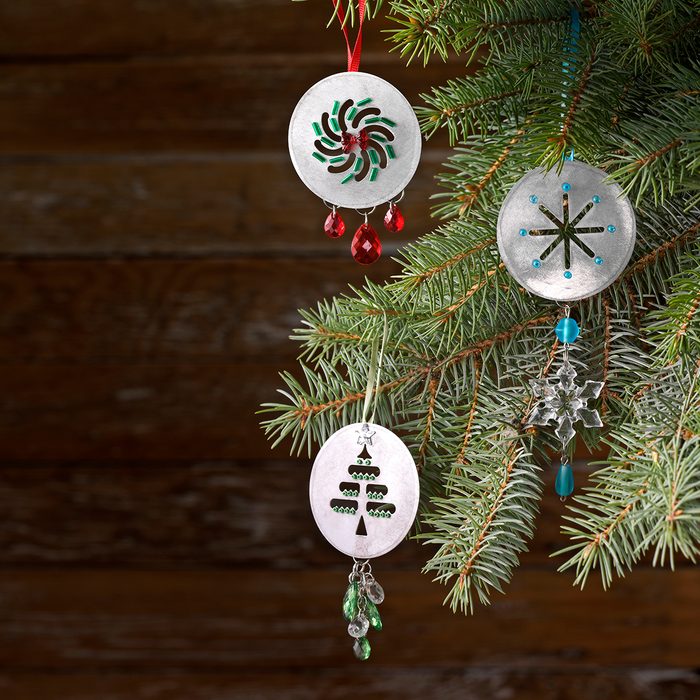
Cookie Press Ornaments
Add this pretty cookie press ornament to a gift tin of cookies for a friend. Use a hot glue gun to apply embellishments. Add jump rings (made for jewelry crafting) to connect the beads. Loop a colorful ribbon through the top to hang it on the tree.
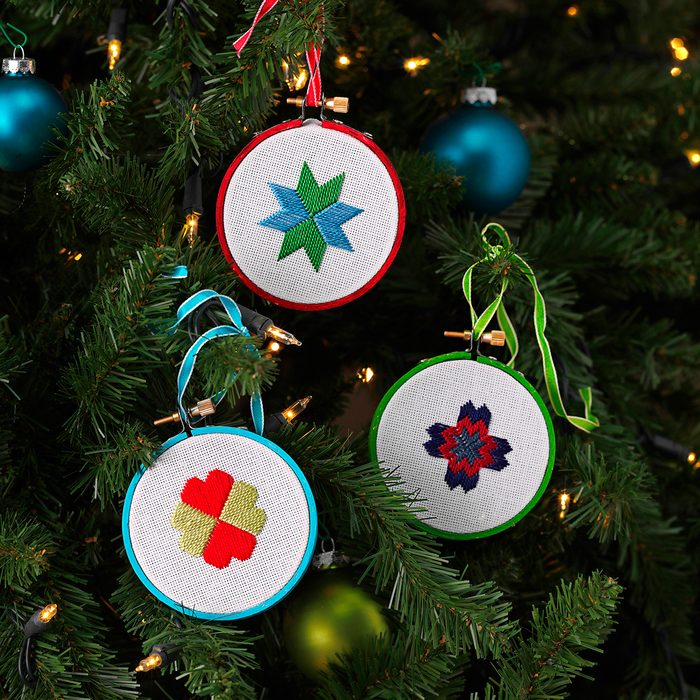
Embroidery Hoop Ornaments
Use 3-inch embroidery hoops and your favorite pattern to stitch a festive, colorful design for these homemade Christmas ornaments. Finish it off by looping a ribbon through the top and hanging it on the tree. Check out these other winter crafts that will make your home cozy and cheerful.
Originally Published: December 02, 2019