Simple, versatile and unmistakably decadent, the best cheesecakes elevate any occasion to extra special. Our favorite cheesecake recipes are on regular rotation for birthdays, baby showers and you-totally-nailed-it celebrations all year. And while these lovelies will wow a room without a ton of effort on your part, following the tips from our Taste of Home Test Kitchen experts and Community Cook Sue Gronholz will help ensure that your finished product—and your baking skills—are super smooth.
Also, check if you can freeze cheesecake to keep it fresh.
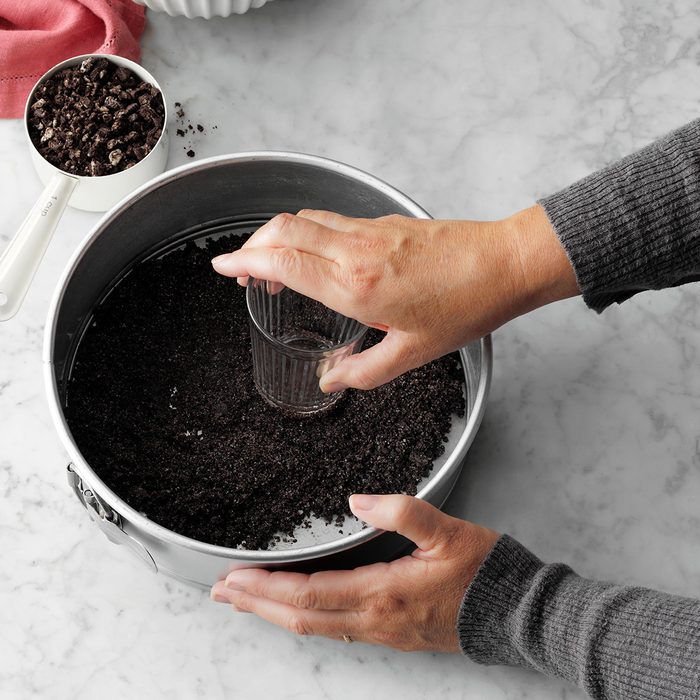
Crush it on the crust
Finely grind cookies, crackers or nuts in your food processor to make a crust—there are so many options. Feeling creative? Experiment with the flavor by adding herbs or citrus peel.
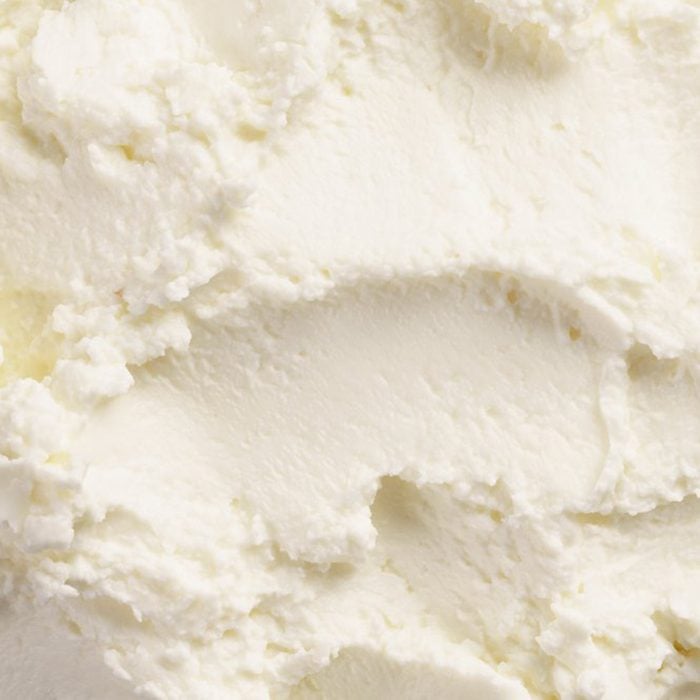
Go for full-fat ingredients
Use regular cream cheese and sour cream in cheesecake recipes unless one specifically calls for reduced-fat or fat-free products. This will ensure that the cake turns out as intended and tastes great, too.
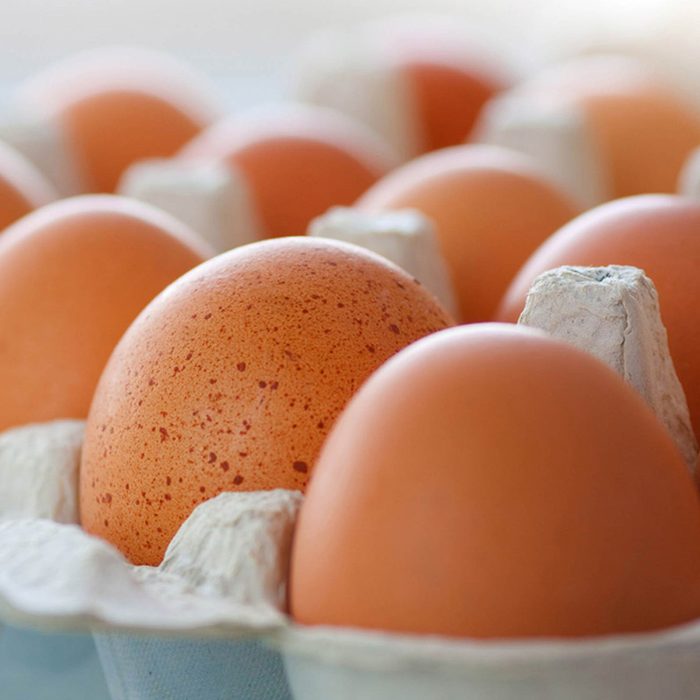
Use room temperature ingredients
When making cheesecake, using room temperature cream cheese and eggs is absolutely critical. Room temp ingredients blend up smoothly so you don’t have a lumpy cake.

Use a hand mixer (or stand mixer)
No matter how strong you are or how much elbow grease you put into the batter, your hands and a whisk just won’t get a cheesecake batter as smooth as it needs to be. Use a good hand mixer—this brand is a favorite in our Test Kitchen—and you’ll be set for smooth, creamy cheesecake.
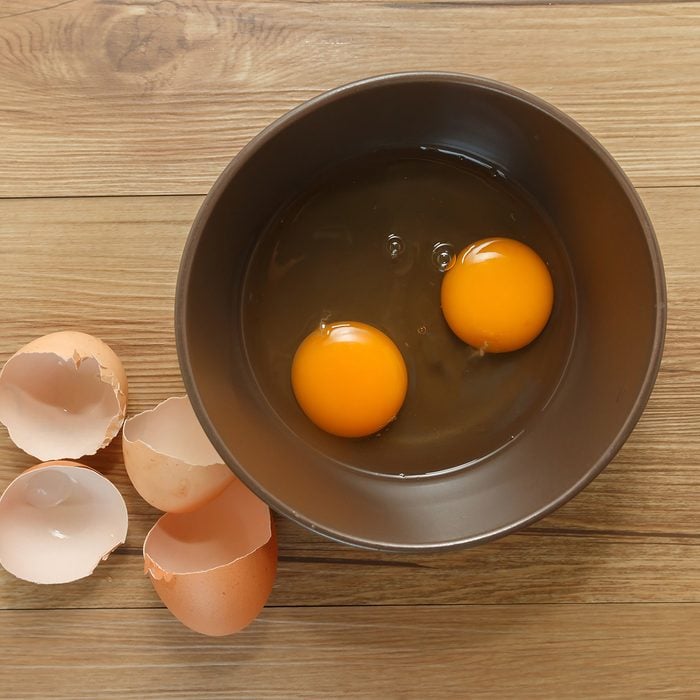
Add the eggs in last
You can whip together the cream cheese and sugar together as long as you like (or at least until smooth and fluffy) without causing any issues with your batter. However, be mindful with the eggs in any cheesecake recipe.
Add them in last and beat just until combined. The longer you mix the eggs, the more air you incorporate into the batter. The air can expand and then contract during baking and cooling which causes cracks.

Grease the pan
Yes, grease the pan even if it’s nonstick. You don’t want any batter sticking to the edges and then pulling on the sides of your finished cake causing it to crack. A quick spritz of cooking spray will do the trick.
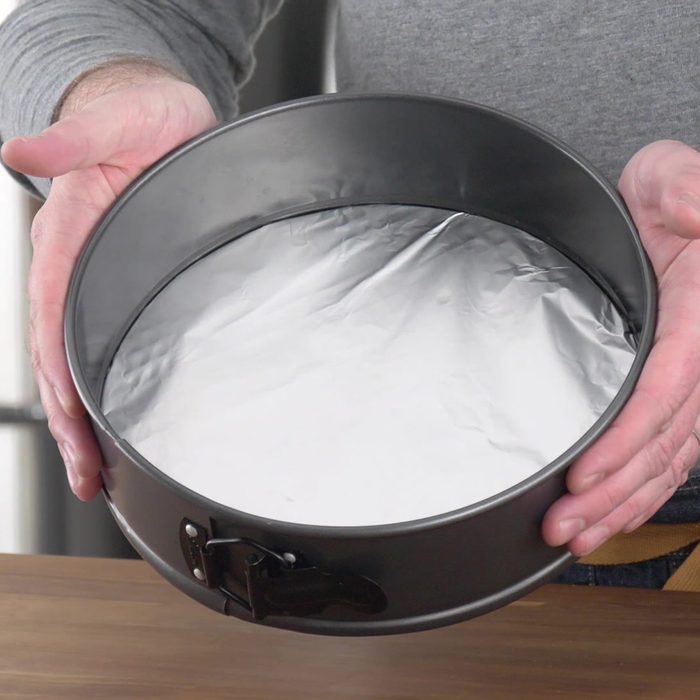
Line the bottom of the pan with foil
Our Test Kitchen recommends lining the base with a layer of non-stick aluminum foil to help it glide off the pan once ready to serve.
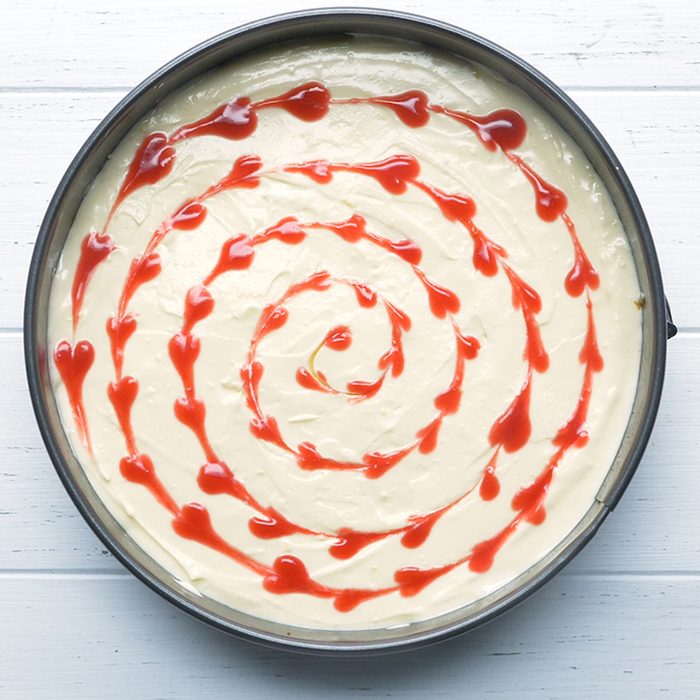
Add a swirl (if you want)
You can add a bit of flair to your cheesecake with a swirl. Some cheesecakes call for some batter to be flavored and swirled. If your recipe doesn’t, you can create swirls with a bit of jam. Here are some easy techniques for swirling cheesecake.
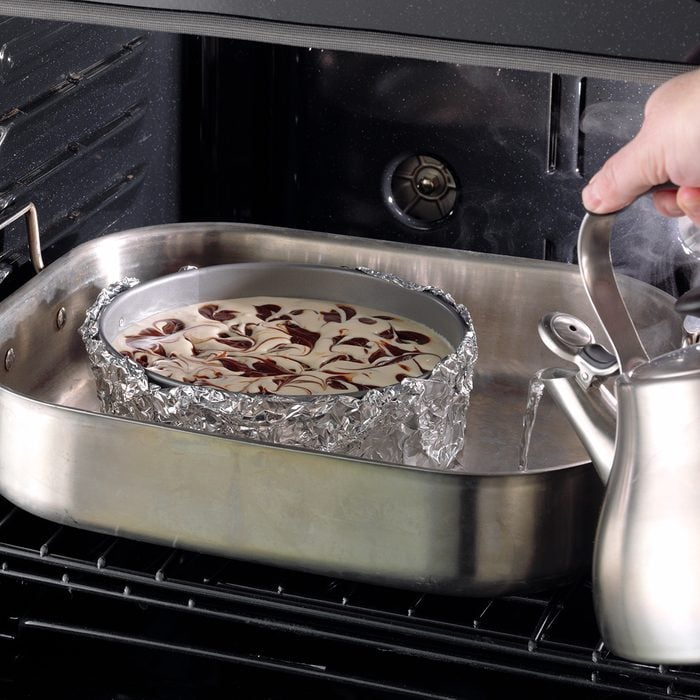
Use a water bath
Even if the recipe doesn’t call for it, our Test Kitchen recommends using a water bath to bake cheesecake. Water baths help the cheesecakes bake gently and evenly, plus the steam from the hot water creates a nice humid environment for baking. Humidity while baking will help prevent dreaded cracks.
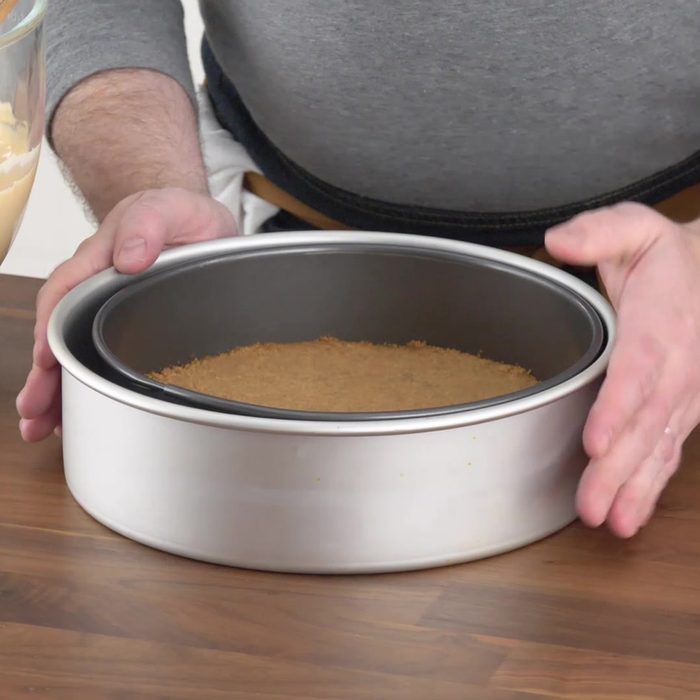
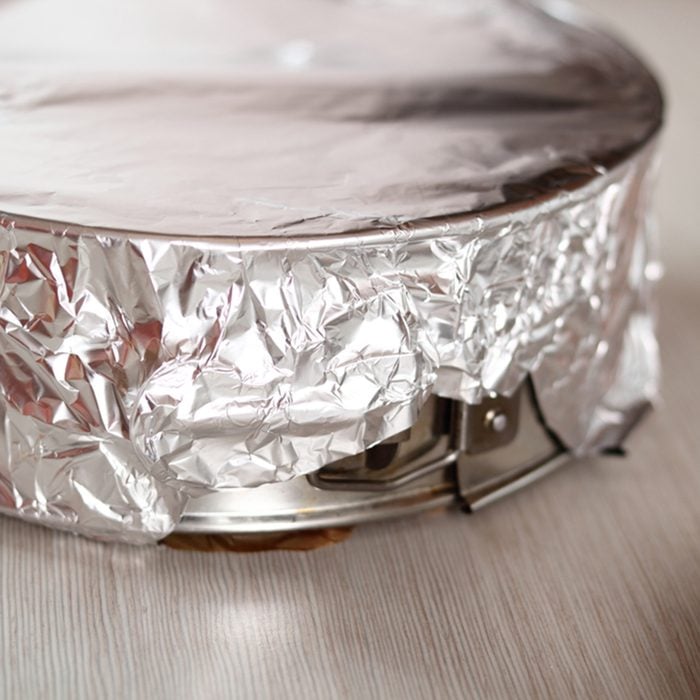
Put your pan inside a pan (or at least wrap it in foil)
Leaky pans are a cheesecake’s arch-nemesis. For a foolproof way to leak-proof any springform pan, place your springform inside a slightly larger cake pan before placing it in your water bath prior to cooking.
If you don’t have an extra cake, pan, wrap the exterior of your springform with foil. Yes, even if it says leak-proof!
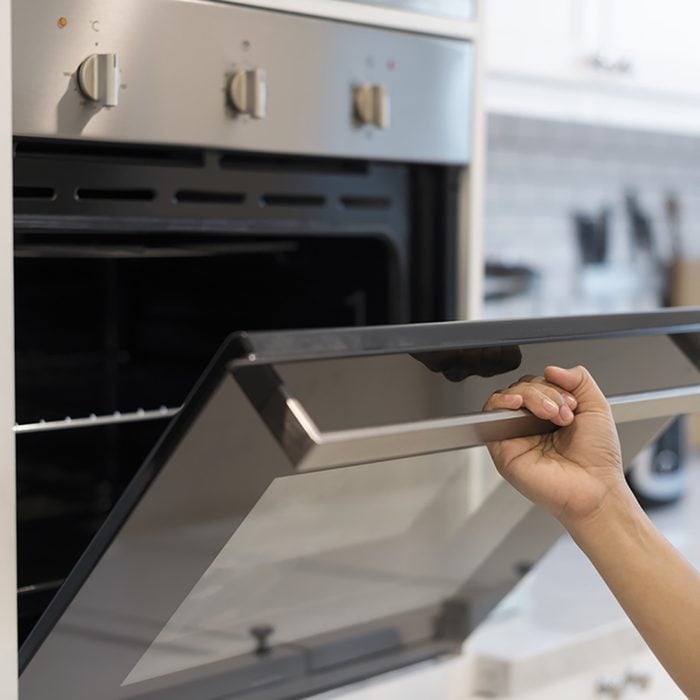
Get the oven ready
You don’t want your cheesecake too close to your oven’s heating element. While baking on the center rack is perfect for cookies, you’ll want to move the rack one rung lower for cheesecake. It’ll still be near the center of the oven, but just far enough away from the heat to prevent major cracks.
Don’t peek!
Open the oven door as little as possible while baking the cheesecake, especially during the first 30 minutes. Drafts can cause it to crack.
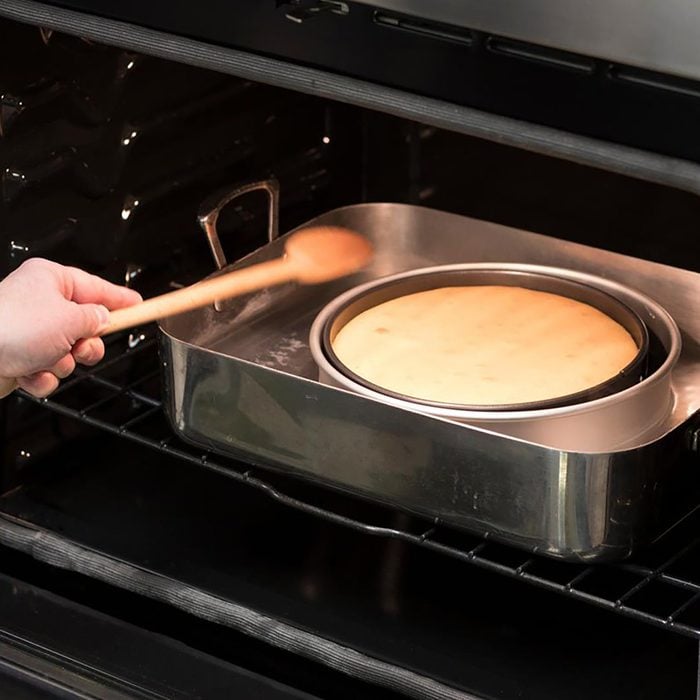
Do the wobble test
Set a kitchen timer to the minimum recommended baking time, and check for doneness only when the timer goes off. You’ll know it’s finished baking when the edges are slightly puffed and when the center wobbles slightly when you tap the side of the pan with a spoon. The retained heat will continue to cook the center while the cheesecake is cooling.
Pro tip: Don’t use a knife or a toothpick to test for doneness. Do that, and the top might—you guessed it—crack.
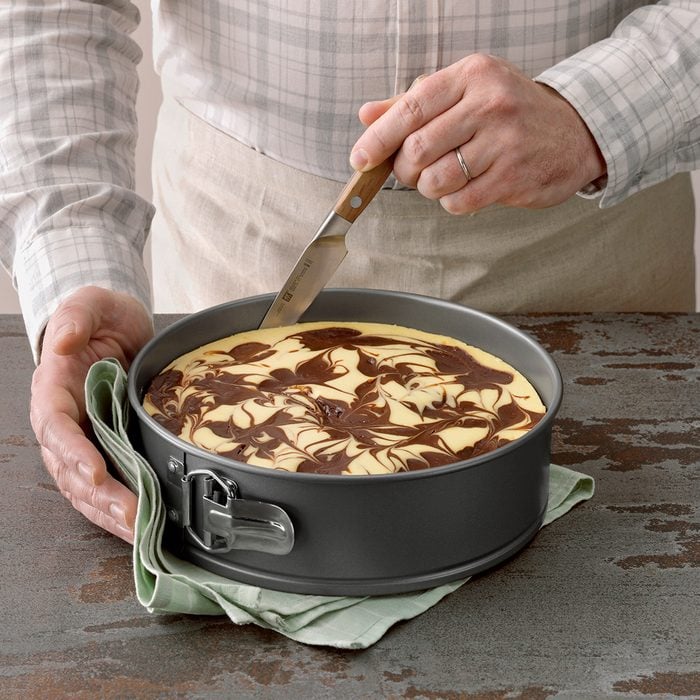
Run a knife around the edge
To prevent cracks during cooling, it’s important to loosen the cheesecake from the sides of the pan after baking. First, cool the cheesecake on a wire rack for 10 minutes. Then carefully run a table knife or small metal spatula between the cheesecake and the inside of the pan.
Don’t remove the sides of the pan yet. Cool for an hour longer in a draft-free location.
Cool it correctly
Refrigerate cheesecake for about an hour; when completely cool, cover with foil or plastic wrap. It needs to be 100 percent cool to prevent condensation from collecting on the underside of the cover. Refrigerate overnight before removing the sides of the pan.
Pull off the pan carefully
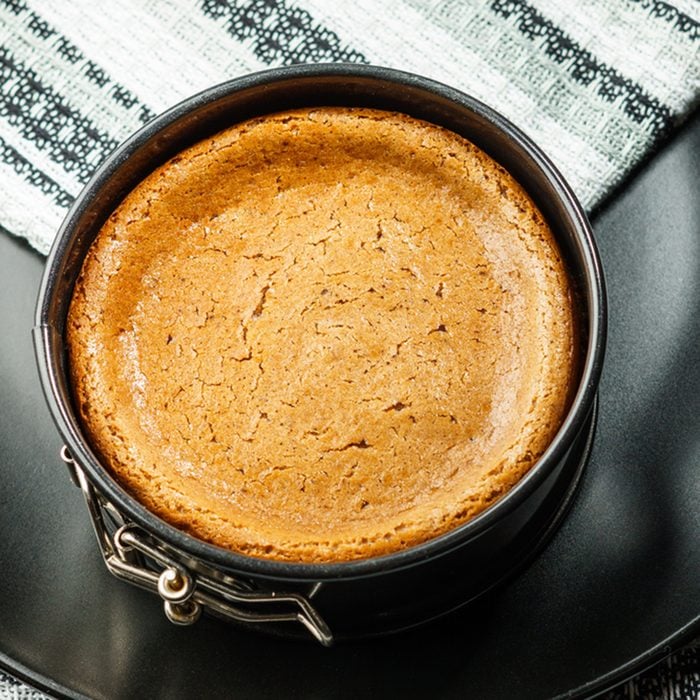
Make sure your cheesecake is chilled overnight so it’s very firm. Loosen the latch of the springform pan and carefully lift the rim of the pan straight up.

Cut the cake cleanly
Slice cheesecake while it’s cold. Trust us, it’s a lot less messy. To do this, dip a long, thin knife in very hot water, wipe the blade with a paper towel, then slice. Clean and rewarm the knife after each cut.
Exercise patience
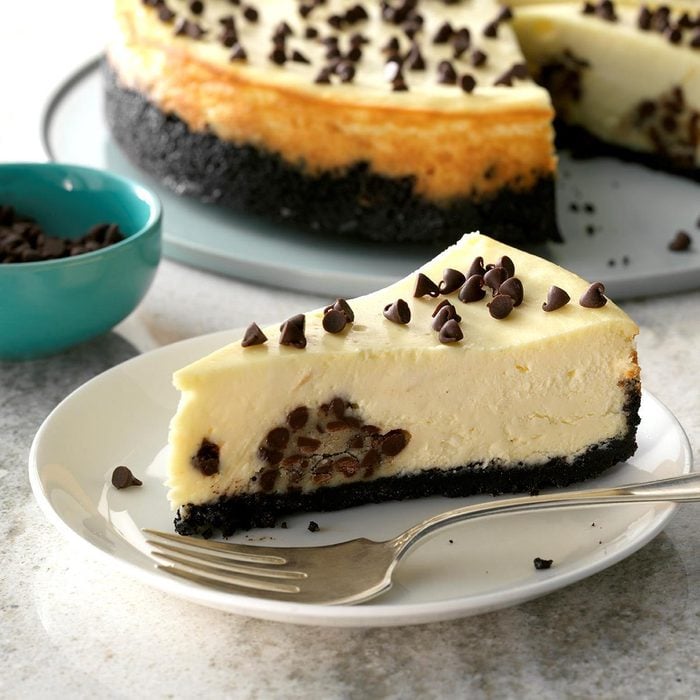
For maximum flavor, let slices stand at room temperature for 15 to 30 minutes before serving.
Don’t sweat it if your cake is cracked
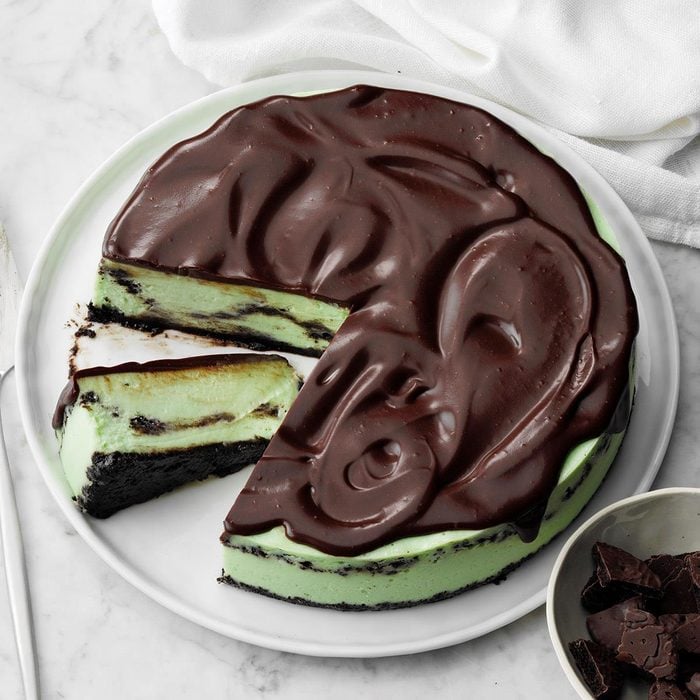
If the top of your cheesecake has a crack in it, just cover it up. The cake is still going to taste delicious. Our Test Kitchen suggests making fresh whipped cream or even a tasty chocolate ganache. You can always layer on jam or fresh fruit, too.
Avoid last-minute stress
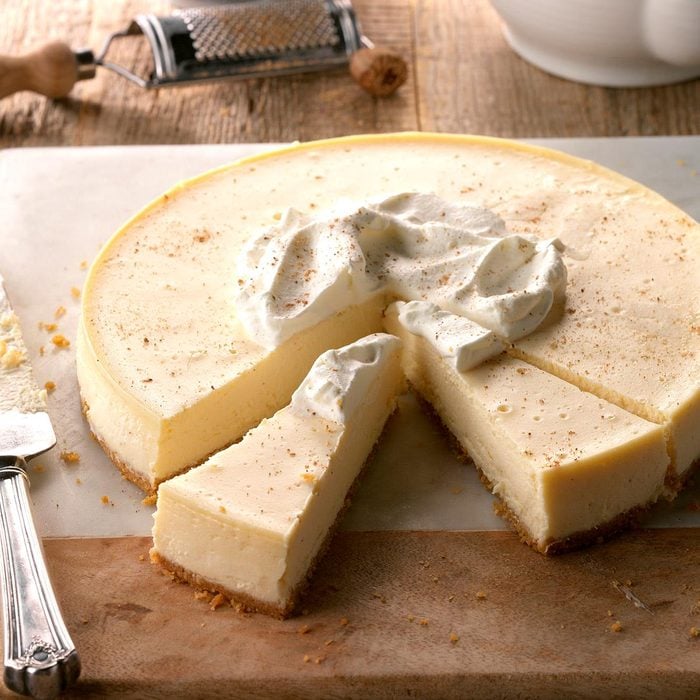
If you’re prepping for a party, you can bake your cheesecake in advance. You can cover and refrigerate it for up to three days. Or freeze it for up to two months by placing the entire cheesecake or individual slices on a baking sheet and freezing until firm. Wrap in heavy-duty plastic wrap and place in a freezer bag. Thaw in the refrigerator.
Up Next: How to Make Basque Cheesecake

