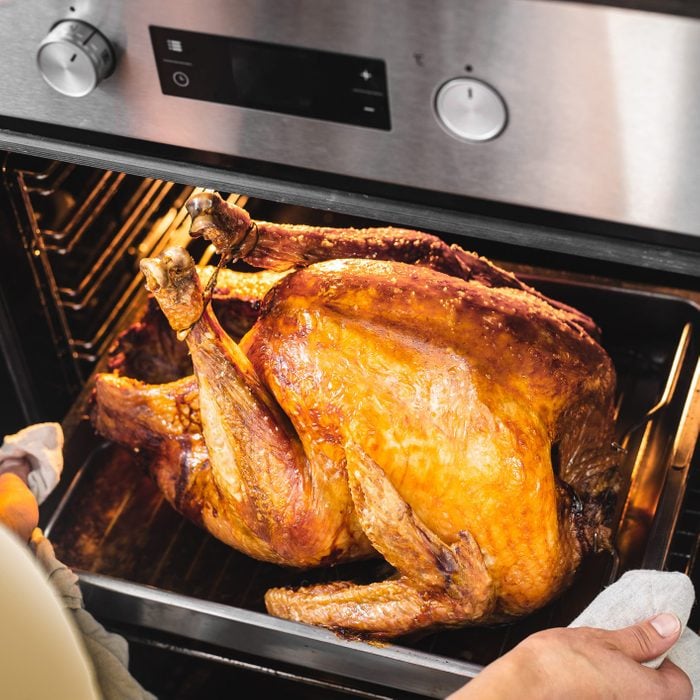
Step 1: Let the bird rest
Let the turkey rest for 30 minutes, which will ensure that the juices redistribute throughout the meat before you cut into it. If you don’t let the bird rest, the juices will end up mostly on the cutting board instead of in your mouth.
Besides not resting the bird when it’s done, make sure you avoid these other mistakes when cooking a turkey.
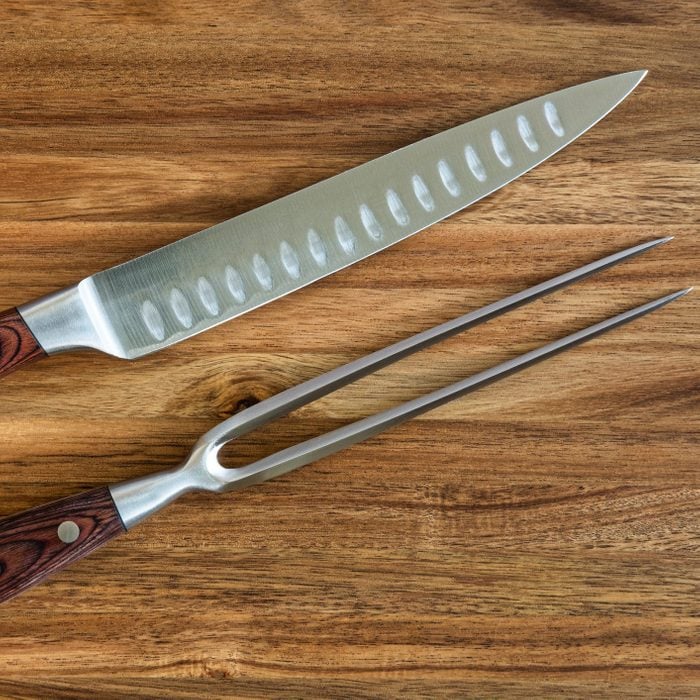
Step 2: Gather your tools
Our Test Kitchen recommends a carving board, serving platter, carving fork and either a large, sharp knife or an electric carving knife as essential tools for carving a turkey. A carving set comes with both a fork and large knife if you want to go the manual route.
Whether you choose regular or electric, a sharp knife is essential for more than safety: It actually helps keep the flavor and juices inside of each turkey slice. A dull blade will compress the turkey as you cut, which then squeezes out the flavorful juice. A freshly sharpened knife will require hardly any pressure to cut, so no compression happens and all that juicy goodness stays inside the turkey and makes it to the plate.
Check out our Test Kitchen’s picks for the best electric knife. Otherwise, make sure your knife is as sharp as can be by using a knife sharpener shortly before digging in.
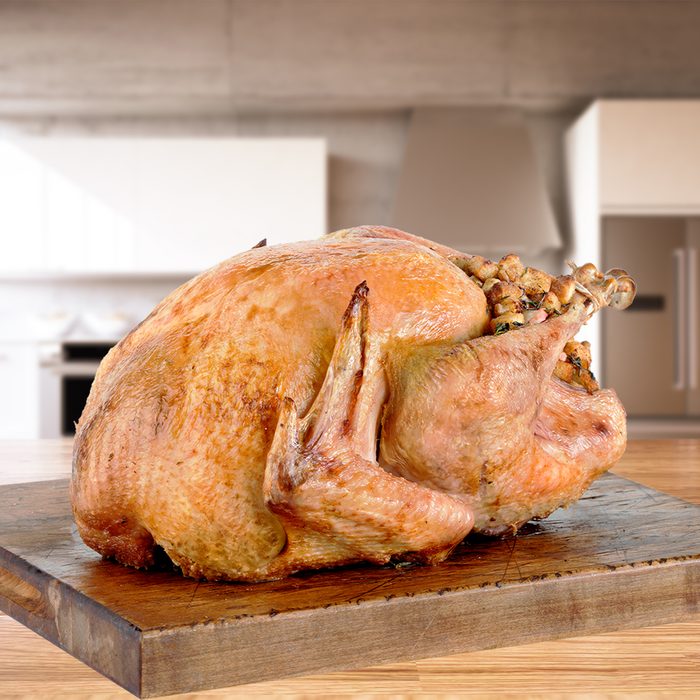
Step 3: Prepare your carving area
After your bird is well-rested, place it on a carving board with a serving platter positioned beside it and your knife and carving fork within reach.
For best results, use a carving board with a well or drip tray to catch any juices as you work. You may also want to have some dishtowels nearby to clean up any drippings that might overflow as you carve. Then, remove any vegetables, herbs or stuffing from the cavity of the turkey, transferring the turkey stuffing to a serving dish.
Editor’s Tip: Carving a turkey is messy! Don’t try to do it at the table. Here are more tips from our pros on how to host a successful Thanksgiving.
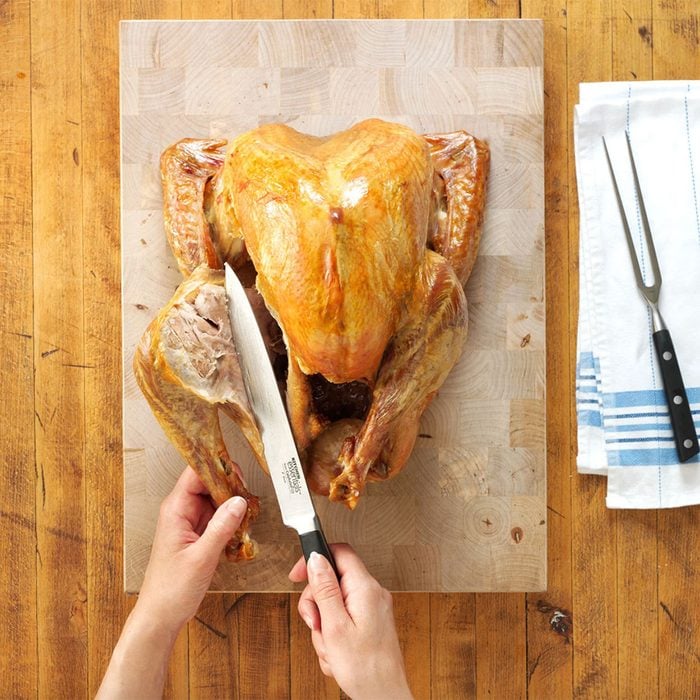
Step 4: Carve away the legs
The first part of the bird you’ll want to address when carving a turkey is the legs and thighs. To begin, hold the end of one drumstick, gently pulling the leg away from the body until a small gap appears. Run your knife as close to the turkey’s body as possible and cut through this gap and remove the entire leg. It should cut cleanly and easily without needing too much pressure. Repeat with the other leg.
Test Kitchen Tip: If you’re having trouble seeing the joint seam, carefully inspect the area where the leg connects to the turkey’s body with clean fingers. You’re looking for a small, natural opening filled with skin and connective tissue that joins the leg to the body. Rotating the leg downward can help pop the joint out, making this gap more visible and easier to see.
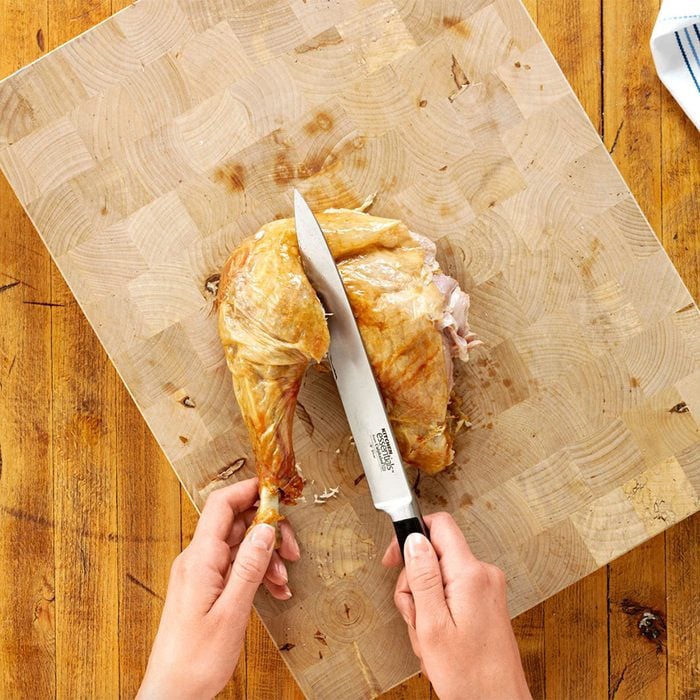
Step 5: Separate the thigh and drumstick
Next, locate the joints connecting the drumstick and thigh. This spot is easiest to find by turning the legs skin-side down. Using the tip of your knife, cut through this joint and sever the tendon that attaches the drumstick to the thigh. Then gently pull to separate them.
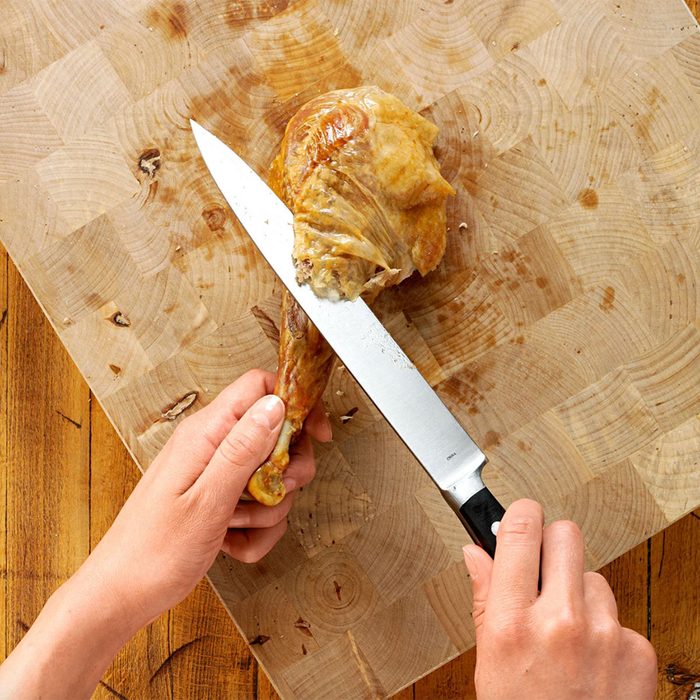
Step 6: Remove the meat
Depending on preference, you may either leave the drumsticks and thighs whole or carve the meat off of the bones. To carve the drumsticks, hold them by the end and slice the meat, parallel to the bone, into 1/4-inch slices. For the thighs, turn the thighs skin-side down and run your knife around the thighbone on all sides. Then, carefully twist and pull the bone away and slice the thigh meat as desired.
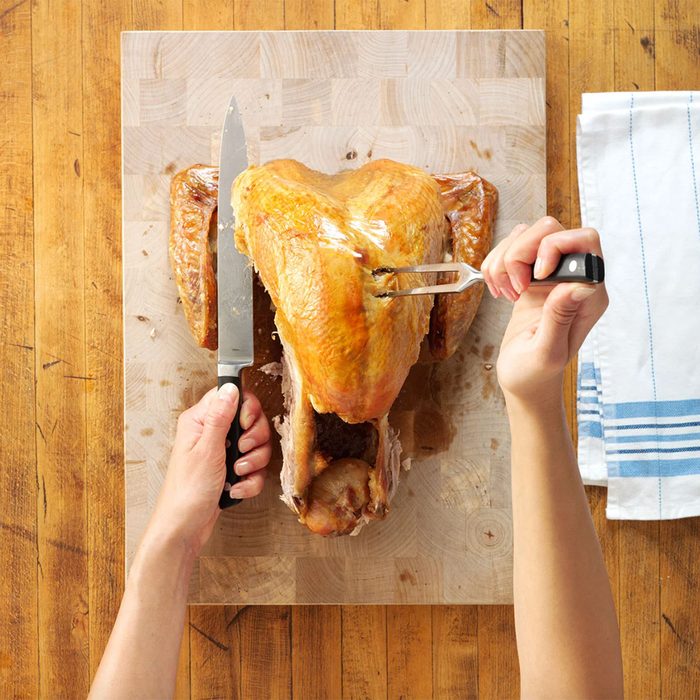
Step 7: Begin carving the breasts
Holding the turkey steady with a meat fork, make a deep cut on one side of the breastbone, starting near the neck and running the knife along the rib cage toward the tail of the turkey. Continue cutting until the entire turkey breast loosens and can be lifted away from the body. Repeat on the other side with the second breast.
Test Kitchen Tip: Keep your knife close to the rib cage and breastbone as work your way through the breast meat. This will allow you to cut cleanly through the entire breast and ensure you leave none of that juicy meat behind.
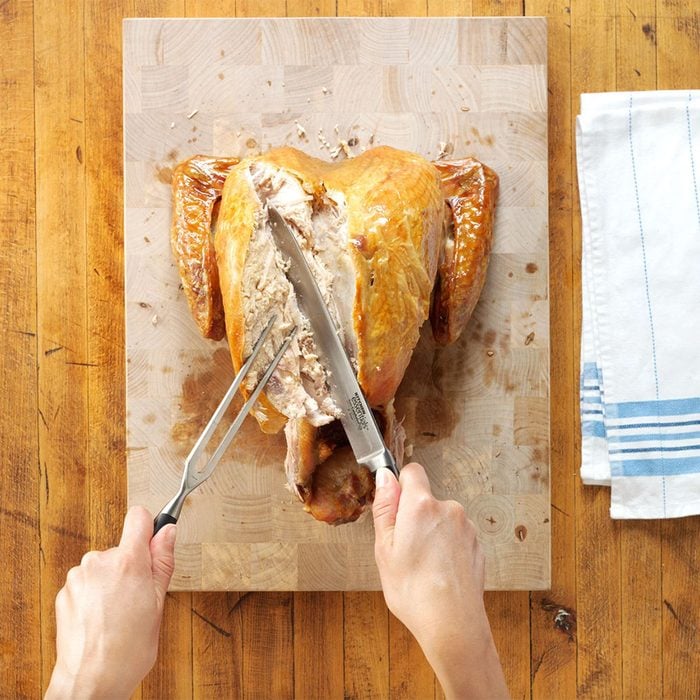
Step 8: Slice the breasts
Position the breasts on the carving board skin-side up. Then, begin slicing them 1/4-inch thick, running the knife parallel to the cutting board. Repeat with the other breast and then transfer the meat to the serving platter.
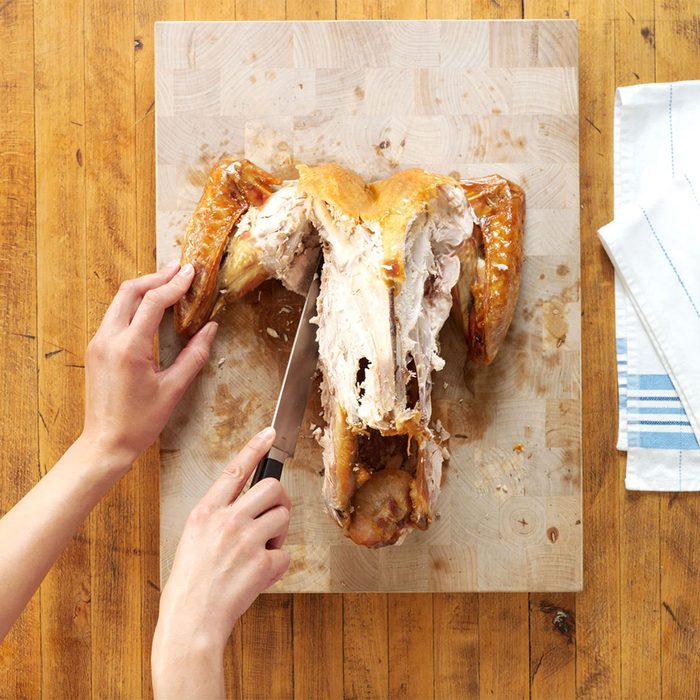
Step 9: Remove the wings
Finally, remove the turkey wings by pulling the wingtips away from the body and locating the joint that connects the wings to the bird. There’s a chance that they may just pull away and remove from the carcass without cutting now that the breast meat has been removed.
If they remain intact, find the joint gap, just as you did with the legs, and use your knife to cut through the remaining connective tissue and skin to separate the wings from the body.
The wing is made up of three pieces—the tip, drummette and the flat wingette. Locate the joints connecting these three parts and separate by severing the tendons that join them together with your knife. The wingtip may be discarded or reserved for making turkey stock, while the wingette and drummette can be transferred to the serving platter.
Step 10: Store the bones
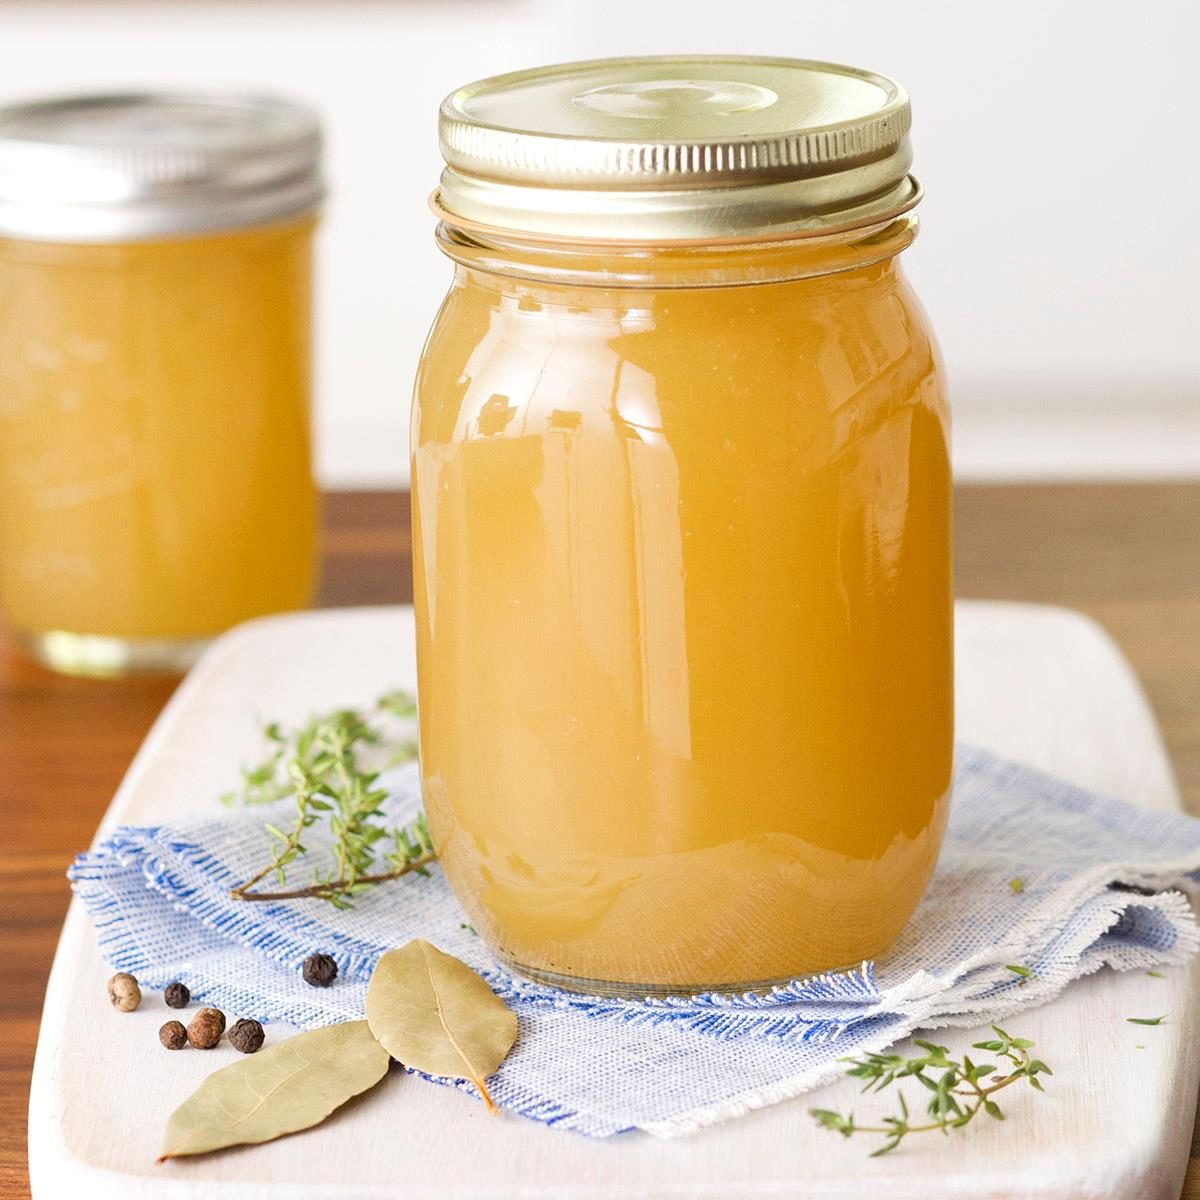
A leftover turkey carcass is the secret to delicious homemade stock. Homemade stock has a velvety texture and full flavor that the canned stuff can’t touch. Collagen-rich and laced with vegetables and herbs, homemade stock is also healthy, whereas commercial stock is often laden with salt. Learn how to make homemade stock with tips from our Test Kitchen.
