How to Make Whole Wheat Bread

Updated: May 30, 2020
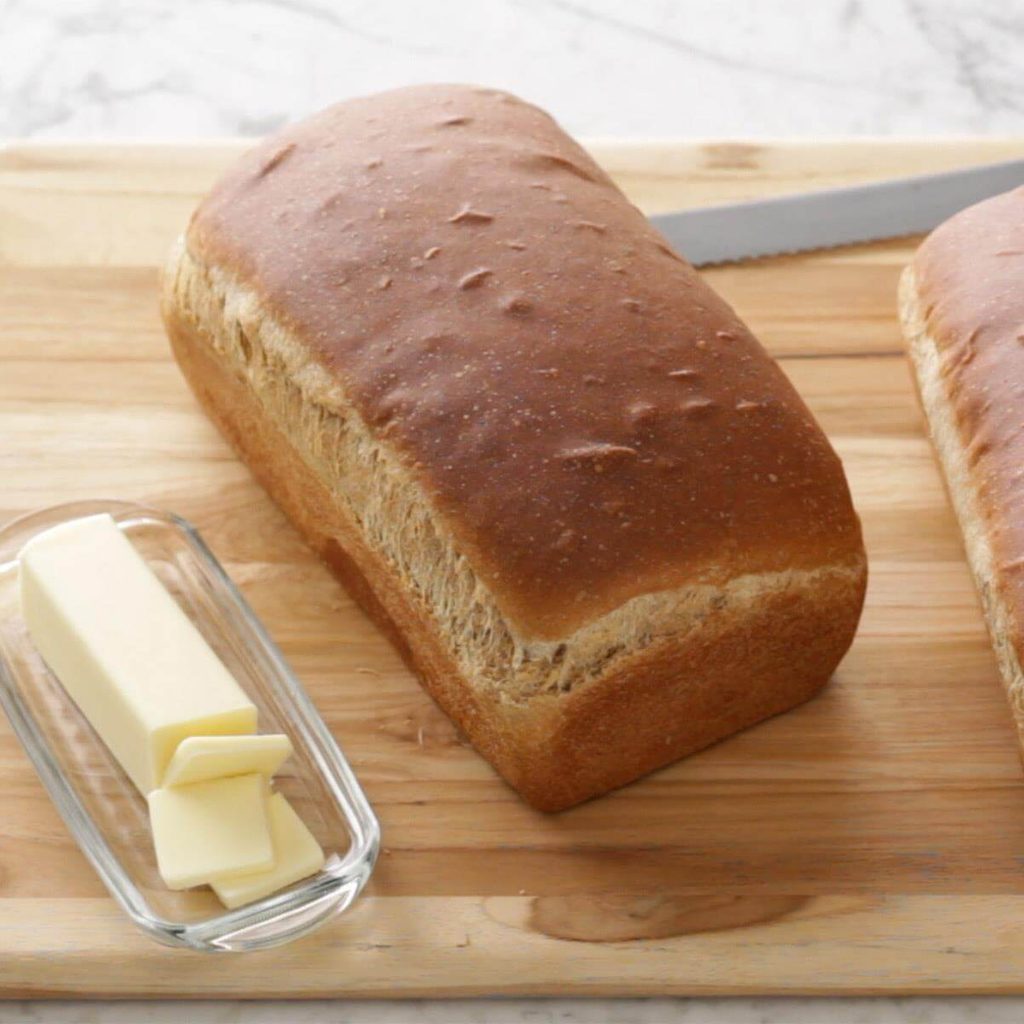
Making whole wheat bread at home is easier than you might think.
Few things in life are better than a hot loaf of freshly baked bread. The smell of whole wheat flour is almost intoxicating, filling your kitchen with a wholesome, nutty aroma. If you’ve never made yeast bread before, the process can seem overwhelming. All that shaping, proofing and rising; what if the loaf turns out too dense or falls flat in the oven?
Use our step-by-step instructions below to demystify the process and become an expert baker!
Whole Grain vs. Whole Wheat Bread
Whole wheat bread is simply a type of whole grain bread. Other types of whole grain bread include barley, oats or brown rice.
Whole grain bread is considered a healthier alternative to white bread as its ingredients are less processed. For example, whole wheat bread keeps all three parts (the bran, germ and endosperm) of the wheat kernel intact while white bread filters the bran and germ out. Here are 22 more healthy bread recipes.
How to Make Whole Wheat Bread
Ingredients
Yield: 2 loaves (16 slices).
- 1 package (1/4 ounce) active dry yeast
- 3 cups warm water (100° to 110°), divided
- 3/4 cup canola oil
- 1/4 cup sugar
- 1/4 cup molasses
- 1 tablespoon salt
- 5 to 5-1/2 cups all-purpose flour
- 3 cups whole wheat flour
A quick note about the ingredients: Always check the expiration date on your yeast before making bread. Yeast is a living organism, and it won’t rise if it’s expired.
Instructions
Step 1: Dissolve the yeast
The first step is to prime the yeast by dissolving it in 3/4 cup warm water. You’ll add the remaining ingredients to this mixture, so choose a bowl that’s large enough to hold 8 cups of flour. The temperature is pretty important here–if it’s not warm enough the yeast won’t dissolve, but water that’s too hot will kill the yeast. Aim for somewhere between 100° F to 110° F for best results.
Pro Tip: Mixing the yeast with warm water kick-starts the fermentation process, essentially waking it up from its dormant state. If your yeast mixture doesn’t become bubbly and foamy, the yeast may be expired. Toss out the mixture and start over with a new package.
Step 2: Mix until smooth
We like using a stand mixer with a dough hook attachment for this step; it frees up your hands to gradually add the flour! But, you could also mix by hand using a wooden spoon if you prefer. Add the oil, sugar, molasses, salt and remaining water to the yeast mixture. In a separate bowl, combine the flours.
Add 3 cups of the flour to the wet ingredients, mixing by hand or with the stand mixer until the mixture is smooth and the flour is well incorporated. Continue adding flour until the batter comes together to form a firm dough. You may not need all of the flour.
Pro Tip: Look for visual cues to know when you’ve added enough flour. You don’t want to add too much, or the bread will turn out dry and tough. When the dough has enough flour, it will look firm and dry but slightly sticky to the touch. It will also start to pull away from the side of the bowl as you mix. It’s always better to add too little flour in this step and add more during the kneading step if it sticks to your hands.
Step 3: Knead the dough
Now that the ball has come together, it’s time to knead the dough. Flour your work surface and remove the dough from the bowl using a spatula. Using floured hands, shape the dough into a ball. Fold the top of the dough toward you and, using your palms, push it away from you in a rolling motion. Turn the dough a quarter turn and repeat the folding and pushing process. Continue kneading until the dough feels smooth and elastic. Sprinkle the counter, dough and your hands with flour as needed to keep the dough from sticking.
If you’ve never kneaded dough before, check out our comprehensive guide for kneading (including a few troubleshooting tips).
Pro Tip: Underkneaded dough can fall flat or become dense and tough. How do you know if you kneaded your dough enough? Press a finger into the dough about 1 inch. If the dough springs back, you’re done kneading!
Step 4: Cover and let rise
It’s time to let the dough rise. Spray a large, clean bowl with cooking spray and place the ball in the bowl. Turn it over once to oil all the sides (an easy way to keep the top from drying out). Cover the bowl with a damp kitchen towel and place the bowl in a warm place. Let the dough rise for about an hour, until it has doubled in size.
We recommend setting a timer while the dough rises. It’s easy to forget about your dough when you start doing other things!
Pro Tip: The best temperatures for rising dough are between 80 to 85 degrees. No warming drawer? No worries. Check out our guide to find the best spots in your house to help bread rise.
Step 5: Punch the dough down
You’ll know when the dough is done rising when it looks like it’s doubled in size. If you press your fingers 1/2-inch into the dough, a dent will remain. Now, it’s time to punch the dough down. This might sound like an aggressive boxing maneuver, but it’s the ideal way to deflate the dough and release the trapped air. Just push a fist into the center of the dough. Then, gather the dough towards the center to shape it into a ball.
Step 6: Shape the loaves and let them rise
You only have a few more steps before you can bake your bread! Now that you have a deflated dough ball, divide it in half using a bench scraper and shape each portion into a loaf. The goal here is to get the top of the dough smooth and taught. Nicely shaped loaves cook evenly and look attractive after they’ve baked.
Place the dough halves on a lightly floured surface. Gently roll the dough until it forms an oval. Place each half into a greased 9×5 loaf pan. Cover the pans with a damp kitchen towel and let the dough rise until it has doubled, about 30 minutes. Sometimes, the second rise doesn’t take that long, so check the dough early to see if it has doubled. If the dough rises too much, it will deflate when baking, causing a flat top with uneven texture inside the bread.
You can put the loaves in the same warm place as the first rise. If you used the oven rising technique, be sure to take the loaves out just before they are finished rising so you can preheat the oven.
Pro Tip: If you want to make dinner rolls instead of a loaf, divide the dough into 1.5-ounce pieces during this step. For sandwich buns, create 2-ounce pieces of dough. Roll each piece into a ball on a lightly floured surface and let them rise on a greased baking sheet. Leave enough space between rolls so they can double in size.
Step 7: Bake
While the dough is rising, preheat the oven to 350° F. Bake the bread for 40-45 minutes or until it is golden brown. Rolls will only need about 30 minutes to bake. If the top of the bread gets too dark but it’s not finished in the center, cover the top loosely with foil. When the bread is finished baking, immediately remove it from the pan and let it cool on wire racks. Warm bread is pretty magical, but let it cool completely before slicing.
Pro Tip: How do you know when the bread is finished baking? A thermometer inserted into the center of the bread will read 200° F, or you can turn the bread out into a gloved hand. If you tap on the bottom of the bread and it sounds hollow, the loaf is probably done.
Now that you know how to make a basic whole wheat loaf, have some fun with our best homemade bread recipes (including bagels, Irish soda bread, biscuits and more). If you’re looking for a healthy twist, learn about ezekiel bread and why it’s the bread everyone is talking about.


Originally Published: May 30, 2019