How to Make Instant Pot Yogurt (and Is It Worth It?)

Updated: Mar. 15, 2019
The Instant Pot has a button for making yogurt—but it's not quite so simple. We'll share a step-by-step method that will yield delicious, tangy homemade yogurt.
At Taste of Home, we really love the Instant Pot! It’s a tried-and-true helper for getting dinner on the table fast. But we’re also intrigued by some longer, weekend cooking projects, like making homemade yogurt.
The Instant Pot has a special setting just for yogurt, so it must be easy, right? Well…sort of. Turns out, the process is simple but time-consuming. We’ll teach you how to make Instant Pot yogurt, and share our conclusion: Is it worth the effort?
Psst: Here’s how to become an Instant Pot pro.
How to Make Instant Pot Yogurt
Ingredients
- 8 cups milk, ideally whole or 2%
- 1-2 tablespoons of plain yogurt (preferably Greek), at room temperature
- Sugar, honey or other sweetener (optional)
- Vanilla (optional)
Tools
- Digital thermometer
- Fine mesh strainer and a coffee filter or muslin cloth
- Whisk
- Jars or containers with lids for storing the yogurt
- Instant Pot, of course
Test Kitchen Tip: Before you begin, make sure your tools are freshly washed in hot, soapy water.
Step 1: Scald the Milk
Pour the milk into the Instant Pot, close and lock the lid and set the valve to Sealing. Select the Yogurt function and place on High/More. Though the display will read “boil,” this step only scalds the milk. It will take 25-30 minutes for a half-gallon, and 50 minutes for a gallon. The pot should turn off automatically at the end of the cycle. Open it and check the temperature. It should be 180º F.
Test Kitchen Tip: Scalding is an important step. Without it, the yogurt may not thicken up properly, or at all.
Step 2: Bring Down the Temperature
After heating the milk, you want to cool it off to 110º-115º F. This is an ideal temperature that will foster bacteria growth (in a good way!) and won’t be so hot it kills the culture. You can just leave the bowl to cool at room temperature, which will take about an hour. Or, use an ice bath: Fill a bowl with ice water, nest the Instant Pot’s inner bowl inside and whisk the milk to cool it quickly. Take the temperature every few minutes. After about five minutes, the milk should be at 110º F.
Test Kitchen Tip: Be careful not to scrape the bottom of the pot while whisking! Some milk may have scorched onto the pot, which would add a gritty texture to your yogurt.
Remove the pot from the ice bath and wipe the outside dry.
Step 3: Mix in the Yogurt Culture
Place your already-made yogurt in a bowl and whisk in 1 cup of the milk. Then, stir this mixture into the milk pot, whisking thoroughly.
Our favorite recipes with yogurt include a fantastic salad dressing.
Step 4: Let Ferment Low and Slow
The yogurt cultures need time to work! The bacteria will ferment slowly, turning the plain milk into tasty, tangy yogurt. (Did you know these health benefits of fermentation?)
Place the inner pot back into your Instant Pot, and close, lock and seal the lid. Select the Yogurt function. The standard run-time of 8 hours will make a thinner, milder yogurt; increase the time to 12 hours for a thicker, much tangier yogurt.
When the cycle is complete the pot will turn off and show YOGT on the display.
Like a thinner, drink-able yogurt? You’re almost done! Skip to Step 6.
For a thicker, spoon-able yogurt, proceed to the next step.
Step 5: Strain for a Thick, Greek-Style Yogurt
Set a fine mesh sieve over a bowl, and line it with something tightly woven: a coffee filter or muslin cloth work best. Pour the yogurt into the strainer, and place the entire setup into the fridge. The longer you strain, the thicker the yogurt will be. In three or four hours, the yogurt remaining in the strainer will be quite thick, and the bowl will be full of whey. (You can stir the whey into homemade smoothies or discard it.)
Test Kitchen Tip: If you’re using cheesecloth or another loosely woven material to strain, it will work best if you chill the yogurt beforehand.
Step 6: Flavor and Sweeten
If you like, stir in honey, sugar, maple syrup or a dash of vanilla. Other extracts, like coffee or lemon, are delicious. You can even add a few spoonfuls of jam or fruit preserves.
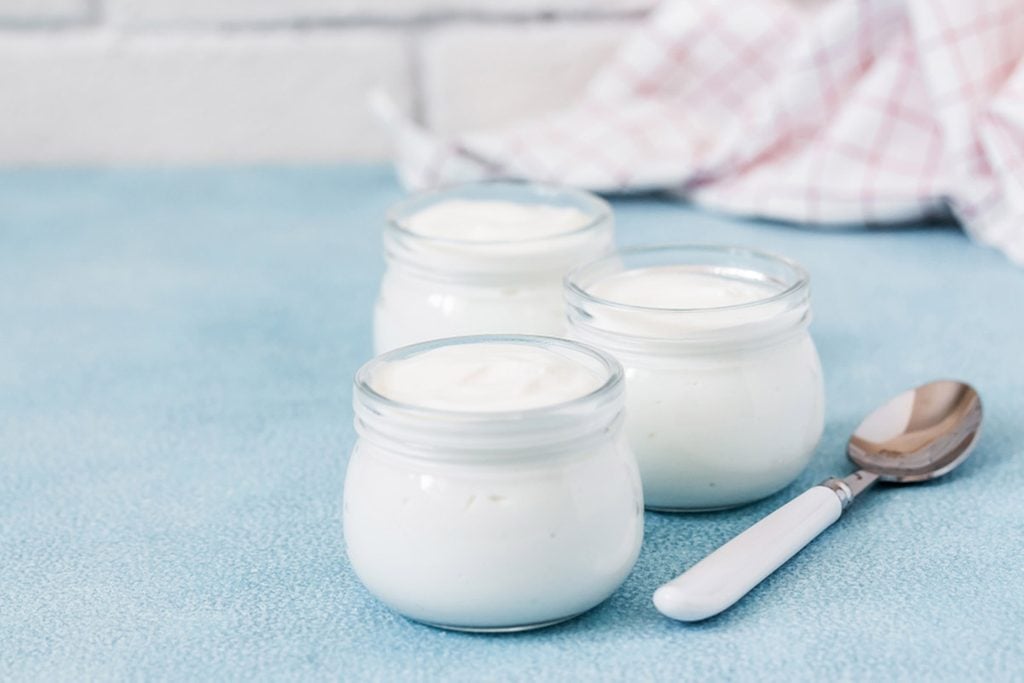
Step 7: Refrigerate
Pour the yogurt into containers, cover and refrigerate. The yogurt should keep in the fridge for up to two weeks. Remember to save a few spoonfuls for your next batch!
Is Instant Pot Yogurt Worth the Effort?
Pros
- It’s cheap! Generally speaking, milk (especially on sale) is less expensive than yogurt.
- Most of the preparation time is hands-off.
- You control the ingredients and sugar content.
- You add your own flavors, from vanilla to honey to jam to spices.
- It’s satisfying in a thrifty way to use your last batch of yogurt to start your next.
Cons
- Store-bought yogurt is way easier.
- If you’re in a pinch, the 8-10 hour process might not be feasible.
I would say if you love yogurt, it may be worth making your own! Here are more ways to get hooked on the Instant Pot.
Originally Published: March 15, 2019