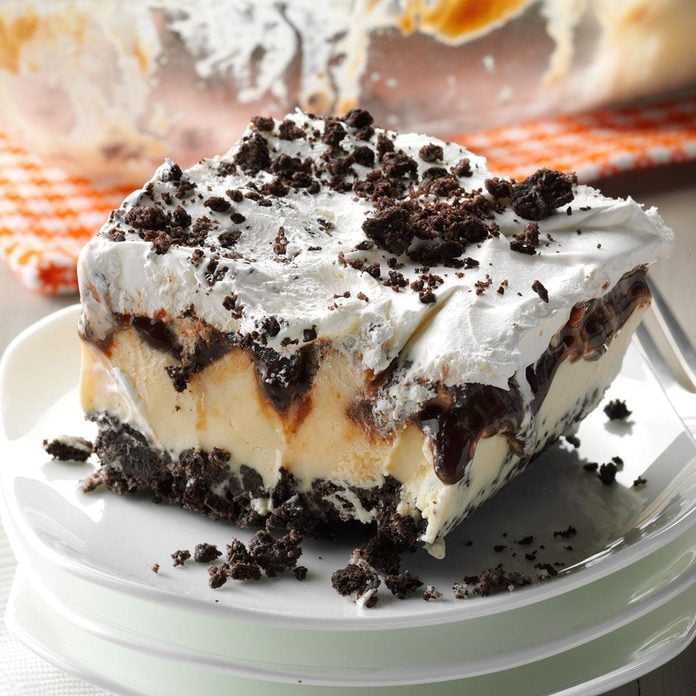
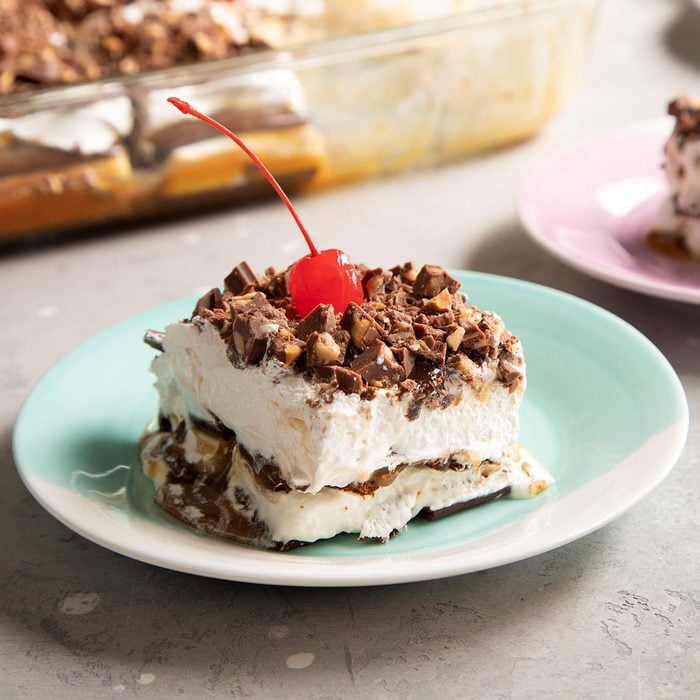
Ice Cream Cookie DessertTotal Time: 15 minutes + freezing
Main Ingredients: Oreos, vanilla ice cream, hot fudge sauce, whipped topping
Level: Beginner
Looking for an easy-to-make frozen dessert that's also one of our most-requested
Oreo recipes? This is just the thing. It's made of layers of crushed Oreos, ice cream, fudge sauce and cream. The dessert is delicious as-is, but also easy to zhuzh up with chopped nuts or different flavors of ice cream.
Our family loves dessert, and this chocolaty, layered treat is one of Mom's most-requested recipes. It's so easy to prepare this Oreo ice cream cake! —Recipe contributor Kimberly Laabs, Hartford, Wisconsin
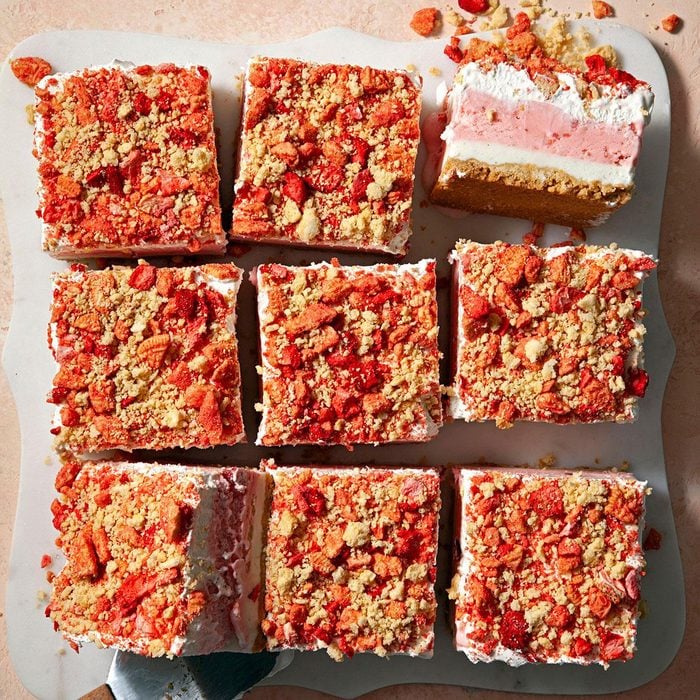
Strawberry Crunch Ice Cream CakeTotal Time: 45 minutes + freezing
Main Ingredients: Golden Oreos, vanilla and strawberry ice creams, freeze-dried strawberries, butter, whipped topping
Level: Beginner
If this cake reminds you of a certain frozen strawberry pop from childhood, that's the point! Use freeze-dried strawberries and crushed vanilla Oreos to create the copycat, along with two kinds of ice cream on a cookie crust. It's the perfect summer celebration cake if you love
strawberry desserts.
While growing up, I loved treats from the ice cream truck that rolled through my neighborhood. This ice cream cake is inspired by one of those crunchy, strawberry novelties. —Recipe contributor Lisa Kaminski, Wauwatosa, Wisconsin
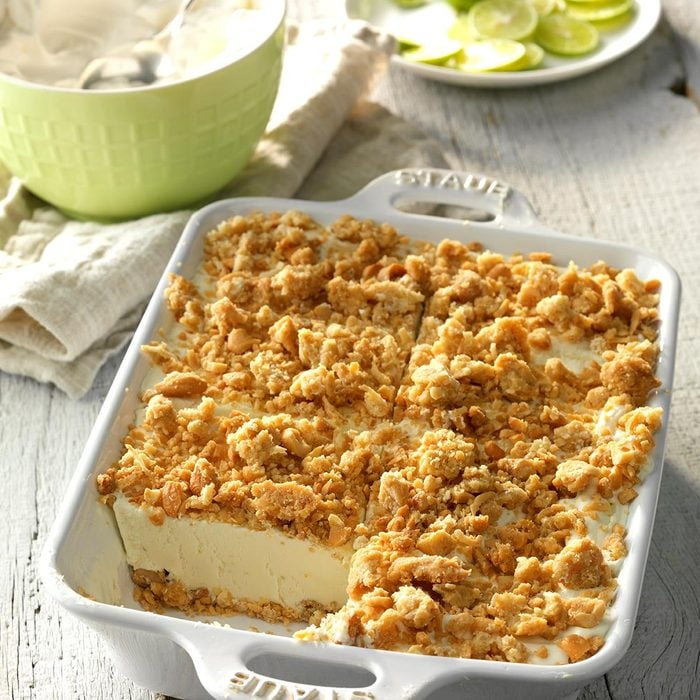
Frozen Key Lime DelightTotal Time: 1 hour + chilling and freezing
Main Ingredients: Key lime juice and zest, sweetened condensed milk, whipping cream, shredded coconut, cashews, butter
Level: Intermediate
Capture the flavor of Key lime pie in
homemade ice cream squares. The baked crust is a blend of cashews, brown sugar and coconut. Use your ice cream maker to churn up the filling, made with sweet cream and Key lime juice.
In the middle of summer, nothing hits the spot quite like this sublime Key lime dessert. Cold, creamy and tart, it tastes like sunshine. —Recipe contributor Melissa Millwood, Lyman, South Carolina
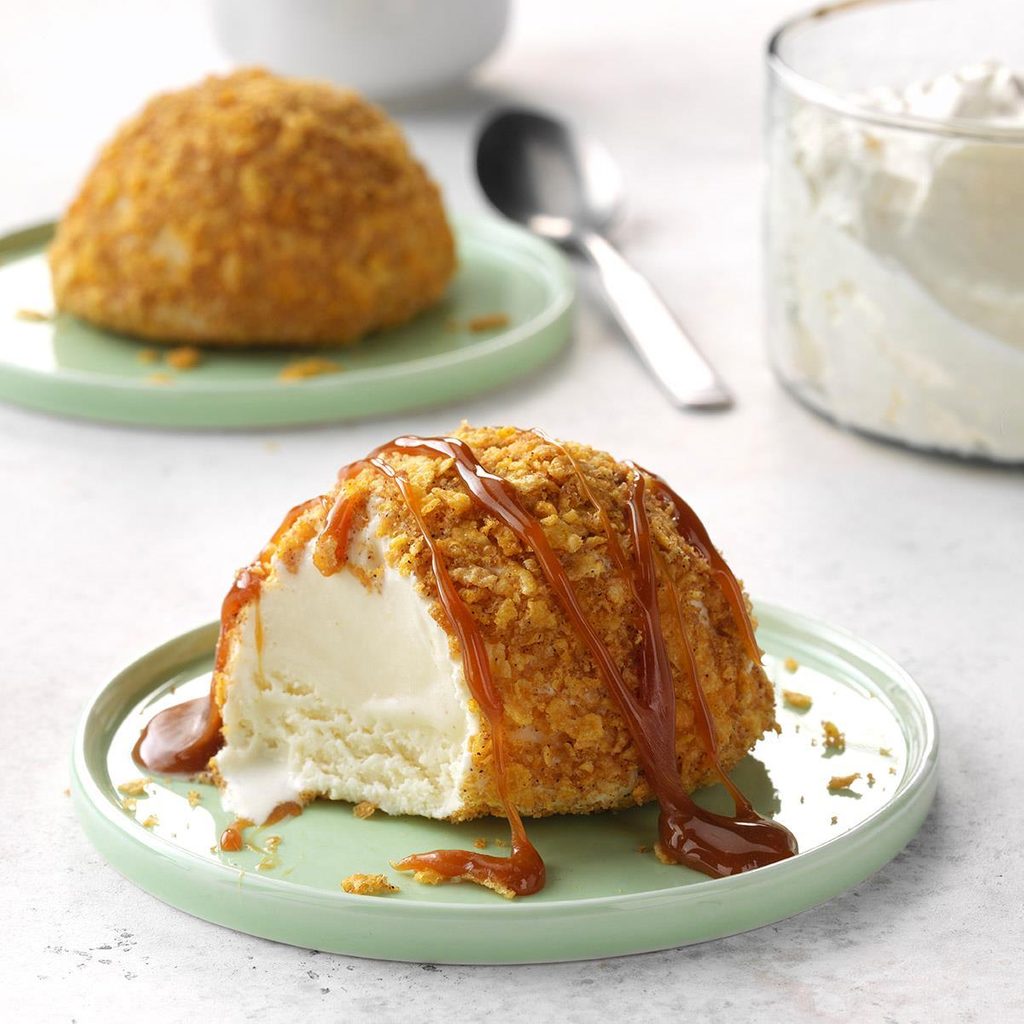
No-Fry Fried Ice CreamTotal Time: 20 minutes + freezing
Main Ingredients: Vanilla ice cream, cornflakes, butter, brown sugar, cinnamon
Level: Beginner
Fried ice cream usually involves a deep fryer, but not in this recipe. Just roll scoops of vanilla ice cream in a toasted blend of cornflakes and sugar.
This ice cream has a crispy cinnamon coating just like the fried ice cream served at Mexican restaurants, but minus the oily mess. Make ahead of time and freeze until serving. —Recipe contributor Tim White, Windsor, Ontario
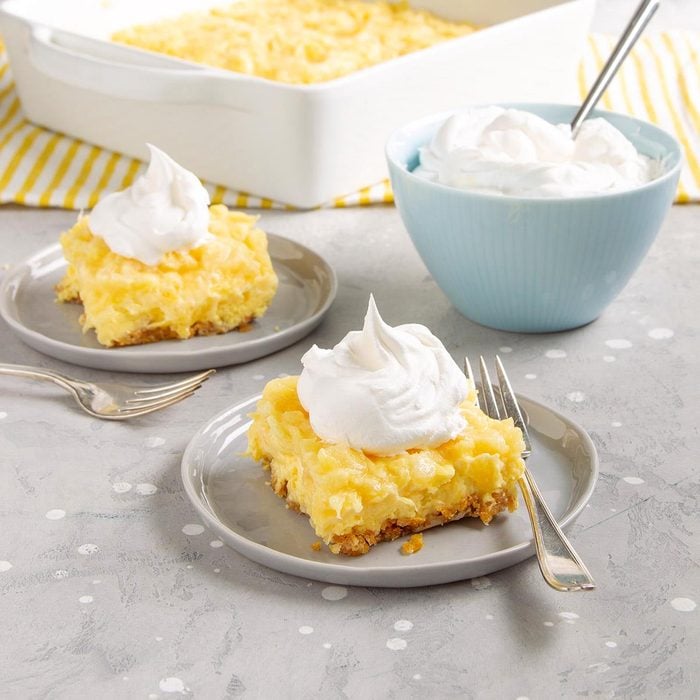
Pineapple CrunchTotal Time: 25 minutes + cooling
Main Ingredients: Crushed pineapple, vanilla ice cream, instant vanilla pudding mix, cornflakes, whipped topping
Level: Beginner
This unusual ice cream dessert combines ice cream with vanilla pudding mix to create a sweet and creamy layer over a toasted cornflake crust. The best part is the sweet pineapple on top! Use convenient canned pineapple or crushed fresh pineapple.
A co-worker shared the recipe for this refreshing pineapple dessert years ago. Every time I take it somewhere, it's a favorite. —Recipe contributor Betty Wiersma, Sherwood Park, Alberta
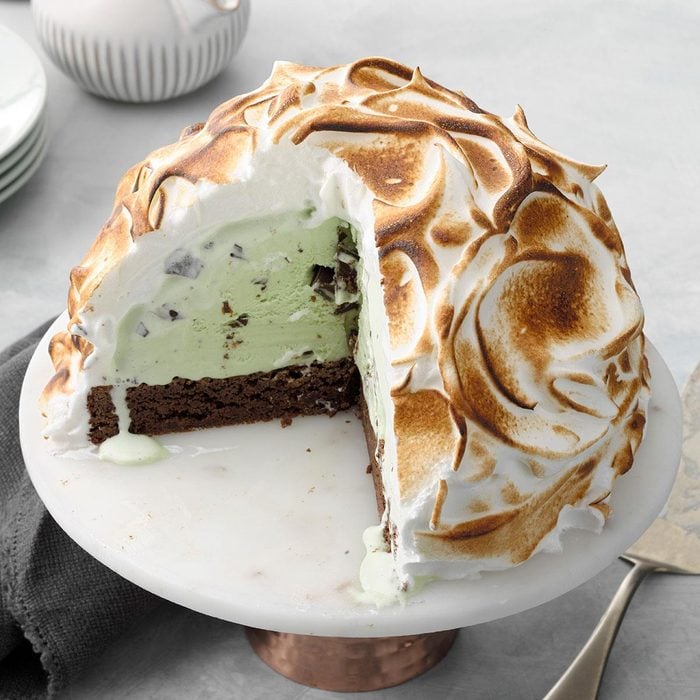
Grasshopper Baked AlaskaTotal Time: 50 minutes + freezing
Main Ingredients: Vanilla ice cream, Andes mint candies, egg whites, sugar, unsweetened chocolate, flour, creme de menthe
Level: Advanced
Make a truly showstopping ice cream centerpiece that combines cool mint with rich, chocolate brownie. A baked Alaska has an ice cream center covered in a
meringue shell and the whole thing gets briefly toasted in the oven.
Can you believe it? This stunning dessert is completely made ahead, including the meringue. All you need to do is bake it for a few minutes in the oven before serving. —Taste of Home
Test Kitchen
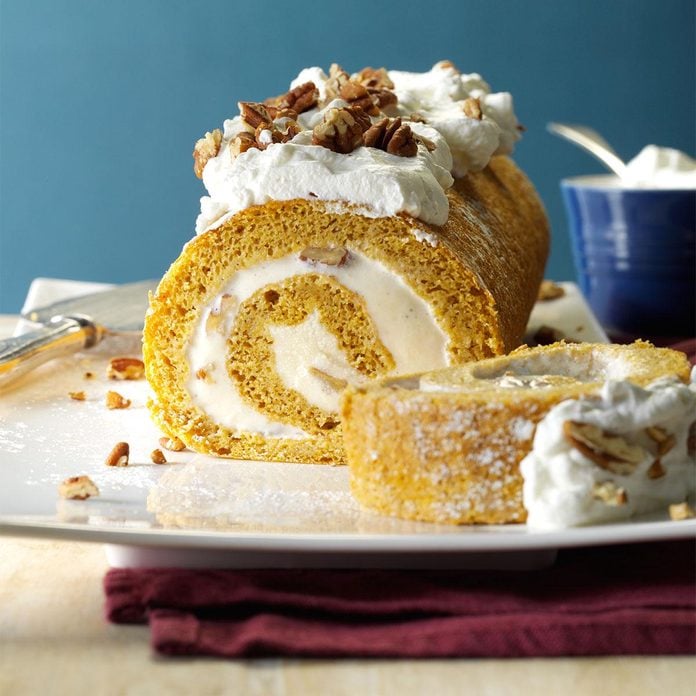
Pumpkin Ice Cream RollTotal Time: 40 minutes + freezing
Main Ingredients: Canned pumpkin, butter pecan ice cream, eggs, flour, pumpkin pie spice, sugar
Level: Beginner
It's like a pumpkin roll at holiday time—except with a cool ice cream filling. Butter pecan and pumpkin flavors are gorgeous together in this ice cream roll cake, a dessert folks will want even after the holidays pass.
This wonderfully light dessert is our standby at Thanksgiving and Christmas. The hint of pumpkin and the refreshing ice cream make a most delicious after-dinner treat. —Recipe contributor Gayle Lewis, Yucaipa, California
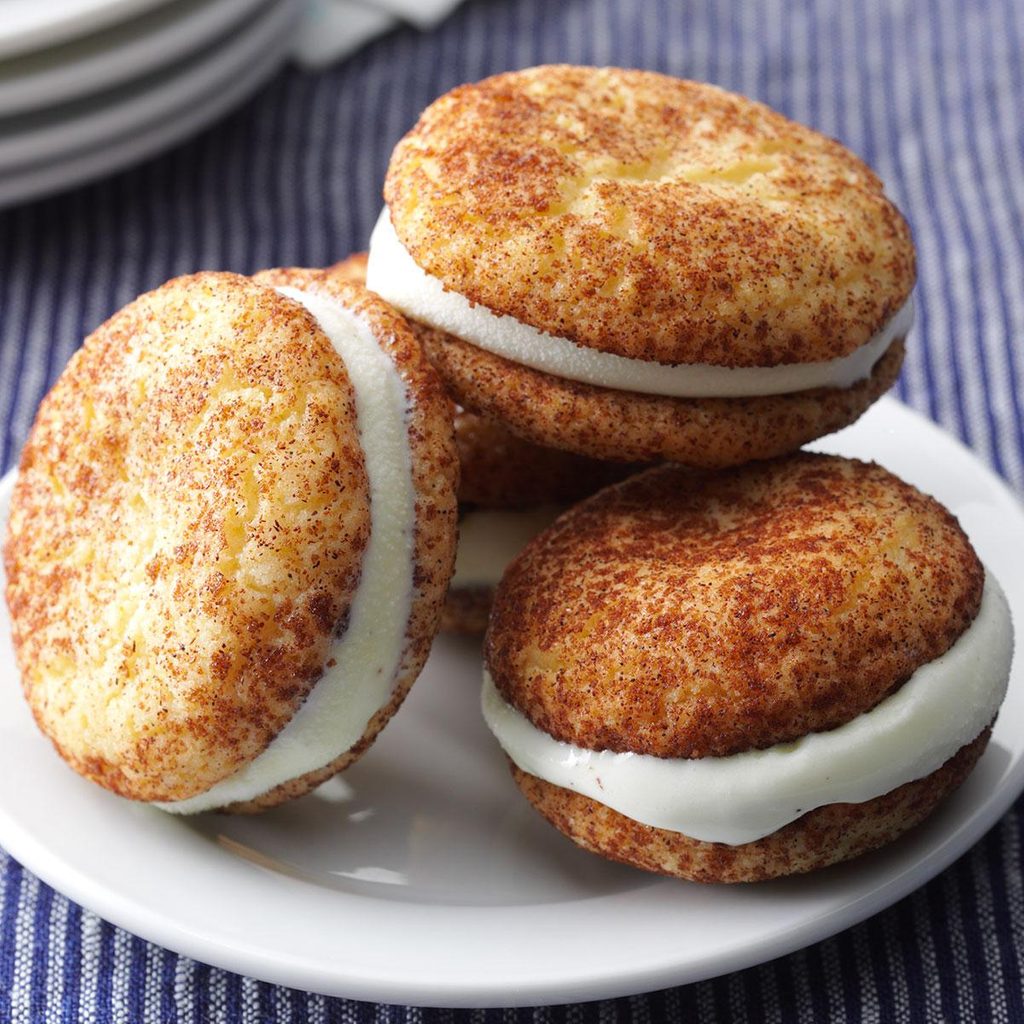
Snickerdoodle Ice Cream Sandwich MinisTotal Time: 50 minutes + cooling and freezing
Main Ingredients: Vanilla ice cream, cinnamon, butter, sugar, flour, cream of tartar
Level: Beginner
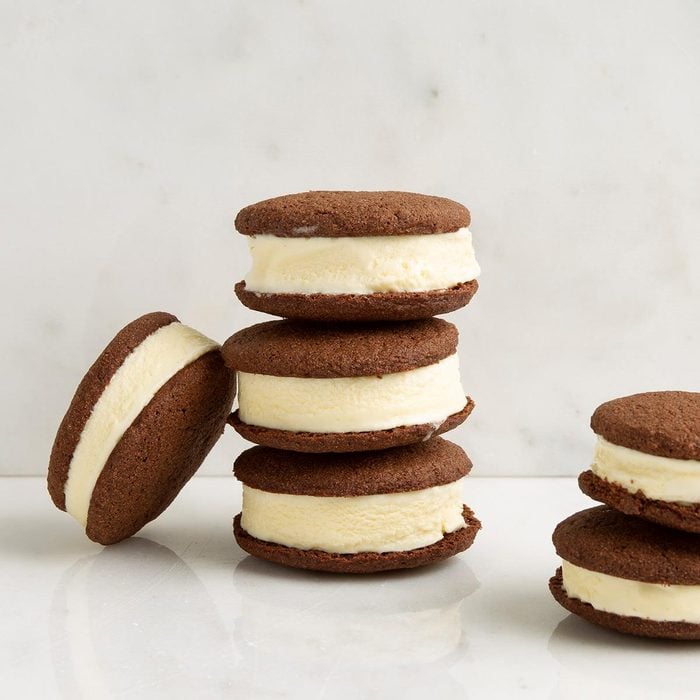
This recipe makes 16 adorable ice cream sandwiches, an easy-to-eat treat for parties, luncheons or after-school snacks.
Snickerdoodle fans of all ages will love the flavors of soft cinnamon cookies sandwiched with vanilla ice cream. (Or try other ice cream flavors, like caramel!)
My husband absolutely loves ice cream sandwiches and snickerdoodles, so I combined them into one fun treat. Here's how we build this cool dessert. —Recipe contributor Heather Pilon, Winslow, Maine
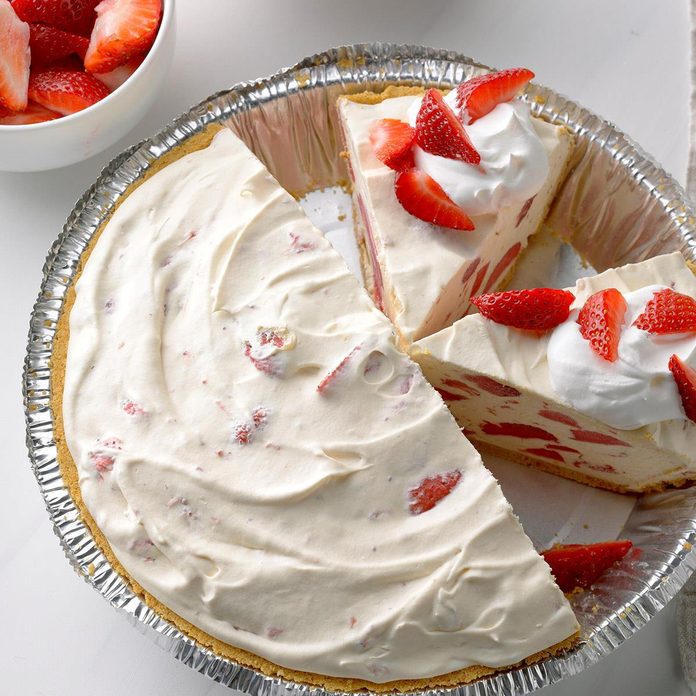
Easy Strawberry Lemonade Freezer PieTotal Time: 15 minutes + freezing
Main Ingredients: Sweetened sliced strawberries, lemon instant pudding mix, whipped topping, graham cracker crust
Level: Beginner
Pull this recipe out when you need a refreshing, frozen dessert that can be made in advance. The slices of strawberry lemonade pie are so pretty with sliced strawberries suspended in the creamy filling. Use a premade graham cracker or cookie crust.
Three simple ingredients mixed together and spread into a graham cracker crust make magic while your freezer does all the work. Prep this pie ahead and freeze it overnight or even longer. Feel free to vary the fruit if you'd like! —Recipe contributor Debbie Glasscock, Conway, Arkansas
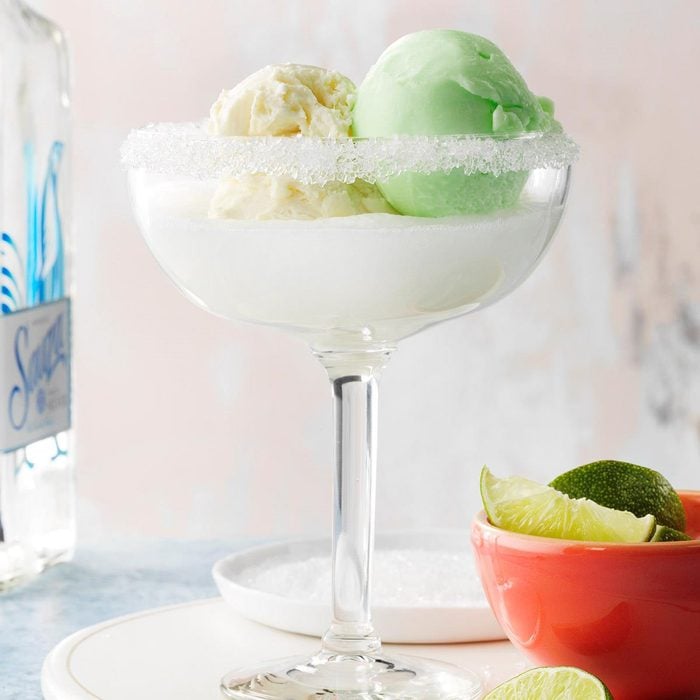
Margarita FloatsTotal Time: 5 minutes
Main Ingredients: Tequila, vanilla ice cream, lime sherbet, lemon-lime soda, sugar
Level: Beginner
This version of a summery, citrusy margarita is even better than the original, because it has ice cream and sherbet! Want to make an alcohol-free batch for friends or for kids? Just omit the tequila and blend in a little
agave syrup.
On a hot afternoon, what could be better than a cold margarita float? The addition of creamy ice cream really takes this treat to the next level. —Recipe contributor Teri Rasey, Cadillac, Michigan
Giant Peanut Butter Ice Cream SandwichTotal Time: 50 minutes + freezing
Main Ingredients: Peanut butter cookie dough, creamy peanut butter, vanilla ice cream, graham crackers, cream cheese, whipping cream
Level: Intermediate
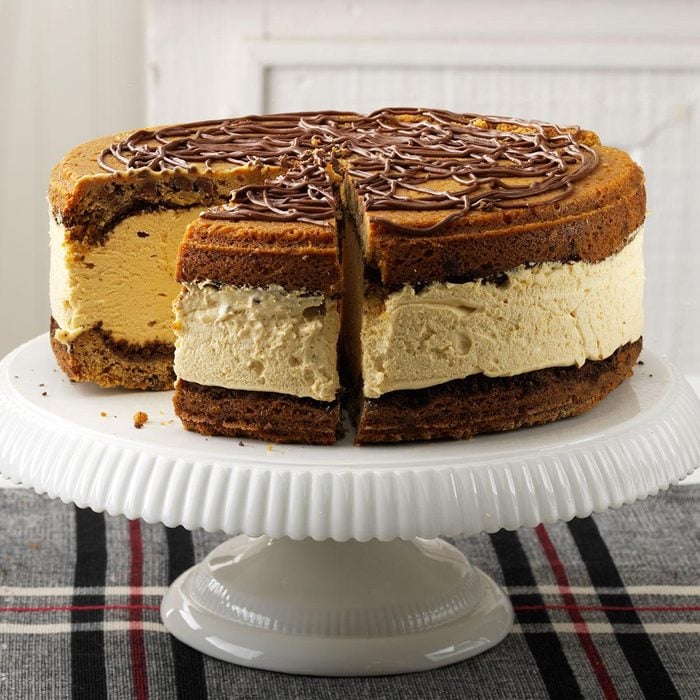
What a treat! This ice cream sandwich is so big it feeds 12 people. Peanut butter lovers will swoon over the creamy, peanut butter-cheesecake-ice cream filling between two giant peanut butter "cookies."
I created this giant peanut butter cookie cake for my husband, adding light and low-fat products to the cookie dough. It was so fantastic that I fixed it with conventional ingredients for guests. Since it can be made ahead of time and frozen, it cuts stress for busy hostesses. And really, who doesn't love peanut butter ice cream? —Recipe contributor Joann Belack, Bradenton, Florida
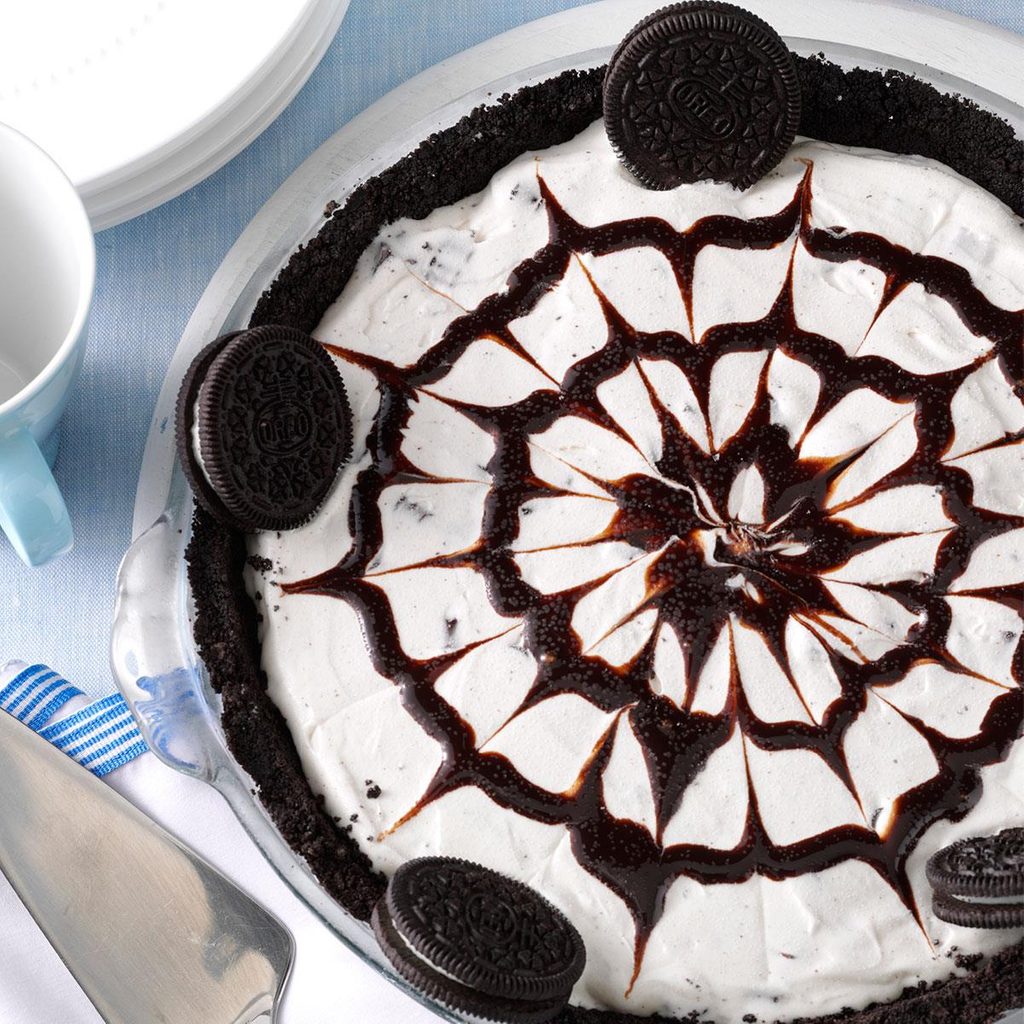
Frozen Mud PieTotal Time: 40 minutes + freezing
Main Ingredients: Coffee or chocolate chip ice cream, Oreo cookies, butter, chocolate syrup
Level: Intermediate
Even with a homemade crust, this ice cream pie is simple to make and looks so tempting. We love it with
coffee ice cream, but try other flavors too, like fudge ripple, caramel swirl or Irish cream.
Here's one of those "looks like you fussed" desserts that is so easy it's become a standard for me. I love the mocha version, but pure chocolate lovers may prefer using chocolate chip ice cream. The cookie crust is a snap to make. —Recipe contributor Debbie Terenzini-Wilkerson, Lusby, Maryland
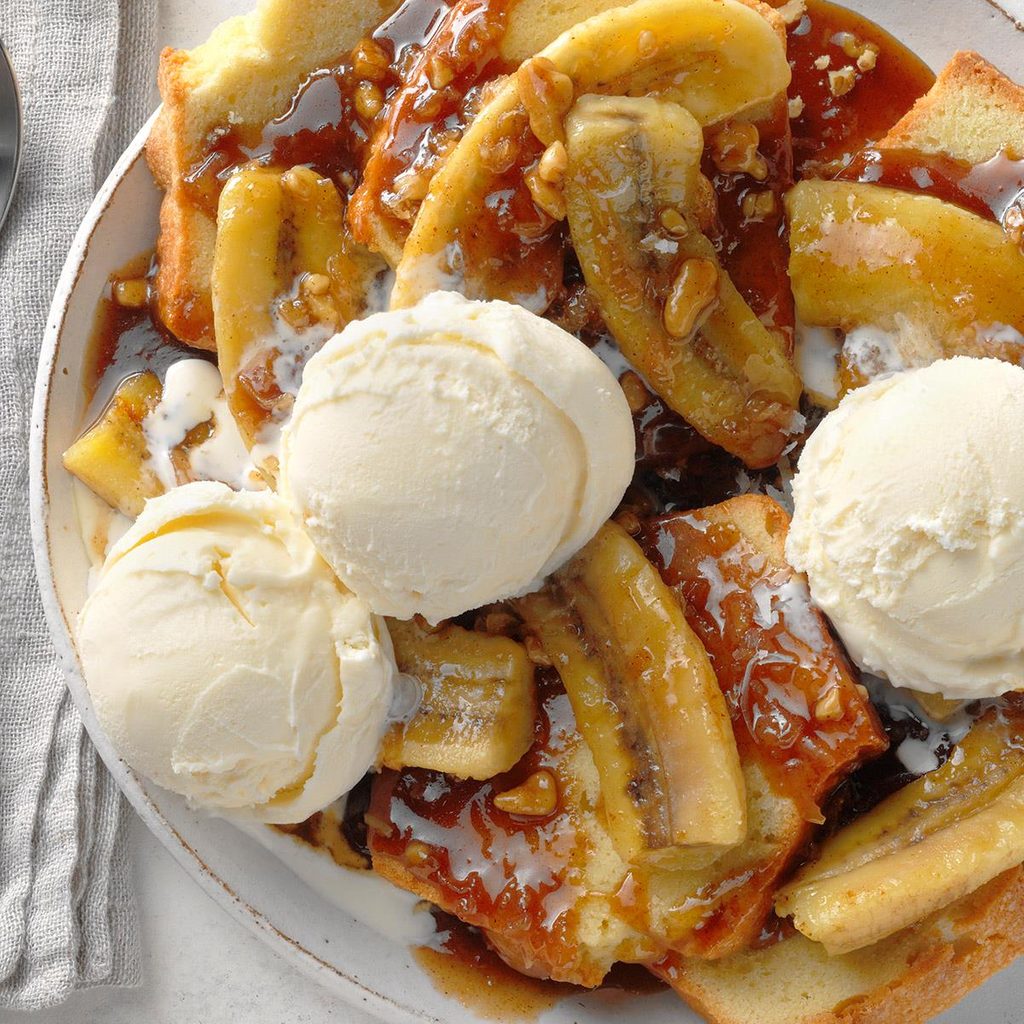
Slow-Cooker Bananas FosterTotal Time: 2 hours, 10 minutes
Main Ingredients: Bananas, brown sugar, butter, rum, walnuts, vanilla ice cream
Level: Beginner
An ice cream recipe in a slow cooker? Yes—it's for the sauce. What a clever way to make this rich, rum-sweetened banana topping that tastes absolutely divine spooned over vanilla ice cream.
The flavors of caramel, rum and walnut naturally complement fresh bananas in this version of a dessert classic. It's my go-to choice for any family get-together. —Recipe contributor Crystal Bruns, Iliff, Colorado
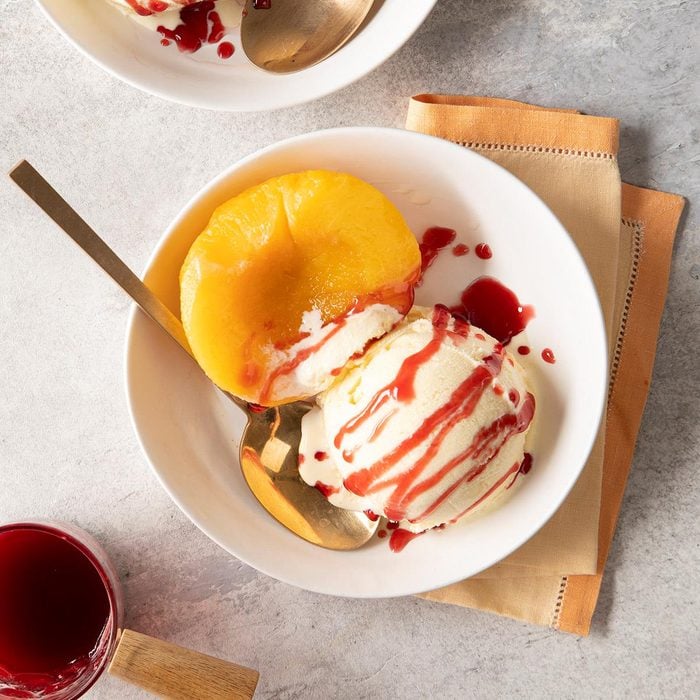
Peach MelbaTotal Time: 50 minutes + chilling
Main Ingredients: Peaches, lemon juice, sugar, raspberry jam, vanilla ice cream
Level: Intermediate
Peach melba is proof that a sophisticated dessert doesn't have to be complicated. Poach peach halves in lemon and sugar until tender, then chill and serve with ice cream. It's a lovely dish to make with freshly picked summer peaches. Use leftover fruit in any of these
peach recipes.
It's simple to prepare a memorable dessert for just you and someone else. Straight from our Test Kitchen, this yummy classic peach melba recipe features fresh peaches and a super delicious raspberry sauce for drizzling. —Taste of Home
Test Kitchen
Gluten-Free Ice Cream SandwichesTotal Time: 30 minutes + freezing
Main Ingredients: Rice flour, butter, egg, cocoa, sugar, vanilla ice cream
Level: Beginner
No need to
convert your recipe to a gluten-free version. Soft, gluten-free chocolate cookies use ingredients like xanthan gum, potato starch and tapioca flour to achieve the right texture. Look for GF ingredients in the baking aisle from brands like Bob's Red Mill. Sandwich the cookies with vanilla or any flavor ice cream you like.
These chilly gluten-free ice cream sandwiches are perfect for hot, sunny days. The gluten-free chocolate cookie is so tasty you could eat it plain…but you won't want to miss out on the ice cream! —Taste of Home
Test Kitchen
Rainbow Sherbet Angel Food CakeTotal Time: 25 minutes + freezing
Main Ingredients: Prepared angel food cake, rainbow sherbet, whipping cream, confectioners' sugar
Level: Intermediate
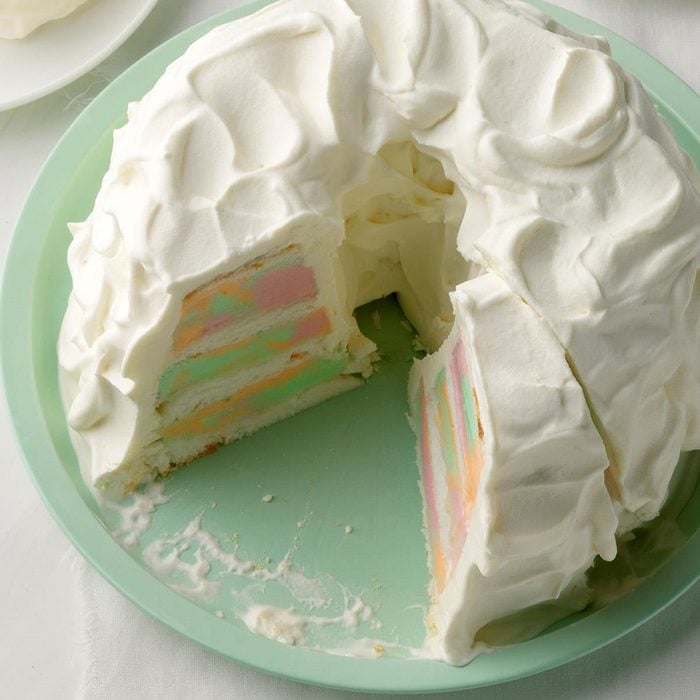
Turn an ordinary angel food cake into a colorful, frozen dessert. Rainbow sherbet creates a tie-dye effect between the layers, and the fruit flavors are delicious with the light cake and clouds of sweetened whipped cream.
Talk about a dessert that pops off the plate! Sometimes I make this easy cake even more eye-catching by tinting the whipped cream. Use whatever sherbet flavor combination you like. —Recipe contributor Bonnie Hawkins, Elkhorn, Wisconsin
TartufoTotal Time: 20 minutes + freezing
Main Ingredients: Chocolate ice cream, vanilla ice cream, amaretti cookies, Amarena cherries, dark chocolate chips
Level: Beginner
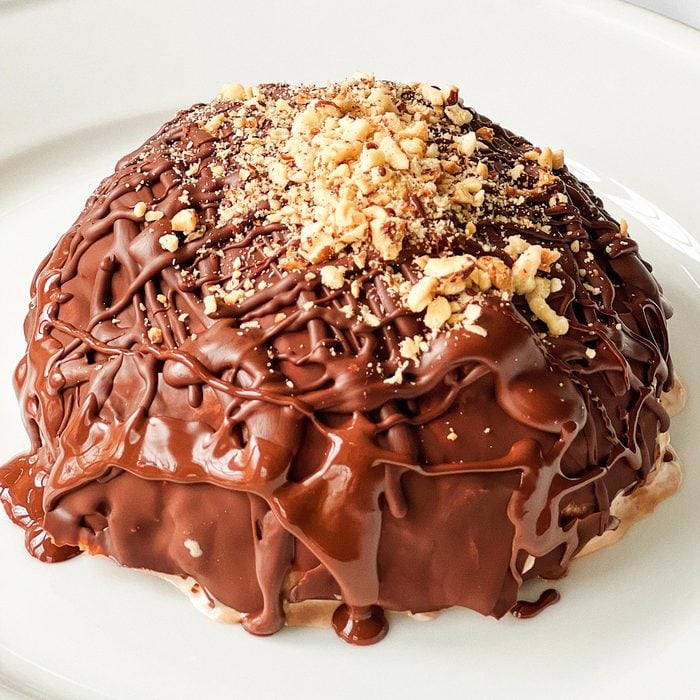
Tartufo is an impressive ice cream dessert that anyone can make. Just use a large mixing bowl to create layers of ice cream, crushed amaretti cookies, cherries and fudge sauce. The chocolate covering the tartufo is homemade "
magic shell" chocolate sauce. (This is a fun one to make with kids.)
This dome-shaped dessert hails from Calabria, in Southern Italy. It's made with ice cream, filled with cookies and enrobed in rich dark chocolate. —Recipe contributor Anna Francese Gass, New Canaan, Connecticut
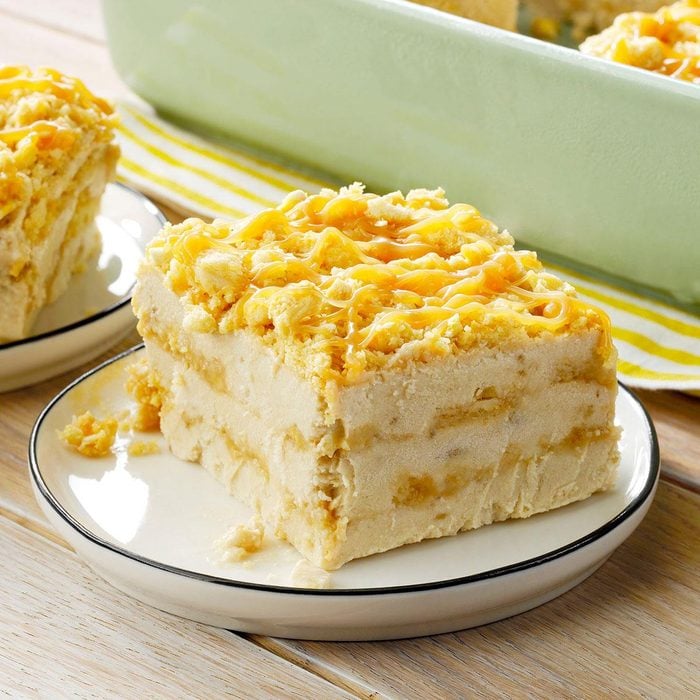
Coconut-Lemon Ice Cream CakeTotal Time: 30 minutes + freezing
Main Ingredients: Shortbread cookies, cream of coconut, lemon juice, vanilla ice cream, whipped topping
Level: Intermediate
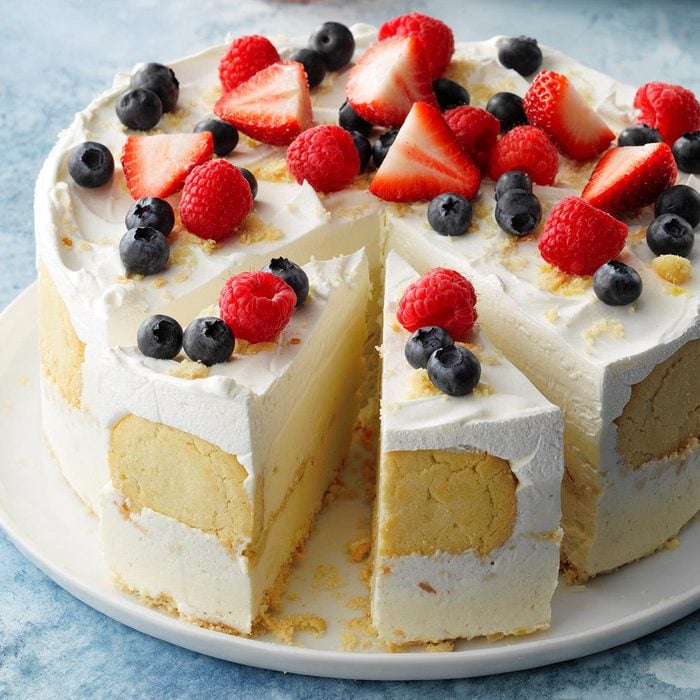
The no-bake crust of this ice cream cake is a blend of buttery
shortbread cookies, shredded coconut and macadamia nuts. Coconut and lemon in the vanilla ice cream filling are delicious together. Make this dessert for spring and summer celebrations.
I developed this cool treat because I wanted to find a new use for cream of coconut. The sweet coconut combines beautifully with the tart lemon juice, and the streusel adds a nice crunch. Look for cream of coconut in the cocktail mixer section of your grocery store. —Recipe contributor Janet Gill, Canton, Ohio
All-American Banana SplitTotal Time: 5 minutes
Main Ingredients: Banana, vanilla, chocolate and strawberry ice creams, strawberries, pineapple, whipped cream
Level: Beginner
Everyone should know how to make a banana split! This staple of old-fashioned ice cream shops and soda fountains is ideal for sharing and has something for everyone: fruit, peanuts, chocolate sauce and three kinds of ice cream.
In 1904, the first banana split recipe was made here in Latrobe, Pennsylvania, by David Strickler, an apprentice pharmacist at a local drugstore. We still use his original formula when we make banana splits in our restaurants. —Recipe contributor Melissa Blystone, Latrobe, Pennsylvania
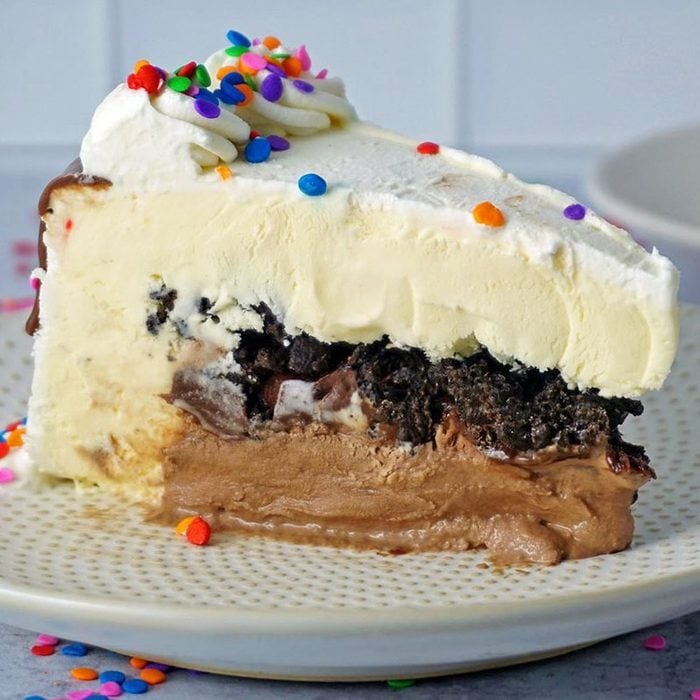
Copycat DQ Ice Cream CakeTotal Time: 1 hour, 10 minutes + freezing
Main Ingredients: Vanilla and chocolate ice creams, Oreo cookies, Magic Shell chocolate sauce, chocolate chips, whipping cream
Level: Advanced
Our recipe shows you how to replicate Dairy Queen's famous ice cream cake. You'll need a standard springform pan, and yes, springforms are
used for more than cheesecake. The cake includes layers of ice cream, homemade ganache and a chocolate cookie crust.
You don't have to be a baker to make this ice cream cake for your next celebration! —Recipe contributor Lauren Habermehl, Milwaukee, Wisconsin
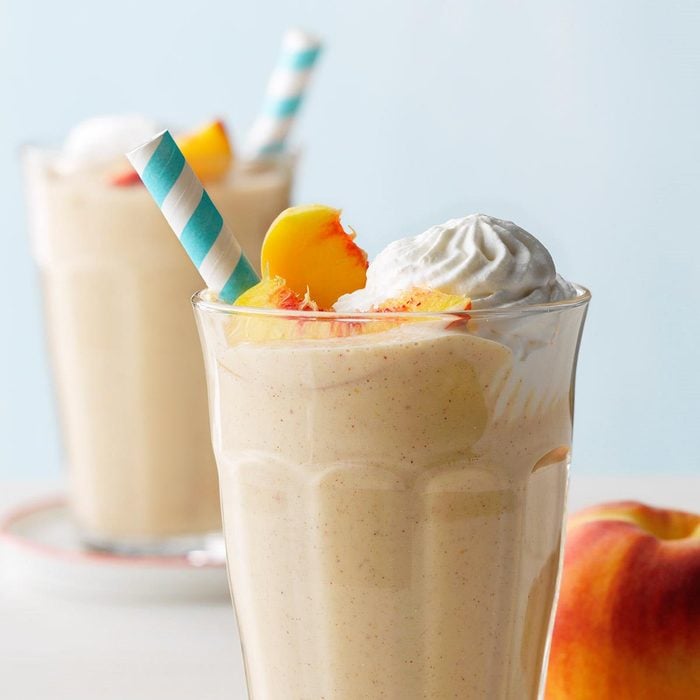
Peachy Buttermilk ShakesTotal Time: 10 minutes
Main Ingredients: Fresh or frozen peaches, buttermilk, vanilla ice cream, cinnamon
Level: Beginner
A splash of buttermilk in these milkshakes complements the sweetness of peaches and vanilla ice cream. This recipe is a great way to use freshly picked peaches when they're in season.
The tang of buttermilk blended with sweet peaches prompts frequent requests for this shake from my husband and grandchildren. —Recipe contributor Anna Mayer, Fort Branch, Indiana
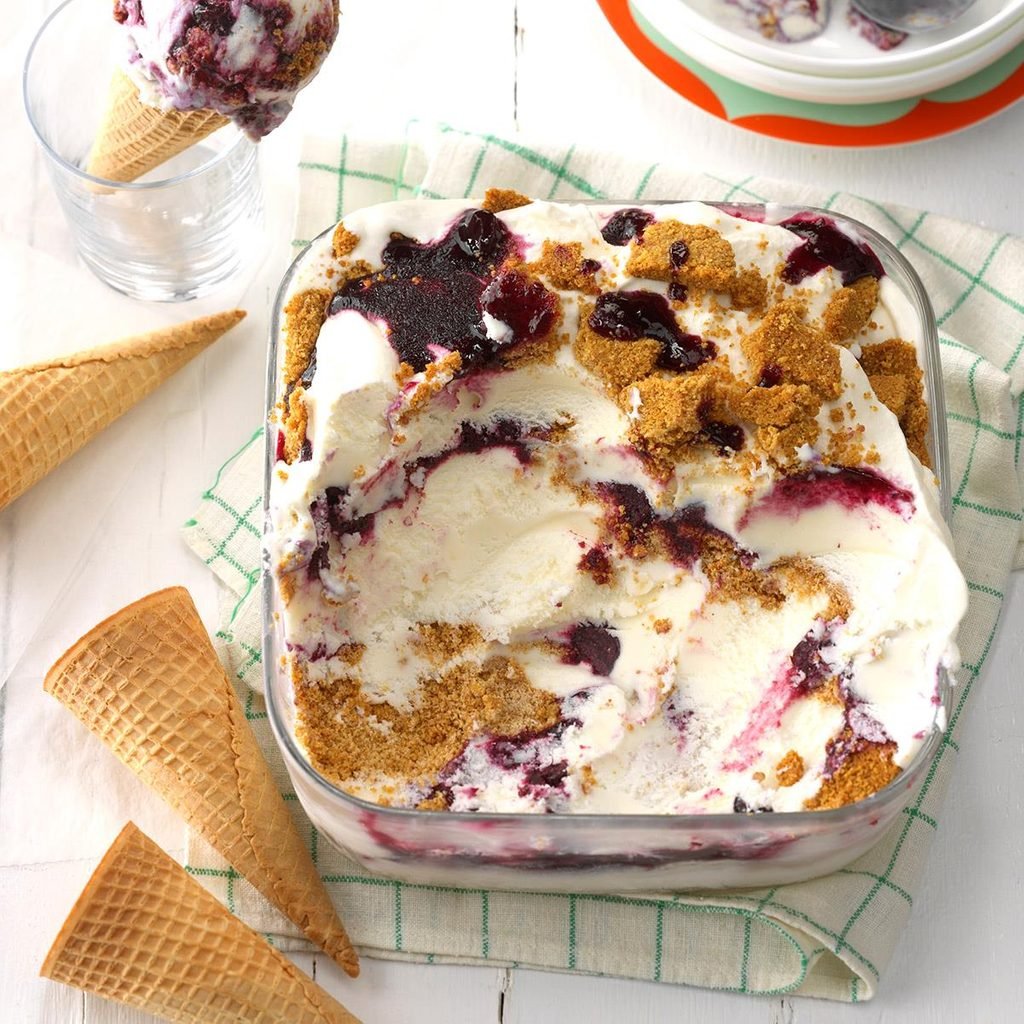
Blueberry Cheesecake Ice CreamTotal Time: 1 hour, 15 minutes + chilling and freezing
Main Ingredients: Fresh or frozen blueberries, whipping cream, instant pudding or cheesecake mix, graham crackers, sugar
Level: Advanced
Use your ice cream maker to churn a cheesecake-flavored ice cream, then swirl in an easy homemade blueberry sauce and graham cracker crumble. Enjoy this treat in dishes or scooped into a sugar cone.
After sampling this flavor at an ice cream stand, I kept trying to duplicate it until it was just right. This blueberry cheesecake ice cream is a hit! —Recipe contributor Melissa Symington, Neche, North Dakota
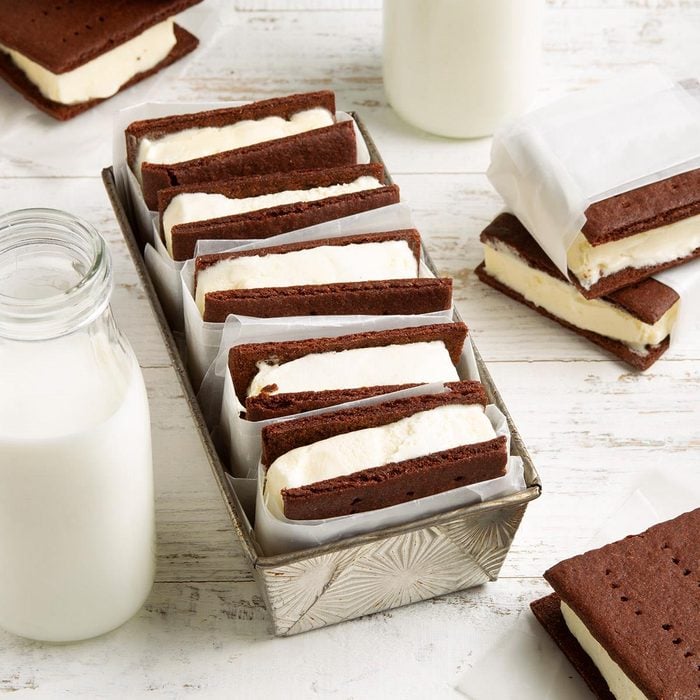
Homemade Ice Cream SandwichesTotal Time: 35 minutes + freezing and cooling
Main Ingredients: Chocolate cake mix, egg, butter, shortening, vanilla ice cream
Level: Intermediate
Did you know you could make those chocolate ice cream sandwich wafers at home? They're delicious, and making your own means you can add any flavor of ice cream you want between them.
Why settle for store-bought ice cream sandwiches when you can have ones that taste even better and aren't that difficult to make? —Recipe contributor Kea Fisher, Bridger, Montana
Bananas Foster Frozen Protein DessertTotal Time: 35 minutes + freezing
Main Ingredients: Freeze-dried bananas, ripe bananas, cottage cheese, vanilla sandwich cookies, coconut sugar
Level: Intermediate
Instead of ice cream, the creamy layers in these frozen cookie bars are made with protein-filled cottage cheese (which
recently made a comeback) and bananas. The dessert is even better with a drizzle of
salted caramel sauce.
I love this recipe because it's decadent while still on the healthy side. It's high in protein too, so it feels like an indulgence while still providing good fuel for the body. —Recipe contributor Liz McLaughlin, Ramona, California
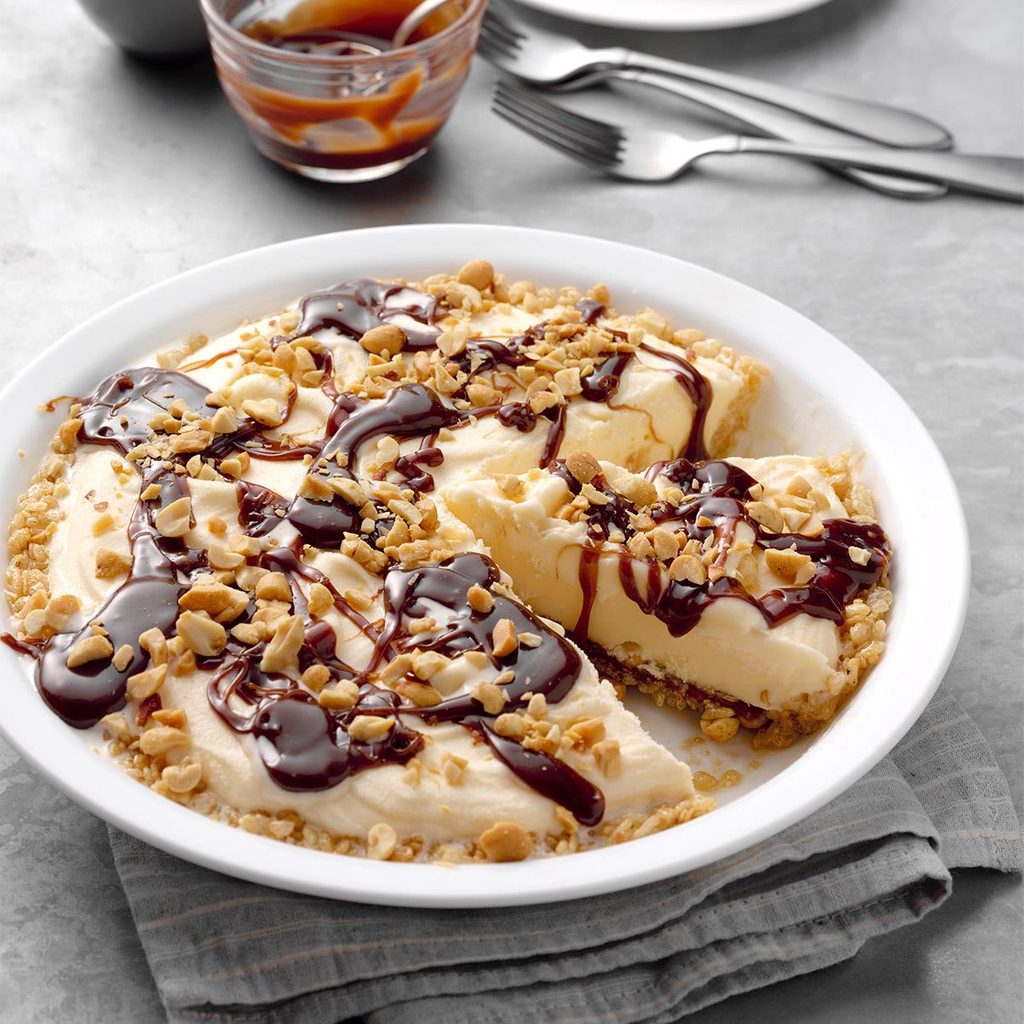
Fudge Sundae PieTotal Time: 20 minutes + freezing
Main Ingredients: Vanilla frozen yogurt, peanut butter, hot fudge topping, rice cereal
Level: Beginner
This ice cream pie has an intriguing caramel and rice cereal crust. It holds vanilla frozen yogurt and a ridiculously good peanut butter-hot fudge sauce.
My son always asks for this guilt-free frozen yogurt pie for his birthday. Complete with peanut butter, fudge topping and nuts, it tastes ice cream parlor–good…but it's healthier. —Recipe contributor Margaret Hanson-Maddox, Montpelier, Indiana
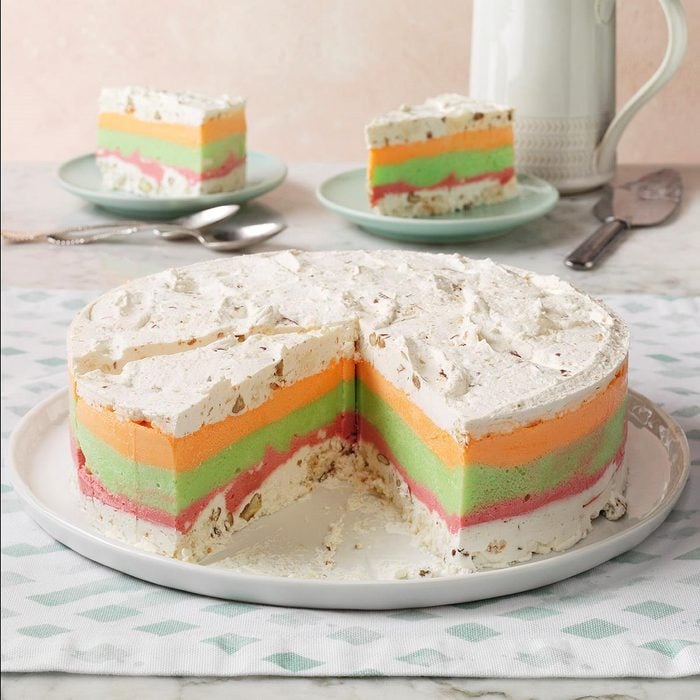
Layered Sherbet DessertTotal Time: 30 minutes + freezing
Main Ingredients: Raspberry, lime and orange sherbets, macaroon cookies, whipping cream, pecans
Level: Intermediate
Slice into this sherbet cake to reveal gorgeous, fluorescent stripes of fruity sherbet, nestled between "crusts" of whipped cream with toasted macaroon cookies. There are plenty of ways to change up this dessert, like substituting
gelato or different nuts and garnishing with fresh fruit.
Macaroons and pecans combine in this special layered sherbet dessert. Try garnishing with fresh strawberries and just listen to folks "ooh" and "ahh" when you bring this in! —Recipe contributor Kathryn Dunn, Axton, Virginia
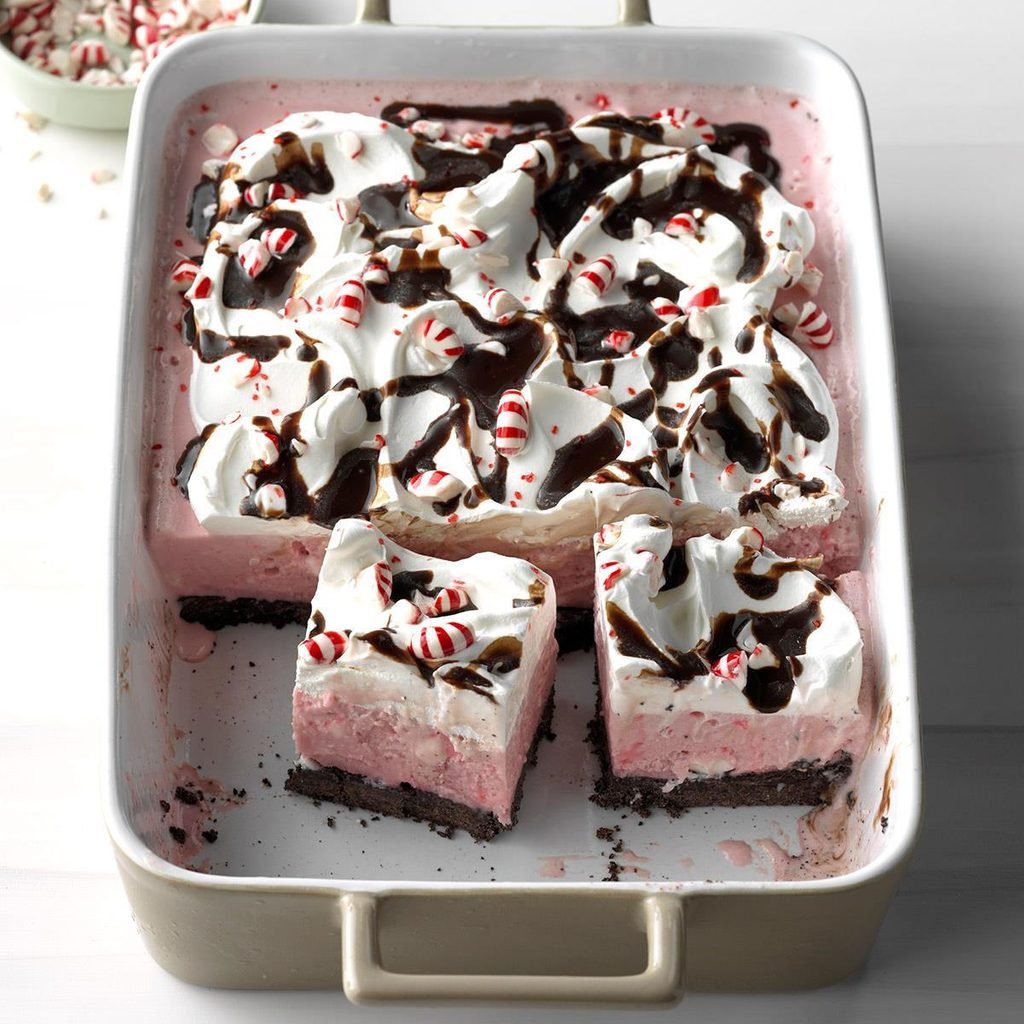
Frozen Peppermint DelightTotal Time: 25 minutes + freezing
Main Ingredients: Peppermint ice cream, whipped topping, Oreo cookies, hot fudge topping
Level: Intermediate
It couldn't be easier to make, yet this dessert is attractive and so delicious. Serve up slices of this minty ice cream around the holidays, or make it in the summer for a refreshing treat.
If you're looking for a dessert that's festive, delicious and easy to make, this is the one for you. Drizzled in hot fudge sauce and loaded with pretty peppermint pieces, this almost tempting treat will have guests asking for seconds. —Recipe contributor Pam Lancaster, Willis, Virginia
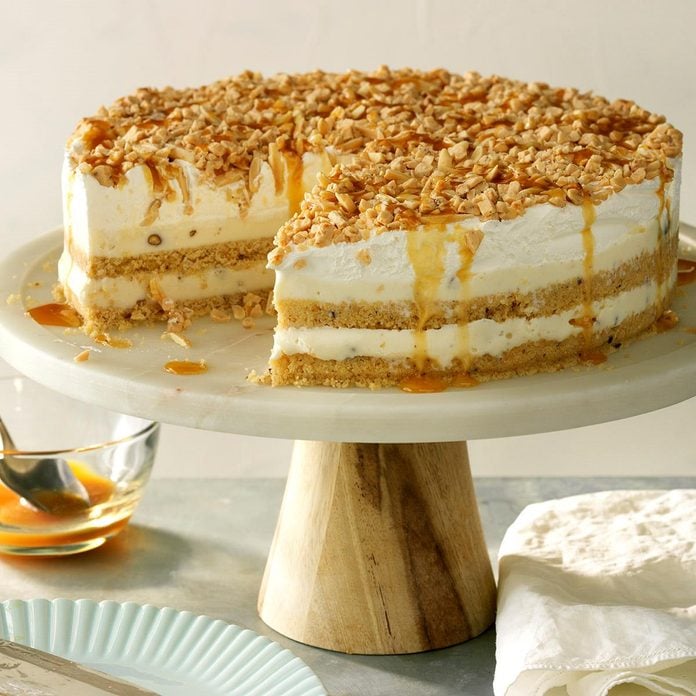
Nutty Caramel Ice Cream CakeTotal Time: 30 minutes + freezing
Main Ingredients: Butter pecan ice cream, pecan shortbread cookies, slivered almonds, chocolate English toffee bits
Level: Intermediate
This frozen dessert is a celebration of buttery, nutty and caramel flavors. Choose a good quality ice cream or make your own
butter pecan ice cream from scratch. Give each slice a generous drizzle of caramel sauce.
We made this frozen treat for a family birthday party, and we received endless comments on it. It's truly fantastic! Be sure to try the recipe with other ice cream flavors. —Recipe contributor Tina Stelzl, Waxhaw, North Carolina
Easy Strawberry Cheesecake Ice CreamTotal Time: 40 minutes + freezing
Main Ingredients: Fresh strawberries, heavy cream, half-and-half, lemon juice and zest, cream cheese
Level: Beginner
Not just ordinary strawberry ice cream—this one has a silky cheesecake texture and loads of fresh strawberries. This flavor is delectable on its own, but also a great choice to layer into an ice cream cake or to use as the base for a hot fudge sundae.
When I got my ice cream maker, a friend shared her dreamy freezy cheesecake recipe. For guests, I scoop this into tart shells. —Recipe contributor Joan Hallford, North Richland Hills, Texas
Ice Cream Sandwich CakeTotal Time: 10 minutes + freezing
Main Ingredients: Ice cream sandwiches, caramel topping, chocolate syrup, whipped topping, candy bars
Level: Beginner
Use store-bought ice cream sandwiches to assemble this quick, sliceable ice cream dessert. It fits into a 13x9-inch baking dish, and the sandwiches are smothered in two kinds of dessert toppings, whipped cream and chopped caramel candy bars. Whoa!
It takes 10 minutes tops to prepare this cool ice cream sandwich cake, but it tastes like you spent a lot of time creating it. —Recipe contributor Cathie Valentine, Graniteville, South Carolina
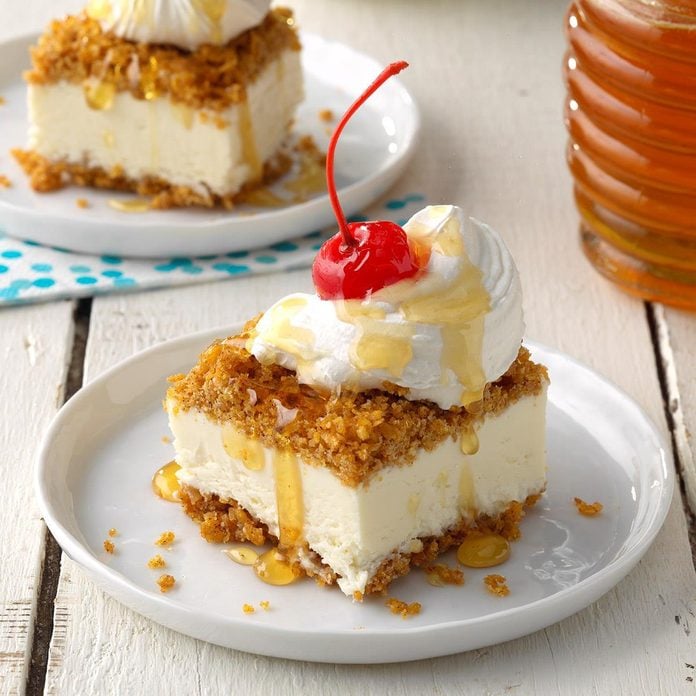
Fried Ice Cream Dessert BarsTotal Time: 30 minutes + freezing and cooling
Main Ingredients: Whipping cream, sweetened condensed milk, cornflakes, butter, cinnamon
Level: Intermediate
The flavor of crunchy cornflakes toasted in butter and cinnamon is heavenly with the creamy vanilla filling in this dessert. Top slices with fresh fruit, whipped cream and drizzles of maple syrup or honey.
Fried ice cream is such a delicious treat, but it can be a hassle to make individual servings. This recipe gives you the same fabulous flavor in an easy and convenient bar form. —Recipe contributor Andrea Price, Grafton, Wisconsin
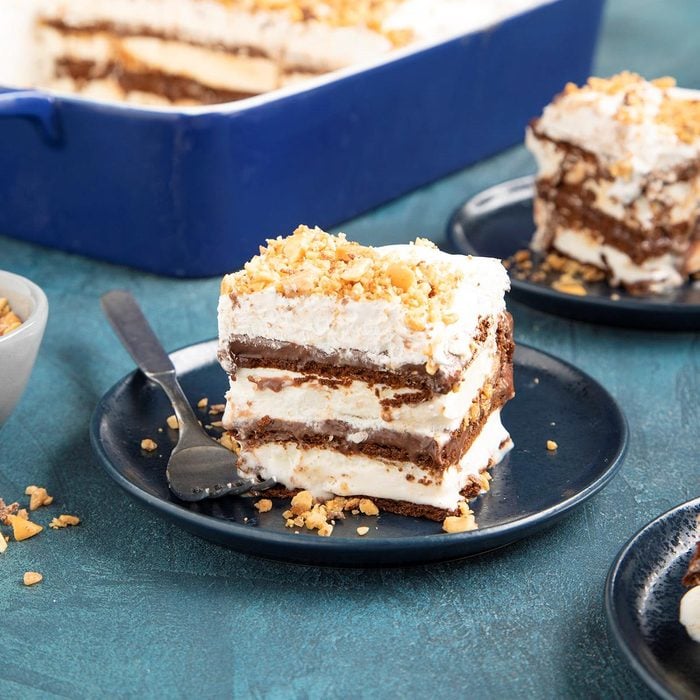
Easy Ice Cream Sandwich CakeTotal Time: 20 minutes + freezing
Main Ingredients: Ice cream sandwiches, Heath candy bars, hot fudge sauce, whipped topping, peanuts
Level: Beginner
Forget the usual sheet cake—your new go-to choice for birthdays and other special occasions is this decadent ice cream sandwich cake! It takes no time to put together and makes more than enough to feed everyone at the party.
Impress guests with this gooey, chocolaty can't-resist ice cream sandwich cake. They'll never guess it's store-bought treats dressed up! —Taste of Home
Test Kitchen
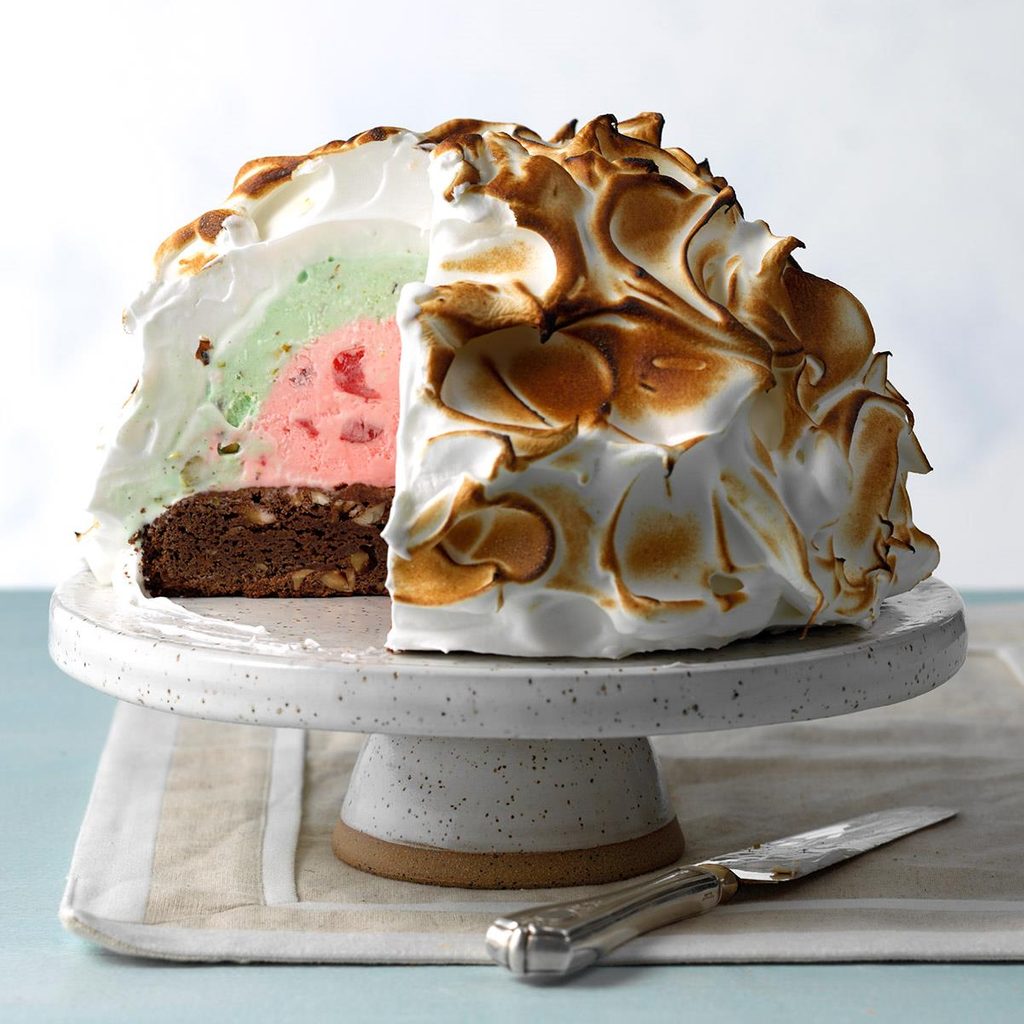
Spumoni Baked AlaskaTotal Time: 55 minutes + freezing
Main Ingredients: Pistachios, hazelnuts, maraschino cherries and juice, vanilla ice cream, egg whites, unsweetened chocolate, sugar
Level: Advanced
Italian spumoni layers three kinds of gelato together: pistachio, chocolate and cherry. Our baked Alaska version has these flavors too: pistachio and cherry ice creams on a chocolate brownie base and covered by a swirled meringue shell.
For a dazzling yet refreshing end to a rich holiday meal, try this freezer finale. It's bound to garner oohs and aahs. —Taste of Home
Test Kitchen
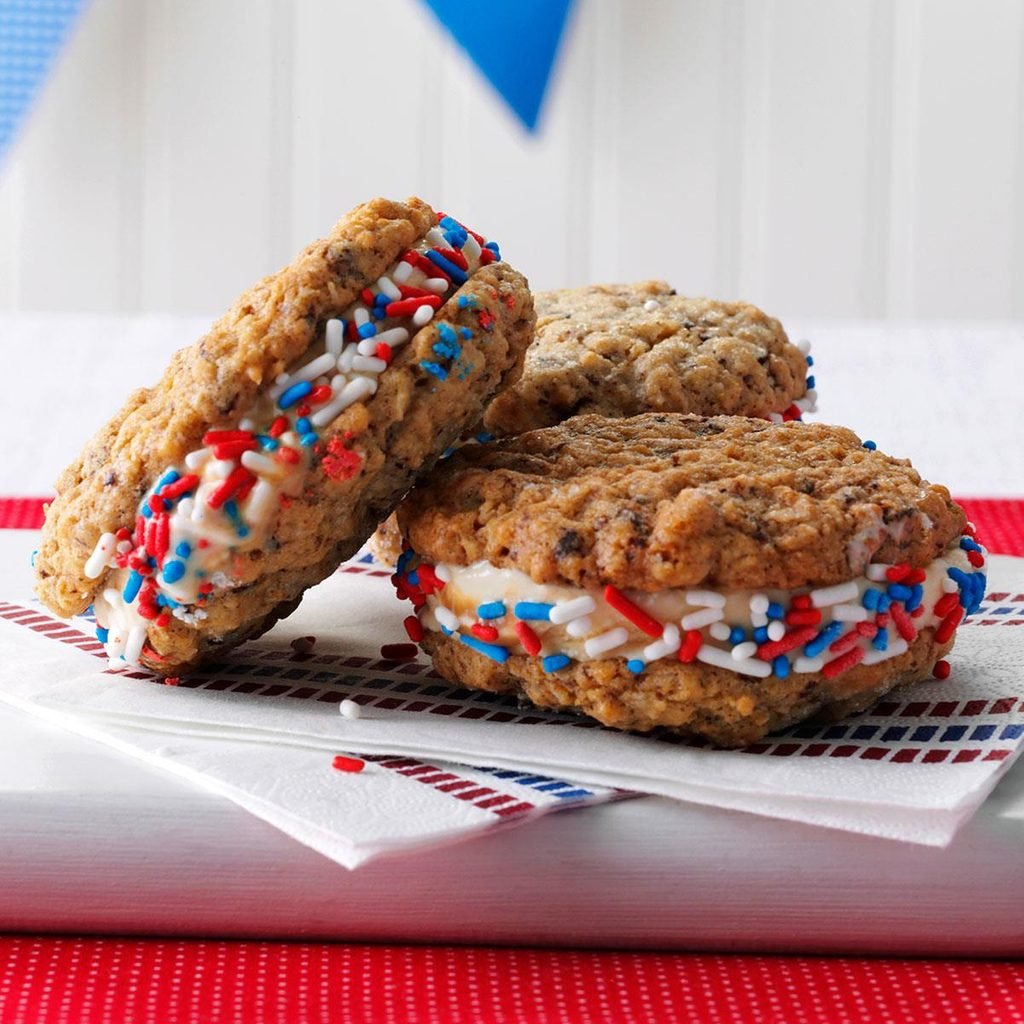
Oatmeal Cookie Ice Cream SandwichesTotal Time: 45 minutes + freezing
Main Ingredients: Oats, butter, cinnamon, chocolate chips, dulce de leche ice cream, toffee bits
Level: Intermediate
These ice cream sandwiches look just like
oatmeal cream pies, but they're far superior. Homemade oatmeal chocolate chip cookies hold a sweet, caramel-flavored ice cream filling.
If you're tight on time, you can use store-bought cookies, but I highly recommend making these oatmeal chocolate cookies from scratch. The dessert sandwiches are pure fun. Sometimes I decorate the sides of the sandwiches with colorful jimmies too. —Recipe contributor Diane Halferty, Corpus Christi, Texas
Ice Cream Desserts FAQ
What is the most popular ice cream dessert?
It's difficult to choose just one! I love
ice cream cakes to celebrate summer birthdays and other special occasions. Ice cream sandwiches are a top pick too, since they're easy to serve and combine ice cream with another favorite dessert: cookies!
Which ice cream desserts are classic recipes?
For generations, ice cream shops, soda fountains and dairy bars have served milkshakes and ice cream sundaes. Ice cream floats are another classic from this era. Even older than these ice cream creations is baked Alaska: layers of ice cream and cake covered in a meringue shell that's toasted a golden brown. Baked Alaska first appeared on dessert tables in 1867.
Can I make a dairy-free ice cream dessert?
Yes! Many of the ice cream desserts in our collection feature store-bought ice creams layered with other ingredients. Replace regular ice cream with a dairy-free or
vegan ice cream brand. Recipes that create ice cream from scratch are made from dairy ingredients like whipping cream and half-and-half. Simple swaps for nondairy ingredients don't work as well in these recipes, as they can affect the flavor and texture. To make dairy-free ice cream from scratch, try a specific recipe for the dish, such as this
coconut milk ice cream.
