How to Make Depression-Era Water Pie

Updated: Dec. 08, 2023
This unusual pie has gotten a lot of attention on social media lately, so we decided to test a water pie for ourselves.
From Hoover stew to aspic to tomato soup cake, it seems vintage recipes hold a strange fascination for a new audience: social media influencers. Of particular interest since the beginning of the coronavirus pandemic is a strange, retro recipe for water pie.
When I announced to my family that we would try out a water pie, their reaction was skepticism mixed with dread. My son had recently seen someone try this pie on TikTok, so he had a sense of what we were in for. Nevertheless, they bravely agreed to join me in testing this unusual dessert.
What Is Water Pie?
This and other “desperation pies” were created during the lean years of the Great Depression, examples of home cooking ingenuity born from making do with what few ingredients a family could afford. But water pie really takes it to the extreme: though it has sugar for sweetness, and butter and vanilla for flavor, the pie filling really is made mostly of water. A tiny amount of flour is the only thing holding the filling together. And you don’t even have to stir it.
Interestingly, I couldn’t find a single recipe for water pie in any of my vintage cookbooks, even though there is evidence that it’s truly a Depression-era creation. So many vintage recipes hold such strong feelings of nostalgia and get handed down through families—wacky cake is a favorite of ours. It would seem, however, that folks didn’t hold much sentiment for the water pie!
How do you save money on groceries? Share your tips with us!
How to Make Water Pie
I tested the water Pie pecipe shared by Southern Plate, which makes one 9-inch pie. The recipe calls for a deep-dish pie shell, but my regular 9-inch pie shell worked just fine. This serves between 4-6 people. Allow time for the pie to cool and be chilled.
Ingredients

- 1 9-inch unbaked pie shell, chilled
- 1-1/2 cups water
- 1/4 cup all-purpose flour
- 1 cup granulated sugar
- 2 teaspoons vanilla extract
- 5 tablespoons butter, cut into thin slices
- Optional: a pinch of cinnamon
Equipment You’ll Need
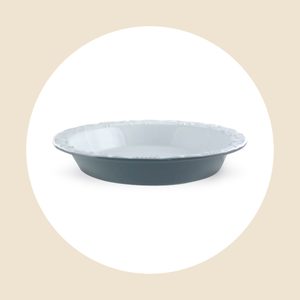


- 9-inch pie plate: This stoneware pie dish is one of our Test Kitchen’s favorites.
- Foil: This will protect the pie crust from over-browning.
- Baking sheet: Since the pie filling is so liquid, this will prevent it from slopping over the edges into your oven.
Directions
Step 1: Start with the water
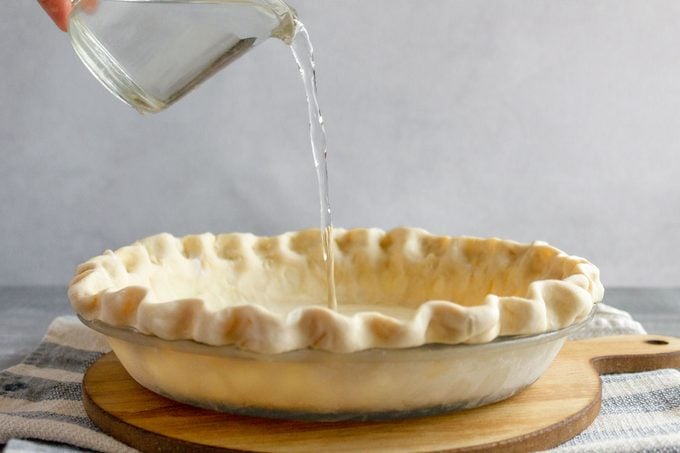
Preheat the oven to 400°F. Move the oven rack down one notch—this helps the bottom crust brown. Pour the water into the cold, unbaked pie shell.
Step 2: Add the rest of the ingredients

Mix the flour and sugar together in a small bowl. Sprinkle the mixture over the water in the pie shell. Do not stir. Add in the vanilla, and then drop in the thin slices of butter. If using, sprinkle the cinnamon over the top.
Step 3: Bake
Set the pie dish on a baking sheet, then place them in the oven. (Since the filling is so watery the baking sheet makes it easier to move and catches any sloshes.) Bake the pie for 30 minutes. Reduce the heat to 375ºF and cover the crust edges with foil to prevent over-browning. Bake the pie for 30 minutes longer.
Editor’s Tip: If you’re new to this foil technique, check out how our Test Kitchen makes a pie crust shield.
Step 4: Cool, then chill the pie
Remove the pie from the oven—it will look very liquidy, but that’s okay. Let the pie cool on a rack until it reaches room temperature. Then, cover the pie with plastic wrap and place it in the fridge. Chill the pie for at least four hours or overnight, so that it’s completely set and cold.
Step 5: Slice
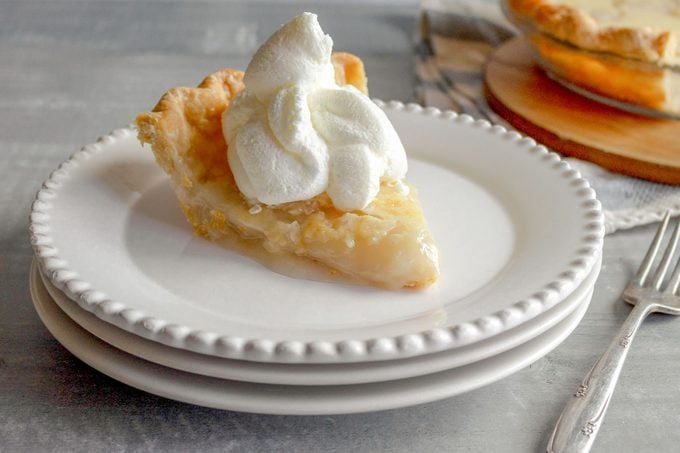
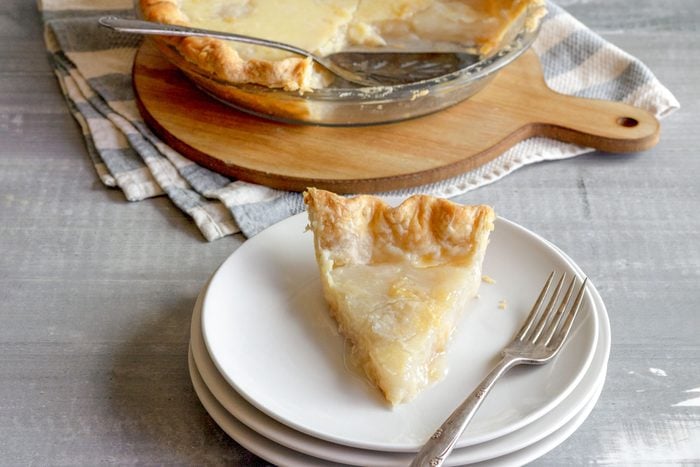
Use a sharp knife to cut slices of the pie, being careful of the soft filling. The butter may create a firm layer over the top; running your knife under hot water first will help it cut through more cleanly. Serve the slices right away while cool, with whipped cream if you’d like.
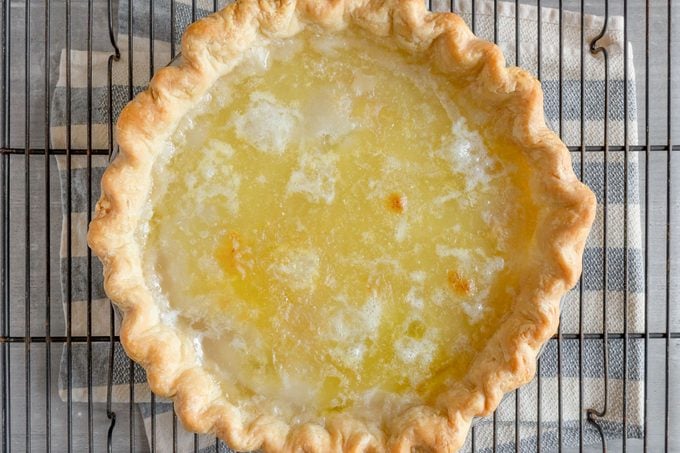
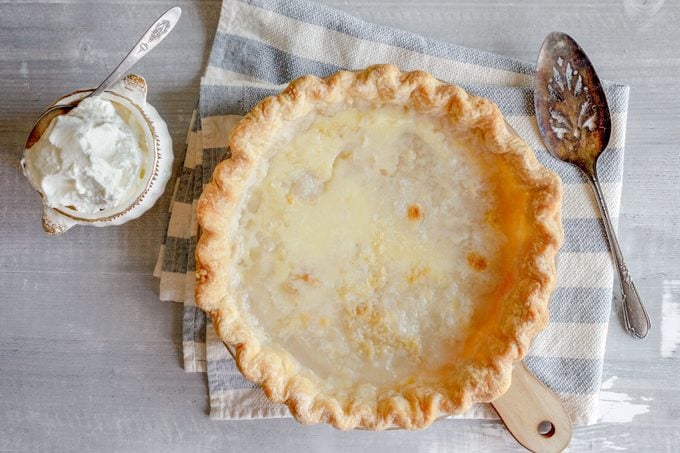
What It Looked Like After Baking
When I pulled this pie from the oven, it was pretty liquidy and a little bubbly, with puddles of melted butter visible across the surface. The very top of the pie had a thin film that was set, and underneath it, I could see the fluid filling swirling around. That’s why the pie needs two stages of cooling: one to come down to room temperature, followed by a thorough chilling in the fridge. Only then is the filling set enough to slice.
Here’s What I Thought
My family and I have never had a pie like this, and we weren’t sure what to expect. We found the water pie filling to be very sweet, like eating sugar water. The texture is interesting because it has the wobbliness of flan, but as soon as you take a bite it completely dissolves in your mouth.
The verdict from my son and husband is that water pie is better than you might expect. They liked the sweetness even though the texture was a little unexpected. Even though I love sweets, that texture was a deal-breaker for me as I don’t care for desserts that are custardy or jiggly. My husband had a second slice a day later—yes, he actually went back for more! He felt the flavor was better the next day, that the sweetness was more subtle and even maple-like.
Wondering if you should give this pie a try? If you love sweets and old-fashioned custard pies, water pie is certainly an interesting dessert and worth a try. It’s also a fun experiment for curious home bakers, young and old, to see the miracle of how just a little bit of flour can transform water into pie.
Originally Published: July 11, 2022