How to Grill Steak Like a Pro: A Step-by-Step Guide

Updated: Apr. 10, 2024
Want to make a juicy, perfectly seared steak in your own backyard? Our Test Kitchen experts will show you how to grill steak, and share a foolproof recipe.
Have you ever accidentally overcooked a steak? Unfortunately, you’re not alone. We once cooked a steak that was so well-done we could barely cut it with a steak knife. Slicing it was like sawing through a stack of denim! Luckily, mistakes like that are easy to learn from. For starters, it taught us the importance of using a meat thermometer and choosing the right steak for the job. We also realized that grilling over crazy-high heat wasn’t the only way to cook a steak. Our method of starting slow and finishing hot creates a steak that’s crispy on the outside and juicy on the inside. We’ll show you exactly how to grill steak for best-ever dinners.
On This Page
Tips for Purchasing Steak
There are a ton of options when it comes to selecting the best steak to grill, but don’t be overwhelmed. It’s easy to find a steak that fits your budget when you know what to look for.
Bone-in or Boneless Steaks?
Both taste great, but they cook slightly differently. Boneless meat cooks more quickly, and it’s easier to check the level of doneness using the poke test. Bone-in steaks turn out slightly juicier because the bone insulates the meat, helping the steak retain moisture. The meat next to the bone is slower to cook, though, so you’ll really want to use a thermometer for these steaks.
The Best Steaks for Grilling
Beef tenderloin, ribeye, New York strip, porterhouse or T-bone steaks will all taste great on the grill. Beef tenderloin (also called filet mignon) is naturally tender, but usually the most expensive. This cut is great for kabobs, but we don’t love it for steak dinner. The filet’s lack of fat causes it to dry out more quickly on the grill than more forgiving, marbled cuts like ribeye, New York strip, porterhouse or T-bone.
If you’re looking for inexpensive steaks, look to cuts from the short loin like top sirloin or tri-tip. They have less marbling but more beefy flavor. Cuts from the plate (like flank or skirt steak) are also great for the grill. Keep in mind these steaks have more muscle fibers, so it’s best to put them on a marinade for 8 to 24 hours before hitting the grill.
The Worst Steaks for Grilling
Avoid any tough cuts that come from the round, chuck or brisket. They don’t do well with high-temperature grilling, and they’ll turn out tough and chewy. It’s much better to cook these cuts using low-and-slow braising or smoking temperatures.
Beef Quality Grades
In addition to the steak’s name, you’ll also find a USDA grading on beef.
- Prime cuts are the highest quality and have the most marbling, but they’re also the most expensive.
- Choice beef is generally our go-to choice for affordability. It won’t be quite as juicy as Prime cuts, but still good and flavorful and great for practicing how to grill steak.
- We tend to avoid Select beef for the grill. It has the least amount of fat and marbling, so it can easily dry out and taste less-than-stellar.
Japanese beef like Wagyu has its own grading system, but you can generally expect it to be as high quality as USDA Prime.
Psst! Debating between grass-fed and corn-fed beef? We can answer your questions.
How to Grill Steak
Ingredients
- 1 tablespoon garlic powder
- 1 tablespoon paprika
- 2 teaspoons dried ground thyme
- 2 teaspoons dried ground oregano
- 1-1/2 teaspoons pepper
- 1-1/2 teaspoons kosher salt
- 1 teaspoon lemon-pepper seasoning
- 1 teaspoon cayenne pepper
- 1 teaspoon crushed red pepper flakes
- 4 beef steaks (1 to 1-1/2 inches thick)
Essential Tools You’ll Need


- The best way to know when your steak is finished cooking is to use a thermometer. We usually use an instant-read thermometer for thinner steaks and a leave-in probe thermometer for thicker steaks.
- A sturdy set of long-handled tongs is another essential for most grilling activities. They allow you to grip and flip the steak without piercing it, keeping all those tasty steak juices inside.
- You’ll also want a sharp knife to carve the steak. A dull knife won’t bite into the steak’s surface, which can be pretty dangerous if the knife slips as you’re carving. While you certainly can get fancy with carving or boning knives, a regular chefs knife works just fine here. Once you have it, don’t forget to learn how to keep it sharp, too.
Check out these other grilling accessories that’ll take your steak to the next level.
Instructions
Step 1: Season the steak in advance
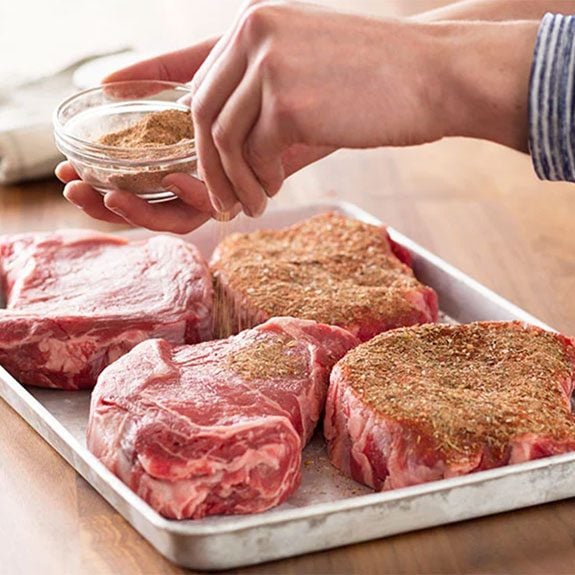
Steak is naturally flavorful, so you don’t have to use our recipe’s spice blend. You can substitute your favorite spice blend if you prefer, or just use salt and pepper. Be sure you always have salt in the mix, though; salt tenderizes the meat and allows the other seasonings to penetrate deeper into the steak.
In a small bowl, combine the seasonings and season the steaks, coating all the sides and pressing the spices into the meat to help them adhere. Chill the steaks, uncovered, for at least one hour or up to 24 hours.
Step 2: Dry the surface and let the steaks come to room temperature
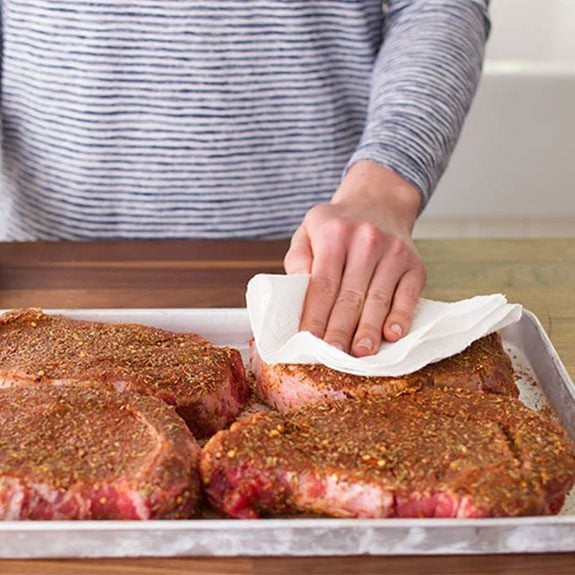
About 30 minutes to an hour before cooking, take the steaks out of the fridge. Blot them dry with paper towels to remove any excess moisture, leaving as much seasoning on as possible. Let the meat sit at room temperature for up to an hour before cooking.
Editor’s Tip: This step is crucial! Taking the chill off the steak encourages even cooking, and the steaks will sear more effectively if they have a very dry surface. Put them together, and you’ll end up with a perfectly-cooked steak with a gorgeous crust.
Step 3: Preheat and get ready to grill
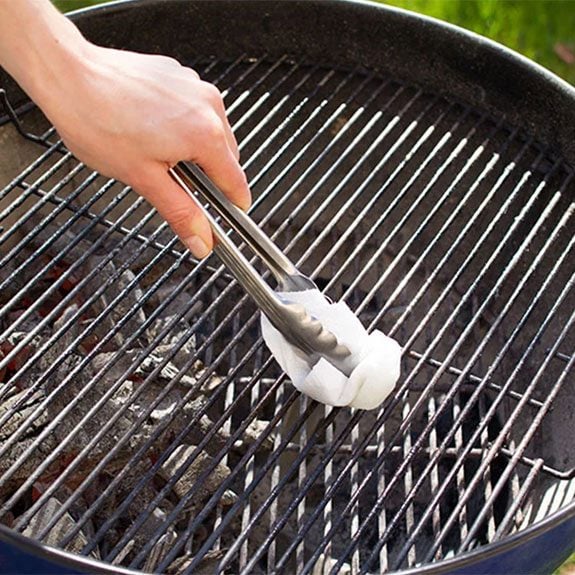
Preheat a gas or charcoal grill with a two-zone fire. This allows you to have a direct and indirect heat zone on the grill. (Learn more about direct vs. indirect heat.)
When the grill is preheated, clean and grease the rack. Place the steaks over the indirect heat side and cover the grill. Starting out on the low-heat side allows the steak to cook slowly, keeping the surface from drying out and burning before the interior reaches the proper temperature. Flip the steak about halfway through the cooking process (when it reaches about 80°F) so it cooks evenly on both sides.

Editor’s Tip: The time this step takes really depends on the temperature of your grill. If you don’t have a meat thermometer, cook the steak over direct, medium-high heat and refer to the timing guidelines in the steak doneness chart below.
Step 4: Move the steak to high heat
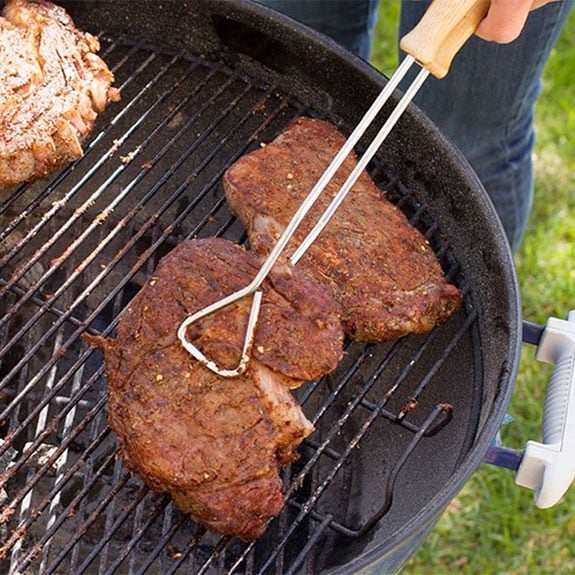
When the meat reaches 110°F, move the steaks to the direct heat side. Continue cooking until the meat reaches the desired level of doneness. Flip the steak frequently to get a golden-brown, crisp exterior.
Editor’s Tip: We’ve all heard the rumor that you should only flip steaks once, but you don’t actually want perfect crosshatched grill marks. The steak will taste better (and cook more evenly) if you brown it all over and flip it a few times.
How to Tell When Your Steak Is Done
We think most steaks are perfect when cooked to medium-rare temperatures, but everyone has different preferences. The best way to know when your steak has reached the proper doneness is to use an instant-read thermometer. When the steak is five degrees below the desired temperature, pull it off the grill — carryover cooking will occur and you’ll earn those extra five degrees as the steak rests.
If you don’t have a thermometer, cook the steak over direct, medium-high heat instead. You can use the estimated timing below for 1 to 1-1/2 inch thick steaks. (Cooking a thicker steak? We’ll tell you how to pull it off!)
| Rare (cool, red center): | 2 to 3 minutes per side, or 120 to 125°F |
|---|---|
| Medium-rare (warm, red center): | 4 to 5 minutes per side, or 130 to 135°F |
| Medium (warm, pink center): | 5 to 7 minutes per side, or 140 to 145°F |
| Medium-well (hot, slightly pink center): | 7 to 9 minutes per side, or 150 to 155°F |
| Well done (brown all the way through): | 9 to 12 minutes per side, or 160 to 165°F |
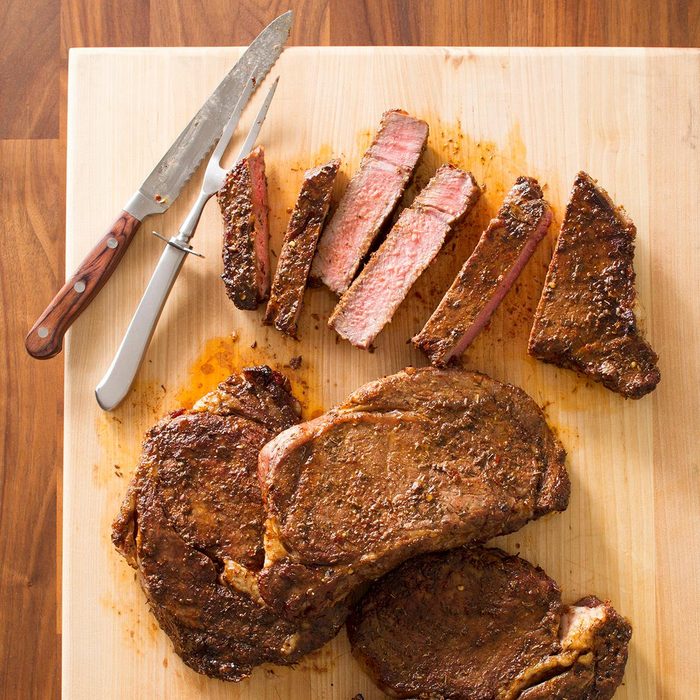
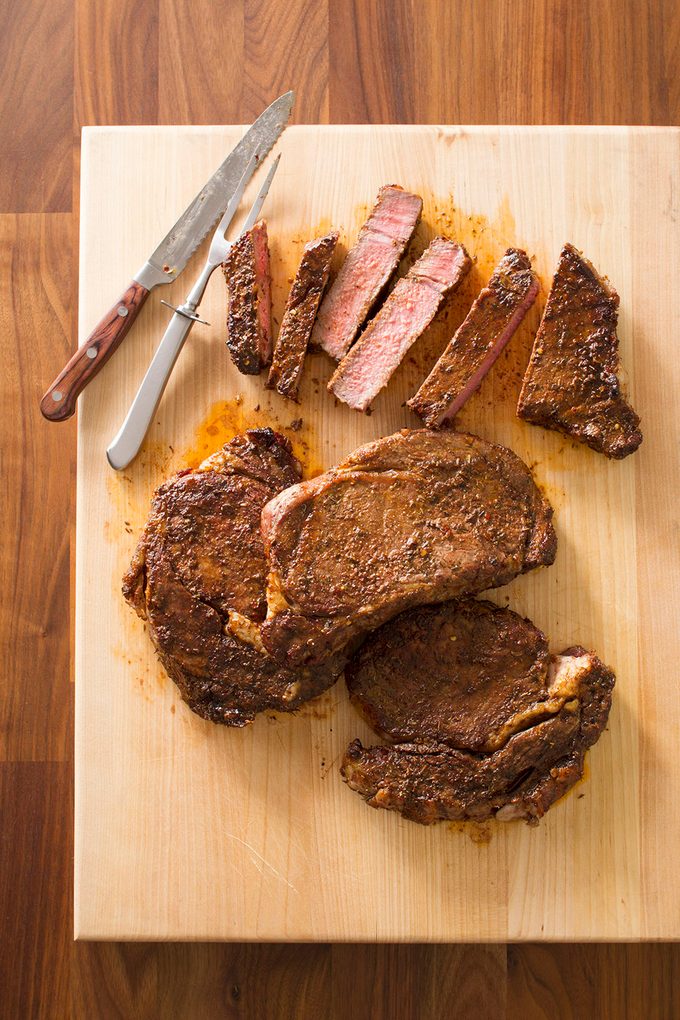
Step 5: Rest, then slice your delicious grilled steak
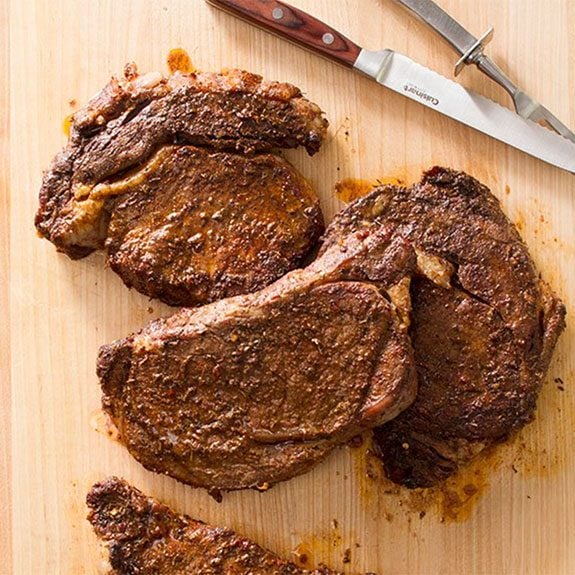
Transfer the steaks to a plate or a cutting board and let them rest for at least 5 minutes before slicing. This ensures the juices will redistribute within the meat instead of spilling out onto the cutting board. When the steak is finished resting, slice it against the grain and serve it with any of these irresistible veggie sides.
How to Serve Steak
After you let the steak rest for at least five minutes, you have a decision to make: to slice or not to slice. You can certainly serve steak whole with a steak knife and let the eater cut it themselves. We often prefer to slice the steak before it makes its way to the plate. This allows you to portion one steak to multiple eaters, cutting down on the cost of dinner without making it obvious that each person didn’t get their own steak. It also ensures that the meat will be sliced against the grain, creating the juiciest, most tender bite.
To identify the grain, look for the long strands of muscle fibers running parallel to each other. Position your knife in a “T” to the fibers, creating slices perpendicular to the grain. Then, plate the steak with a killer side dish. Drizzle the slices with your favorite steak sauce if you like; garlic butter or chimichurri are always good choices.
How to Store Grilled Steak
If you happen to find yourself with leftovers, store them in an airtight container or wrap the steak tightly with plastic wrap. It should be good for two to three days in the fridge. There are several ways to reheat leftover steak so it turns out juicy and tender: the microwave, the oven or in a skillet with a little beef broth.


Originally Published: July 02, 2020