10 Foolproof Steps for Mailing Cookies This Christmas


Updated: Feb. 22, 2024
Homemade cookies are an always-welcome Christmas gift. But how do you mail cookies so they'll arrive fresh and unbroken? Planning, timing, cookie selection and packing methods are key.

How to Package and Mail Cookies
Every December, bakers around the country spend the month whipping up cookies to give as gifts. They hand-deliver platters and tins to friends, neighbors and co-workers. But for folks who don’t live within driving distance, there’s an extra step: packing and shipping the cookies. What good is it to take all that care in baking, only to have the box arrive full of crumbs? Here are some of the key ways to get your cookies there safe and sound.
Choose Cookies That Will Ship
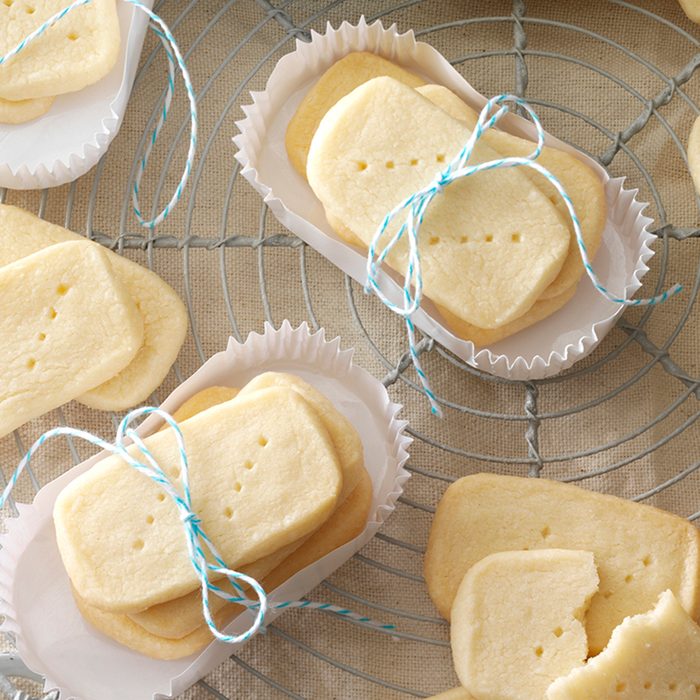
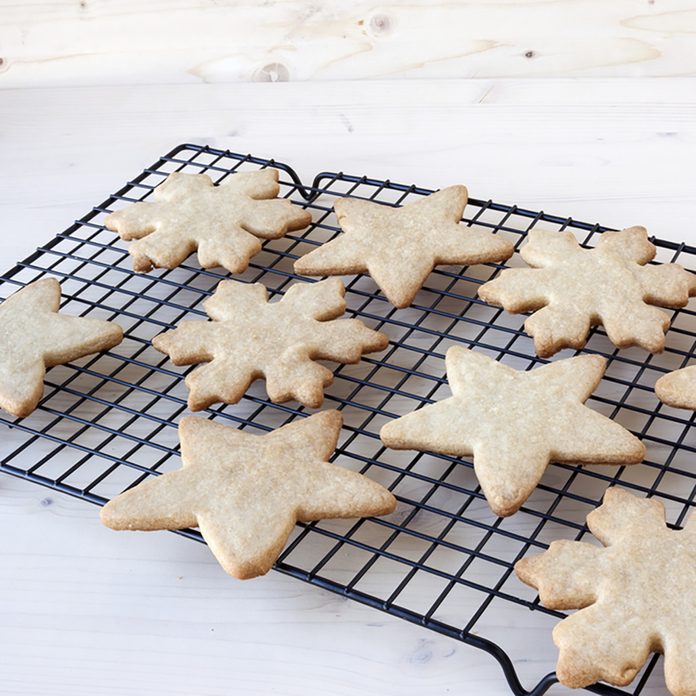
Many of our best Christmas cookies ship like a charm. Go for hard, crunchy cookies, like shortbread cookies, biscotti and kipplens (especially if you’re shipping them in hot weather). Slightly soft and chewy cookies, like gingersnaps and snickerdoodles also make the journey well, as do dense treats, like fudge brownies. And macaroons actually get better after several days.
Cookies that don’t ship well? Extremely delicate cookies, ones that require refrigeration and moist cookies topped with frosting, glaze or powdered sugar, like Key lime bars. Save these for a knockout in-person cookie plate.

Plan Ahead, So They’ll Be Fresh on Arrival
How do you ship cookies and keep them fresh? The aim is to ship them as soon as possible after the last batch cools, so they’re as fresh as possible. Schedule your baking with mailing in mind. If you’re making a variety of recipes, stagger the batches so you spend the first few days making dough that can be refrigerated, and the last stretch in a marathon of oven time. Many cookies, like our Cranberry Pecan Tassies, can be made in advance and frozen, but be sure they’re thawed before shipping—thawing releases moisture, which can wreak havoc inside an airtight container.
While it’s nice to get a surprise in the mail, let the recipient know to expect the cookies, which can minimize the time they spend waiting in the mailbox. (This is particularly important in warm locations.)
Keep Them Cool and Dry
Make sure the cookies are completely cool before packing them up. Warm cookies (similar to frozen ones) will release moisture and age faster in the enclosed space. Store the cooled, baked cookies in airtight containers—plastic food containers or resealable plastic bags work beautifully—until you’re ready to pack them so they stay as fresh as possible. Always remember that the enemy of freshness is air!

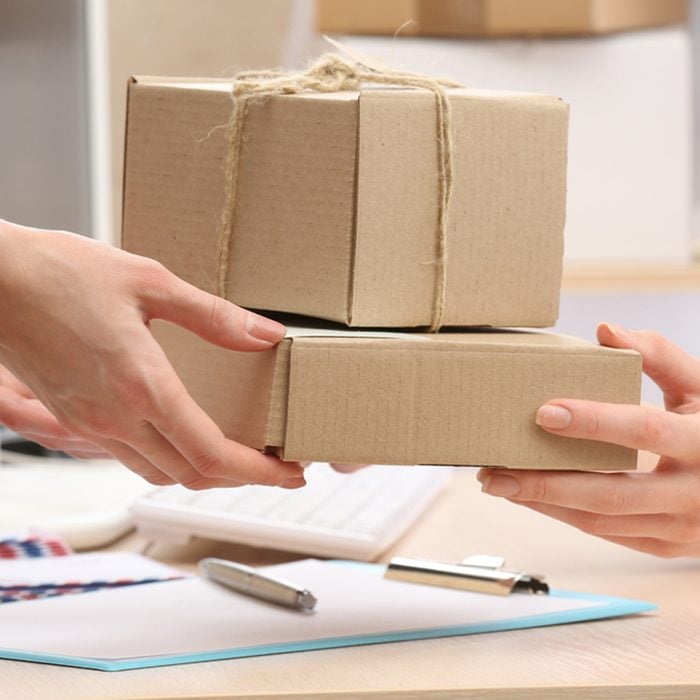
Choose Your Container
Start with these awesome DIY cookie packaging ideas. For the best luck in shipping cookies, your container should be airtight—think cookie tin or plastic food container. Make decorative tins even more airtight by layering plastic wrap over the cookies (overhanging the edge), before putting on the lid. If you’re using a decorative baker’s box, wrap the cookies inside in individual plastic bags or cellophane treat bags. Think ahead: choose your containers and then get your shipping boxes. (And yes, you do have to double-box.)
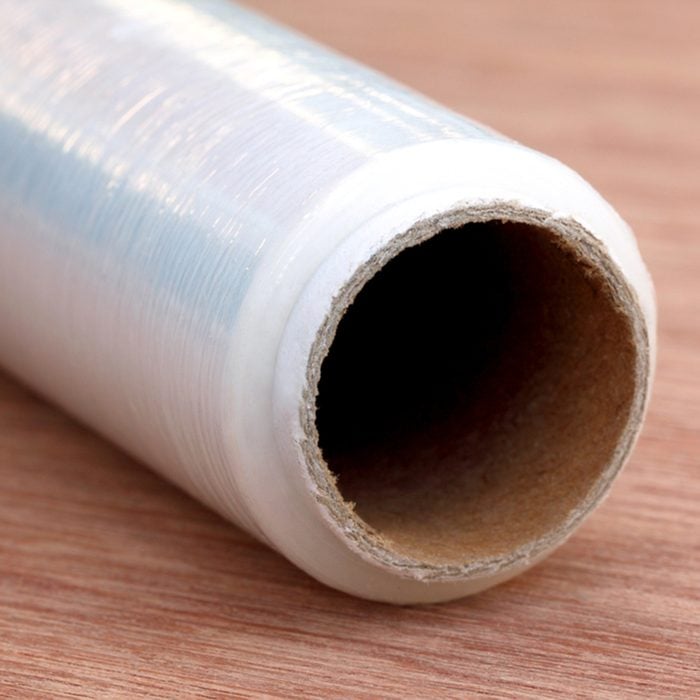
Use Plastic Wrap Liberally!
Put a cushioning layer of crumpled plastic wrap or waxed paper on the bottom of the tin. (If you want to use pretty tissue paper, add that first.) Layer cookies in order of weight, with the heaviest on the bottom. Keep types of cookies together—crisp with crisp, soft with soft—and separate with plastic. Otherwise, crisp cookies will absorb the moisture from your soft cookies, to the sad detriment of both. Individually wrap moist or strongly flavored treats, like our Triple Chocolate Peppermint Treats.

…Or Sometimes Use Parchment
You can also use parchment paper to separate your layers. Plastic wrap has a nice “bounce” to it, making it a good cushion, and effectively contains moisture, but parchment or waxed paper has a more elegant look and works well if you’re sending one type of cookie, or if you’re shipping frosted cookies, like our Vanilla-Butter Sugar Cookies. Frosting or glaze tends to soften over time and varying temperatures and can stick to plastic wrap.
Pack Cookies Snugly, but Don’t Cram Them In
Your cookies shouldn’t bounce around in the tin, but should have a bit of “give” so that they won’t break with pressure. As you fill your tin, use crumpled plastic wrap, tissue paper or parchment (pre-cut sheets work beautifully here) to fill spaces between the cookies and the top of your tin. After you’ve closed the tin, go ahead and gently shake it—if you hear any bouncing, you need more cushioning.
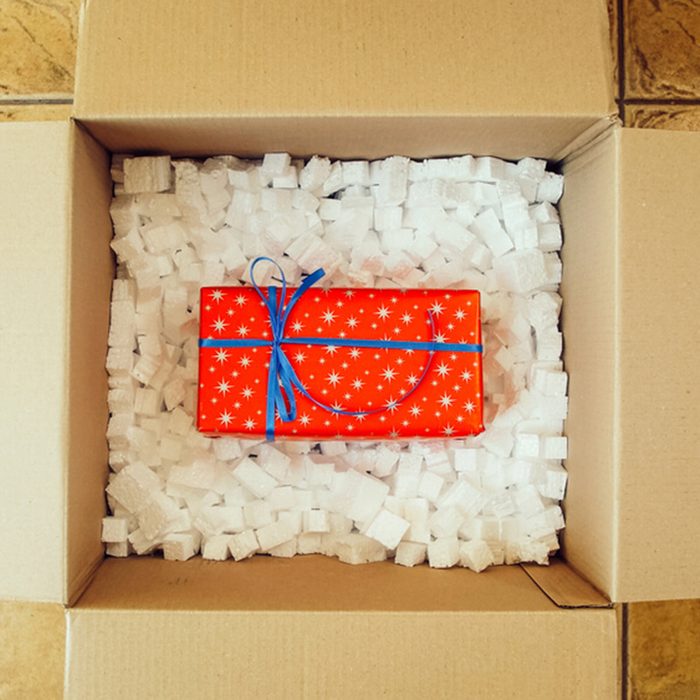
Choose Your Shipping Box
Your shipping box should be heavy-duty cardboard and larger than your container by at least an inch on each side. The USPS lets you choose your boxes online and have them delivered to your house for free. (Talk about a time saver!) Pack that extra space with bubble wrap, crumpled newspaper or packing peanuts. (The plain packing paper that movers use is perfect.) Tape up the box securely, and remember to mark it “Fragile!”
Pick a Cookie Shipping Method
Whether you use USPS, FedEx or UPS, it’s wise to choose the fastest speed you can to make sure the cookies arrive while they’re fresh. The USPS’ flat-rate service may make sense if you’re shipping large boxes over a long distance. Price out shipping costs on the USPS website using the box size, weight and ZIP code origin/destination to find the best option. There are special guidelines for care packages sent to military personnel stationed overseas; you can find those at the USPS website as well.
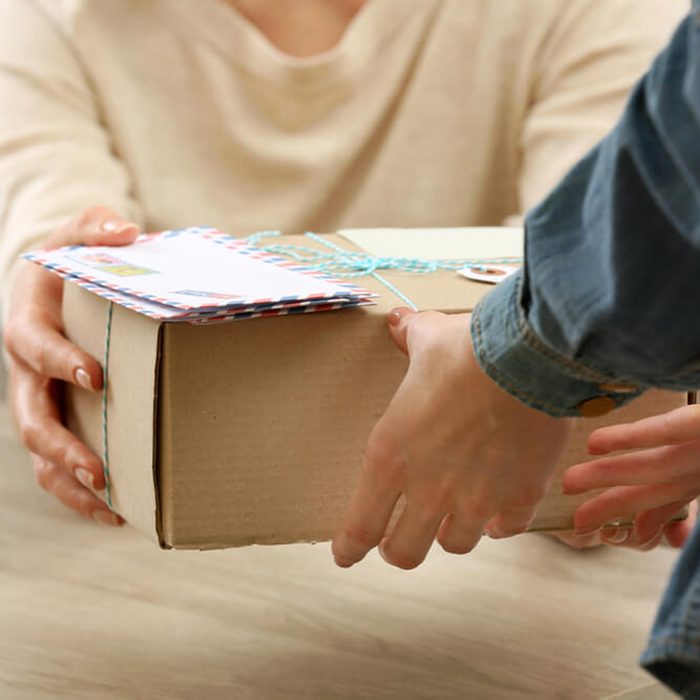
Mail Those Cookies!
Now all that’s left to do is get your boxes to the post office. Depending on how many boxes you’re shipping, you may want to enlist a friend to serve as pack mule. Don’t worry—most are glad to help in exchange for a plate of homemade cookies!
Originally Published: December 19, 2019