


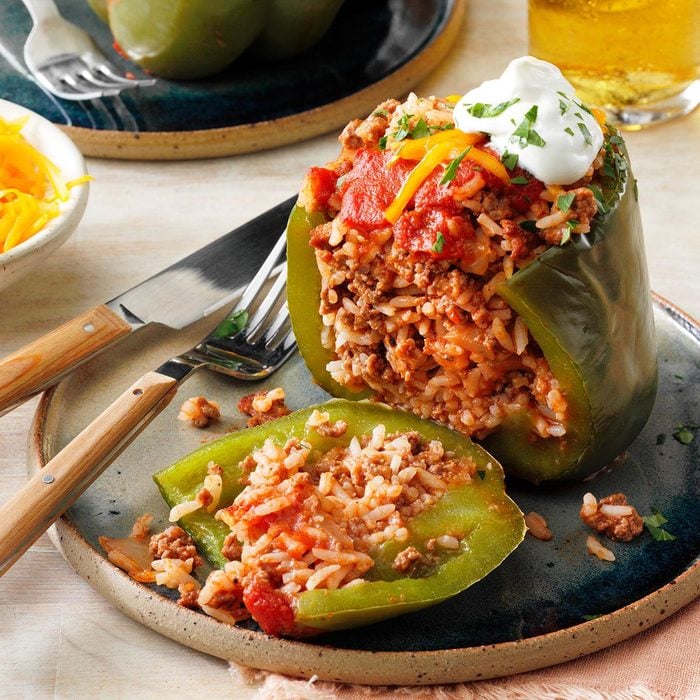
Stuffed bell peppers look gorgeous, hold a meaty filling that kids and adults both love, and, from start to finish, they’re ready in less than an hour. It’s no wonder they make the cut for easy weeknight dinners. If you haven’t made them in a while, it’s time to dust off this old-fashioned stuffed bell pepper recipe and make some now.
Ingredients for Stuffed Bell Peppers
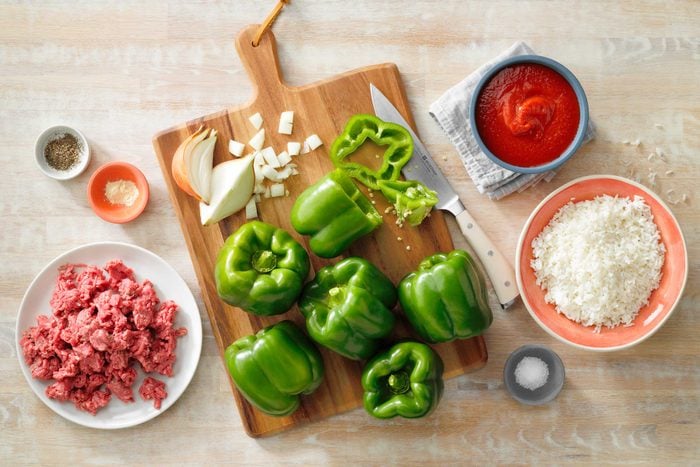
- Green bell peppers
- Ground beef
- Onion
- Tomato sauce
- Cooked rice
- Salt
- Garlic powder
- Black pepper
- Optional: shredded cheddar cheese, chopped fresh parsley, sour cream
Directions
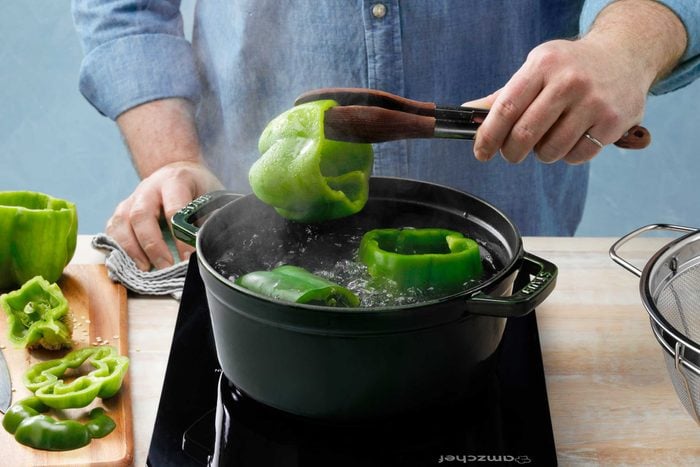
Step 1: Prepare the peppers
Preheat the oven to 350°F and have a large, rectangular baking dish ready.
Bring water to a boil in a large pot or Dutch oven. Cut the tops off of the peppers and remove the seeds and membranes. Here are our tips for slicing bell peppers. Cook the peppers in boiling water for 3 to four minutes, then drain and rinse them under cold water to stop the cooking.
Editor’s Tip: If your pot isn’t large enough to hold all the peppers, cook them in batches.
Step 2: Cook the beef
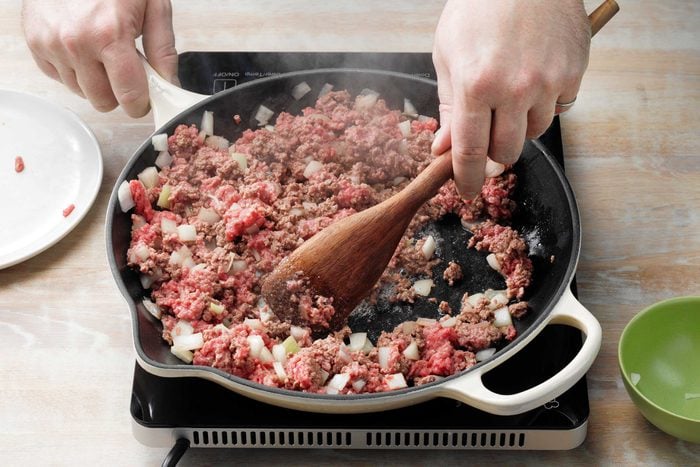
Place a large skillet over medium heat. When the pan is hot, add the crumbled ground beef and diced onion. Cook for about 10 minutes until the beef is no longer pink and the onions are tender. Break up any large clumps of beef as it cooks.
Turn off the heat and drain the grease from the pan.
Step 3: Add the tomato sauce
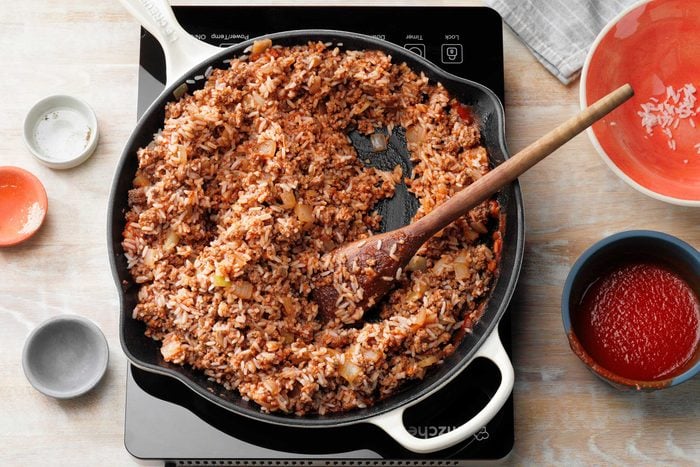
Pour half of the tomato sauce into the pan with the beef and onions. Stir in the rice, salt, garlic powder and black pepper.
Step 4: Fill the peppers
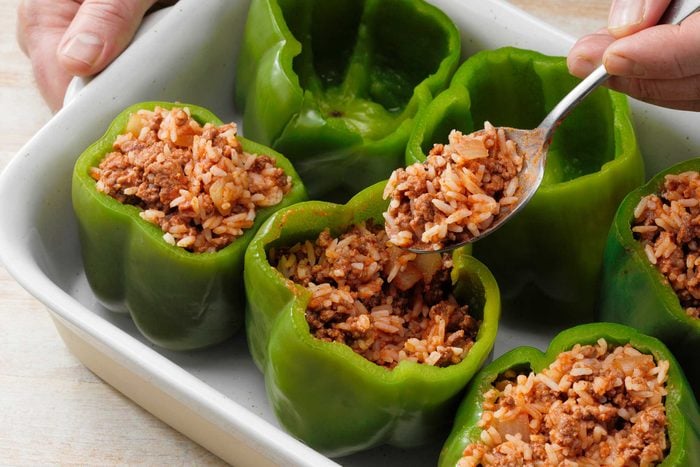
Sit the green peppers upright in the baking dish. If they won’t sit flat, take a tiny slice off the bottom of the pepper to make it level.
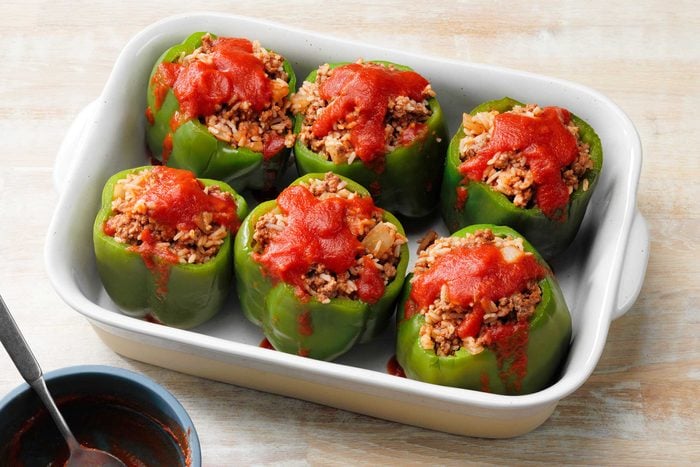
Spoon the beef-tomato sauce mixture into each pepper, dividing the filling equally among them. Drizzle the rest of the tomato sauce over the peppers. If you’re using shredded cheese, you can sprinkle a little over the tops of the peppers.
Step 5: Bake and serve
Put the dish in the oven. Bake for 25 to 30 minutes until the peppers are tender.
Serve the peppers immediately with the optional toppings of sour cream and a sprinkle of shredded cheese and fresh chopped parsley.
Editor’s Tip: Larger peppers or those with thicker walls may need a little longer in the oven.
Can stuffed peppers be frozen?
Yes, stuffed bell peppers are a great choice for a freezer meal. Follow the recipe above to precook the green peppers in boiling water, and to cook the meat filling completely. Fill the peppers and arrange them in a baking dish. From here, you can either bake the peppers before freezing or just freeze them the way they are.
If you choose to freeze after baking, allow the stuffed peppers to completely cool, wrap the dish tightly in plastic wrap and foil, and freeze them for up to three months. When you’re ready to eat them, put the pan of frozen peppers into a 350°F oven, and bake until they’re thawed and warmed through. Peppers can also be frozen individually to have the option of baking just one or two at a time.
Stuffed Bell Pepper Tips
Can you swap the beef for turkey in stuffed bell peppers?
Yes, these stuffed peppers are delicious with a turkey filling. Cook ground turkey as directed above, but add a little oil to the pan to keep the meat from drying out. Here’s our recipe for Turkey Stuffed Peppers.
How can you tell when stuffed bell peppers are done?
Since the filling is already cooked, all you’re really waiting for is the green peppers. When finished, they should be very tender and easy to pierce with a fork. The sauce will also be bubbling, and any cheese added to the tops will be browned and melted.
Do the peppers need to be precooked?
It depends on how you like your peppers. Precooking the green peppers in boiling water means they’ll be very tender after baking. If you skip the precooking and just stuff and bake them raw, the peppers will have a firmer and crunchier texture in the final dish. Either way, they’ll be delicious.
