When it comes to baking pies, the most daunting part of the process is making the perfect flaky crust. After all, you want a dependable (and tasty) foundation to hold the delicious filling. Once you master a few tips, you’ll have the confidence to whip up flaky crusts for homemade pies that will have everyone asking for seconds.
Pie Crust Ingredients
- All-purpose flour: AP flour is what you want for a classic pie crust.
- Salt: A pinch of salt enhances the flavor of the crust.
- Cold butter: Temperature is key when it comes to pie crusts. To get a flaky texture, make sure to use cold butter.
- Ice water: Same rule applies here. Ice cold water ensures the crust won’t increase in temperature too much.
Directions
Step 1: Cut the butter into the flour
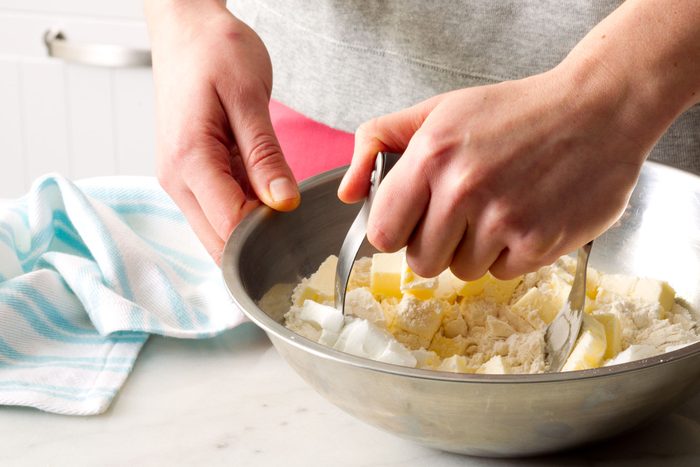
The first step in making pie crust is to quickly whisk together the salt and flour in a large mixing bowl. Then, use a pastry blender to cut cold butter into the flour. Work the butter into the dough until the bits are about pea-sized. Avoid using your fingers to mix—your hands are warm and will melt the butter!
Test Kitchen Tip: If you’re short on time, use a food processor to cut the butter into the dough. Add your ingredients into the food processor and pulse as needed until the crumbs become pea-sized.
Step 2: Add water
Next, add ice-cold water to your pastry mix. Start slow with just two or three tablespoons and add more as needed, a tip from Grandma’s pie-making rulebook. Using a fork, toss (don’t press) cold butter and water into the flour just until everything is mixed and thoroughly coated. Your crust is at the right consistency when it holds together when pressed.
Test Kitchen Tip: Avoid over-mixing the pie crust dough—handling the dough too much will create a tough crust. A gentle hand is needed to create flaky layers.
Step 3: Chill the pie pastry
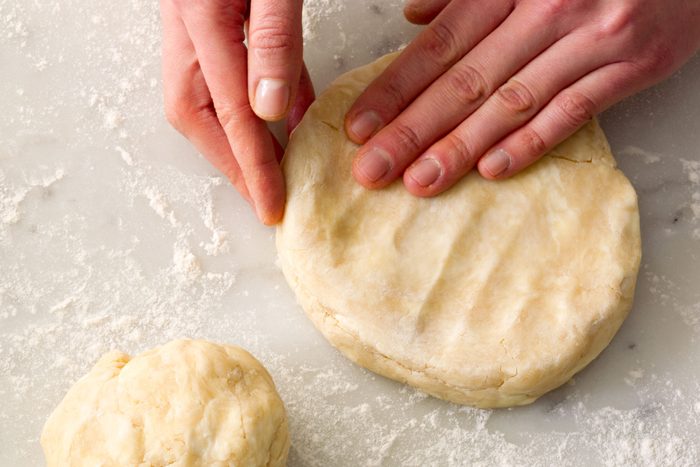
Before doing anything else with your pastry, let it chill in the fridge for at least an hour to help firm up the butter. We’ll say it a thousand times if we have to: Cold butter equals flaky crusts.
To chill, form the pastry dough into a disk and cover it tightly with plastic wrap or waxed paper.
Step 4: Roll the pie crust
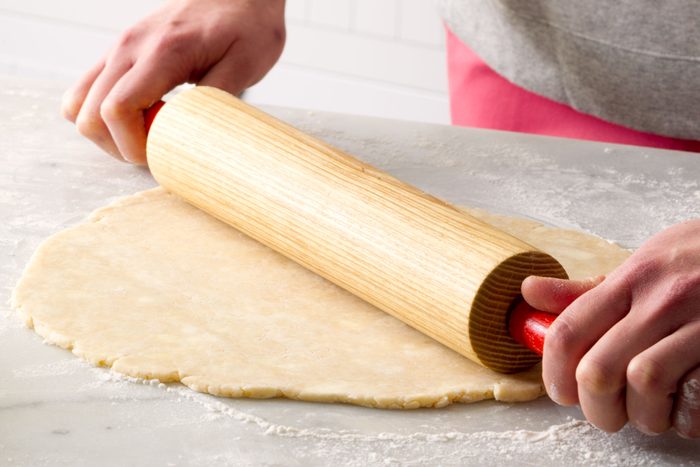
After allowing your pie crust to chill, it’s time to get rolling. Lightly dust your work surface and rolling pin with flour to prevent the dough from sticking. If you have a stainless steel or marble rolling pin, pop it in the fridge or freezer in advance—this will keep the pastry dough cool.
To roll, work from the center and move outward to the edges. To help ensure an even shape, give the dough a quarter turn after each roll. Roll until you reach the appropriate size and thickness. Most pie crust recipes call for dough that’s 1/8-inch thick—about the same thickness as two quarters stacked on top of each other.
If necessary, add an extra sprinkling of flour to prevent sticking.
Test Kitchen Tip: If the pastry rips when it’s rolled out, dip a finger in cold water and patch with a bit of extra dough.
Step 5: Move the crust to your pie pan
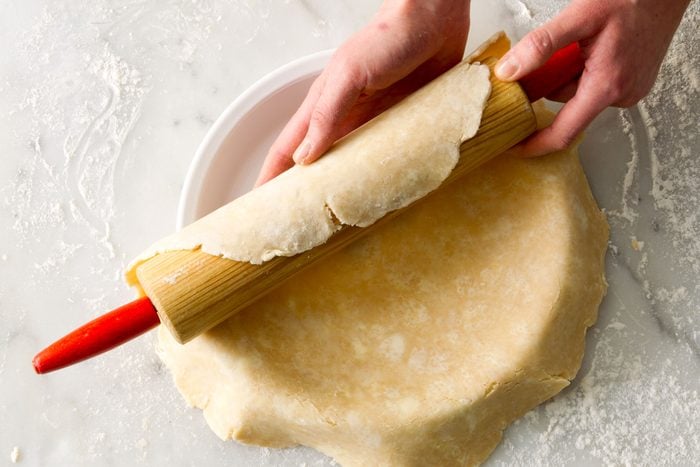
The most stressful part of pie baking is moving your perfectly rolled crust into the pie pan—it can make even experienced bakers tremble. But if you work quickly and confidently, you’ll be just fine (remember that you can always patch or re-roll the dough if needed).
To move the crust into the pan, rely on your rolling pin. Drape the crust over the pin and quickly move it to your pan. Allow the pastry to ease into the plate and let it settle before you manipulate it. Trim the edges, leaving some excess to crimp.
If you’re making a single-crust pie, all that’s left is to finish the edges. If you’re creating a double-crust pie, it’s time to fill the pie and work on rolling out the second crust. You’ll use the same rolling pin drape method to transfer that crust to cover the top of your pie.
Test Kitchen Tip: If you’re making a double-crust pie, don’t forget to add vents to allow steam to escape. This can be as simple as adding slashes, but you can also do it by creating a decorative topper like a lattice crust.
Step 6: Finish the edges
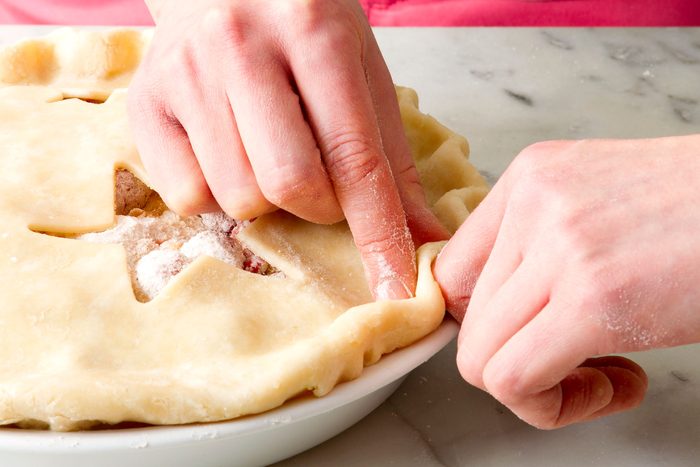
You can finish off your pie crust in a variety of ways. Pinching the pastry around the edges is the most traditional method, but you can make decorative pie crusts with all sorts of nifty edges, like ropes or braids. You can also just make pretty impressions using a fork.
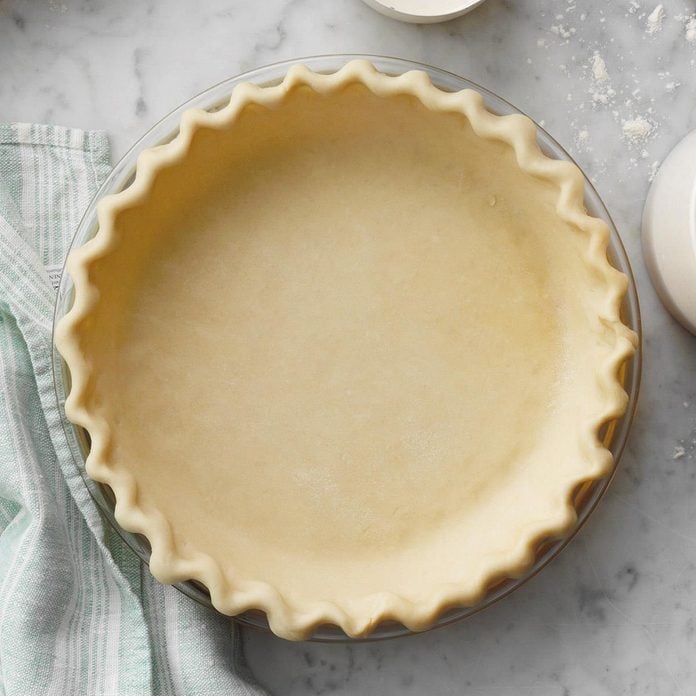
For a fluted crust, position your index finger on the edge of the pie facing outward. Then place your other thumb and index finger on the outside edge and pinch the crust around your finger to form a V. Continue around the entire edge of the pie crust.
After all that, it’s time to bake your pie. Just remember to place it on the center rack and keep an eye on it as it bakes to prevent over-browning.
Test Kitchen Tip: Making a pie crust shield is a handy trick that can help prevent a burnt crust.
Pie Crust Variations
Here are some ways to liven up your pies:
- Braided edge: If a basic crimped edge isn’t for you, try braiding. To do this, make an extra portion of pie pastry. Then roll it out thinly and cut into three strips. Braid and press into place around the outside of the pie.
- Cutout shapes: Use small cookie cutters to create a decorative finish for pies. Use a few drops of water to press the shapes into place along the outside of the pie.
- Lattice crust: A lattice pie crust is very traditional. Make a woven-style finish using overlapping strips of pastry.
- Egg wash: Add a bit of shine to your homemade pie by making a simple egg wash. Simply whisk an egg with a teaspoon of water. Then swipe over the crust with a pastry brush before baking.
How to Store Pie Crust
Once your pie dough has chilled in a disk shape, you can stash it in the fridge for up to three days.
If you’re working further in advance, wrap the pie pastry tightly and seal it in a freezer-safe bag. It will last for about two months. When you’re ready to use it, thaw it in the refrigerator overnight.
Pie Crust Tips
What if my pie crust is crumbly?
If you find that your crust isn’t holding together, it’s OK to add more water. The 3 to 4 tablespoons listed in the recipe is a guideline. You may find you need to add a bit more.
To do this, add just a small amount at a time until the dough starts to cling together.
How do you keep pie crust from shrinking?
To prevent the crust from shrinking or sliding down your pie pan, chill the crust inside the pan for about 15 minutes. This chill will help the crust firm up and stay in place.
What makes pie crust flaky?
In a word—butter! Although shortening, lard and butter are all used in pie crusts, our Test Kitchen found that butter makes the flakiest and tastiest crust. Crusts made with shortening tend to create crumbles rather than flaky layers, and crusts made with lard have a greasy consistency.
Always start with cold butter. That way, the heat of the oven will melt it, creating pockets of steam. The steam then gives lift to the pastry, resulting in flaky layers.
Do you need to blind bake pie crust?
Not all pies require blind baking. Blind baking—that’s baking the crust before filling the pie—is most commonly used for cream pies. You’ll know it’s the right technique to use when the recipe specifies.
Can I use this pie crust for pot pie?
This recipe doesn’t call for any sugar, so it’s a delicious vehicle for sweet and savory pies.
