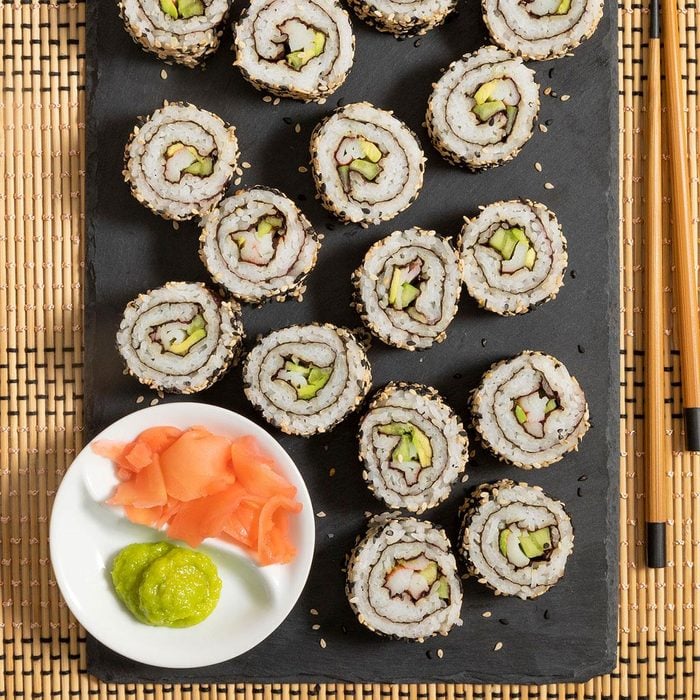
If you’ve always wondered what it was like to make sushi at home but never thought you could pull it off, the California sushi roll is the best place to start. There’s no raw seafood to deal with, making it less intimidating, and most of the ingredients are easy enough to find at the grocery store. A few essential Japanese ingredients will be easier to find at a local specialty market, so plan ahead!
Once you get the hang of making the California roll, you’ll be able to rotate it into your easy lunches for the week. Or save the sushi-making for one of your date night dinner ideas. Set up a cooking class station on your counter, open a bottle of sake or dry white wine, and you’ve got a whole evening of fun without having to leave the house.
Ingredients for a California Rolls
- Sushi rice: Stickier than regular white rice, sushi rice will keep all the ingredients tucked into your rolls without crumbling into messy pieces. The label will specifically say “sushi rice” when you’re searching for the right bag.
- Rice vinegar: It might seem like a small step, but seasoning the cooked rice with rice vinegar and a bit of sugar will give it that restaurant-quality taste that feels so elusive.
- Nori sheets: Nori sheets are the seaweed sheets used to keep everything wrapped inside the rice. If you have a lot leftover, you can garnish from-scratch ramen with nori or sprinkle it into salads.
- Cucumber: The crisp flesh of cucumber makes it a great choice for sushi. It lends crunch and subtle sweetness. There are a few cucumber varieties, but using regular cucumbers works just fine here. You can try English cucumbers for a seedless option too.
- Avocado: Because there aren’t a lot of elements to a simple California roll, the produce really shines. Fresh avocado slices will fill your rolls with healthy fats just like fish would (minus the work of proper raw seafood handling!).
- Imitation crabmeat: Taking the place of tuna, salmon, yellowtail or eel, imitation crabmeat fills the rest of your roll with a totally non-fishy tasting piece of “crabmeat.” It’s called imitation because it’s actually made from finely shredded fish and turned into a paste that mimics the look of crab. You can find this ingredient at most grocery stores near you.
Directions
Step 1: Make the rice
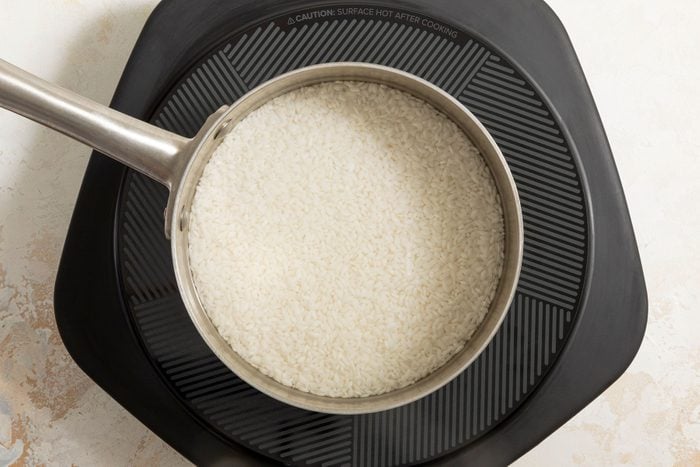
In a large saucepan, combine the rice and water, and let it stand for 30 minutes. This gives the rice enough time to absorb water and cook more uniformly. Bring to a boil. Reduce the heat to low; cover and simmer for 15 to 20 minutes or until the water is absorbed and the rice is tender. Remove from the heat, and let the rice stand, covered, for 10 minutes.
Editor’s Tip: Before beginning this step, be sure to wash your rice thoroughly.
Step 2: Mix the rice seasoning
Meanwhile, in small bowl, combine the vinegar, sugar and salt, stirring until the sugar is dissolved. You’ll use this mixture to season the rice.
Step 3: Season and prep the rice
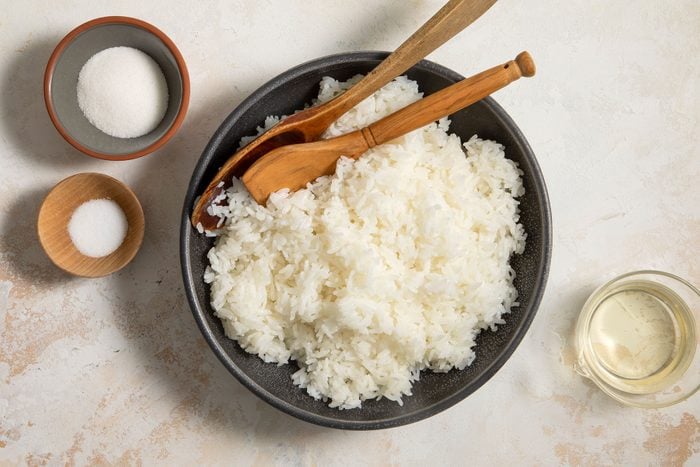
Transfer the rice to a large shallow bowl, and drizzle with the vinegar mixture. With a wooden paddle or spoon, stir the rice with a slicing motion to cool it slightly. Cover the rice with a damp cloth to keep it from drying out.
Editor’s Tip: This rice mixture may be made up to two hours ahead and stored at room temperature, covered with a damp towel. Do not refrigerate or it will ruin the texture of the sushi rice.
Step 4: Set up your sushi mat
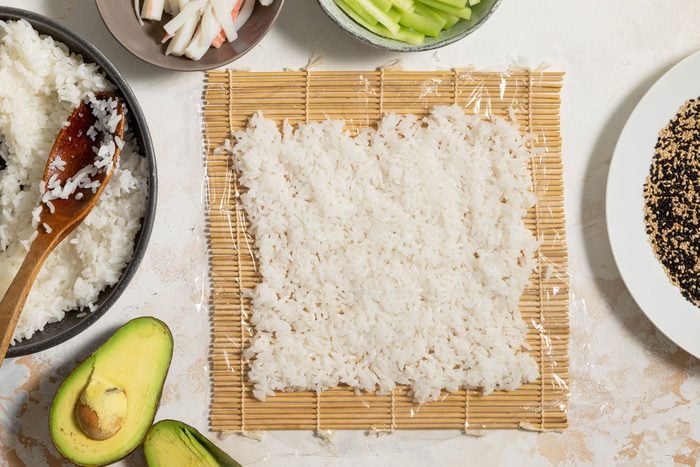
Sprinkle toasted and black sesame seeds onto a plate, and set it aside. Place your sushi mat on a work surface so the mat rolls away from you; line the mat with plastic wrap. Place 3/4 cup rice on plastic. With moistened fingers, press the rice into an 8-inch square. It’s OK to see a few tiny holes in the square. The rice will get pressed together when you roll.
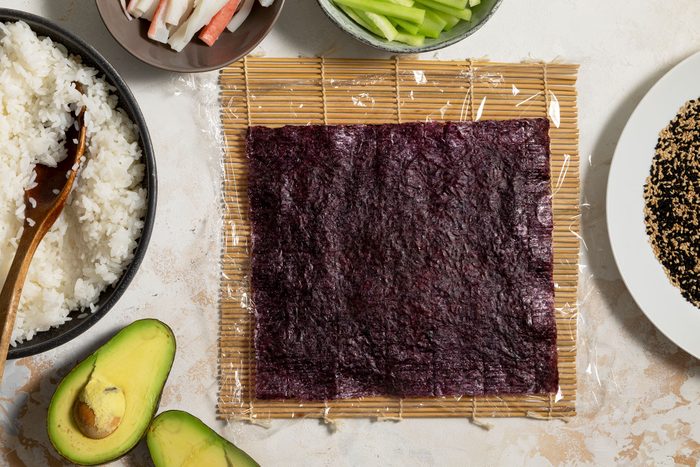
Top the rice square with one nori sheet.
Editor’s Tip: The nori has a smooth side and a rough side, which you can feel if you drag a finger across the sheet. Lay the nori on the rice with the rough side facing you and the smooth side pressed into the rice.
Step 5: Arrange and roll
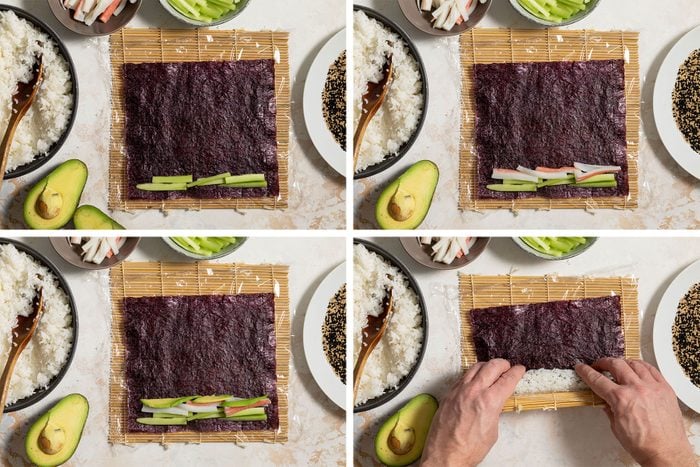
Arrange a small amount of cucumber, crab and avocado about 1-1/2 inches from bottom edge of the nori sheet. (Less is more here. You don’t want to overstuff the roll or it won’t roll into perfect pinwheels in the end.)
Using your bamboo mat, roll up the rice mixture over the filling. The mat can lift and compress the mixture while rolling, bringing one side of the rice square to the other and pinching it closed along the seam. Remove the plastic wrap as you roll. You’ll keep this sheet over the sushi so it doesn’t dry out while you make more rolls.
Step 6: Slice and serve
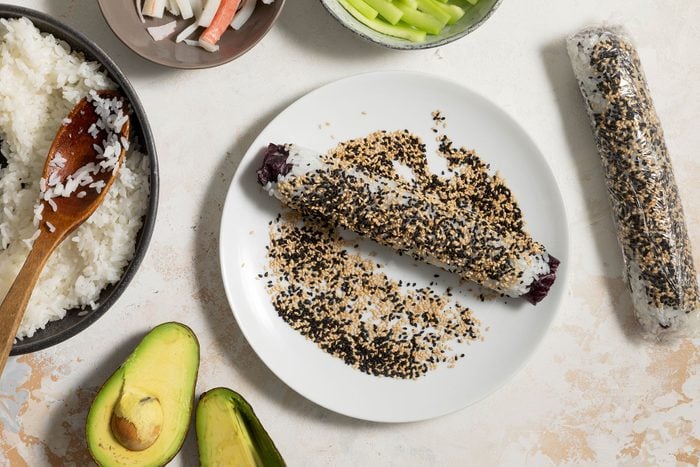
Remove the mat from your work station, and roll the sushi roll in the sesame seeds. Cover with the plastic wrap.

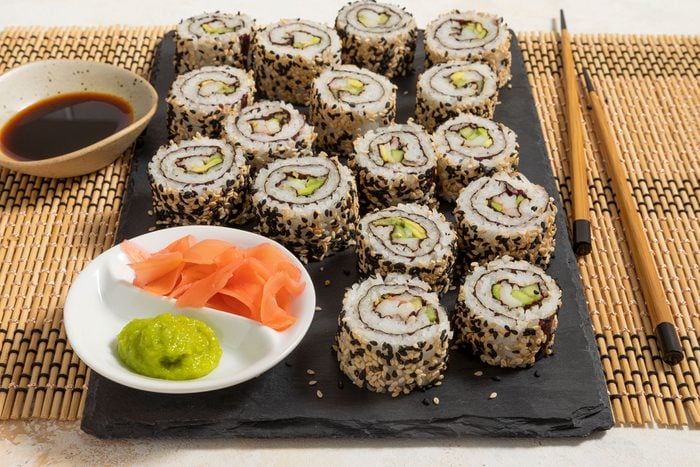
Repeat these steps with the remaining ingredients to make eight rolls. Cut each roll into eight pieces. Serve with soy sauce, wasabi and ginger slices if desired.
Recipe Variations
- Add heat: Dab some wasabi paste into the rice before rolling, or drizzle the top of the rolls with Sriracha mayo before serving.
- Skip the sesame: If seeds upset your stomach or you don’t want them all over your kitchen, skip this step. The roll will taste just as good without the sesame seeds.
- Incorporate fish: If you’ve made a California roll a hundred times and you’re ready to switch things up, add cooked shrimp, or try sushi-grade fish like ahi tuna.
Can you store California sushi rolls?
Technically, it’s OK to store California rolls in the fridge for about one day after you’ve made them, but we don’t recommend it unless you have to. The rice dries out and hardens quickly, so it won’t taste as fresh the next day, and will taste downright stale after a couple days. If you’ve made too much or haven’t finished your plate, wrap the leftover rolls tightly in storage wrap, then place the wrapped rolls in an airtight container.
California Roll Tips
Why is the rice sticking to my hands?
Assembling sushi can get a little messy, but it doesn’t have to be. Keep a bowl of cold water and a damp towel near your sushi station. Dip your fingers in the water, and gently wet your palms so that the rice will glide off. Continue dipping your fingers in the bowl as you work with the rice. Use the damp towel to slightly dry your hands if they’re too wet.
Why is my sushi roll falling apart when I cut it?
There could be two reasons why your sushi crumbles when you cut it. The first one is that the rice dried out while you were assembling the rolls. Prevent this in the future by keeping everything covered with plastic wrap.
The second reason is your knife. Like wetting your hands to work with the rice, you should wet the blade of your knife before slicing. This will lightly lubricate the blade so it cuts cleanly into the rice without pulling pieces loose.